The Netbeans IDE has built-in integration with Payara Server and allows you to easily perform the following tasks:
-
Start and stop the Payara Server from within the IDE
-
Define the Java runtime to be used by Payara Server
-
Deploy an application from within the IDE
-
Auto Publish & Hot Deploy your application
Adding Payara Server to NetBeans
-
Go to Tools - Servers.
-
Click Add Server.
-
Select Payara Server and choose a name for the server.
-
Select the location of the
payaradirectory of your Payara Server installation. If the DAS is on another machine then check the Remote Domain box, otherwise select Local Domain. Read and accept the license agreement. -
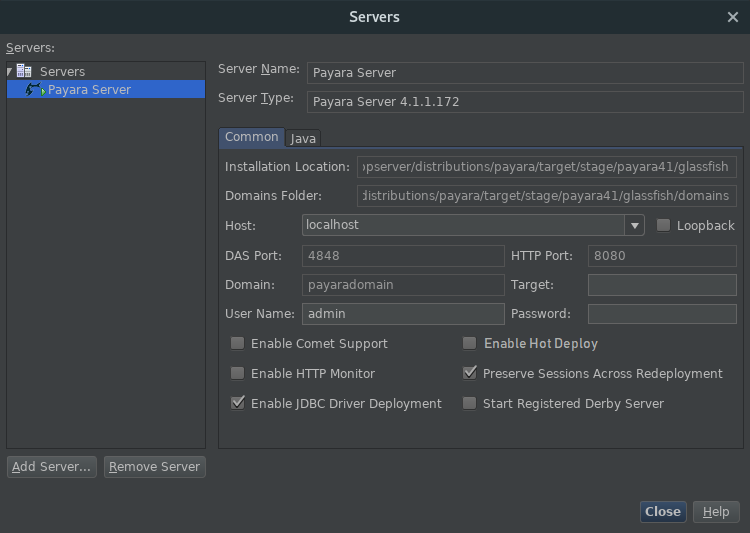
Enter the following details for the domain:
-
Domain → This is the name of the domain you want to use. By default this is
domain1. -
Host → This is the hostname that the server will be listening on. By default this is
localhost. -
DAS Port → This is the port that the
admin-listenerlistens on. By default this is4848. -
HTTP Port → This is the port that the application will be hosted on. By default this is
8080. -
Target → This is the name of the node that the application will be getting deployed to. This can be left blank if it is a local installation.
-
Username → This is the admin username for Payara Server. By default this is
admin. -
Password → This is the admin password for Payara Server. By default this is blank.
-
Managing Payara Server from NetBeans
Management of Payara Server from NetBeans is done through the Services tab.
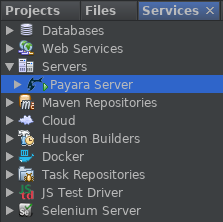
Once Payara Server is added to NetBeans it can be found under Servers with the configured name. Right clicking on the server lets you do the following actions:
-
Start or stop the server.
-
Start debugging the server.
-
Open admin console.
-
Open server log.
Exploding the server dropdown will list Applications, Resources and Web Services. This allows you to view and manage certain Payara Server configurations, from the NetBeans interface.
Example: Under Resources → JDBC → Connection Pools → H2Pool (right click) → Properties you can view and modify connection pool properties for the H2Pool.
Deploying Applications to Payara Server
An application can be deployed and undeployed easily from within NetBeans. First, the application run settings need to be configured to use Payara Server. Go to Properties on a project and then the Run section of this window. This menu lists the configuration for deploying the application.
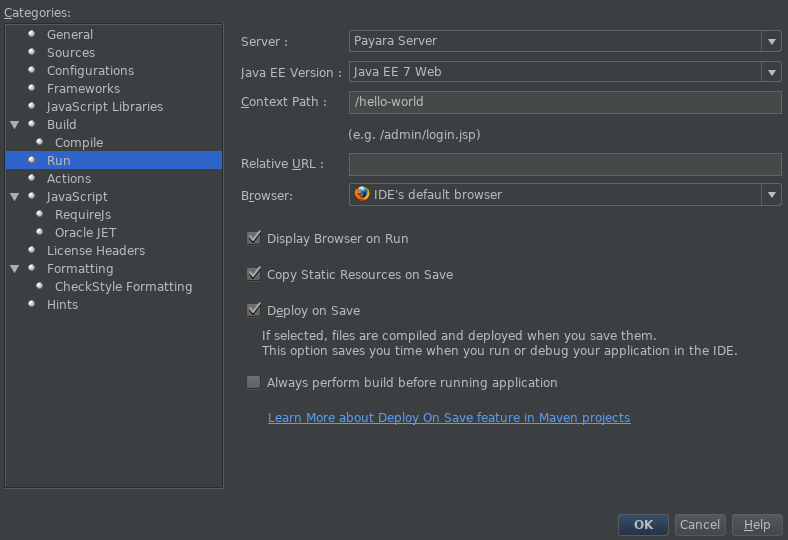
Select the Payara Server you have configured. You can also select a context path for the application to be deployed to, as well as NetBeans behaviour when deploying.
Deploying to Payara Server now only requires running the application like any other NetBeans project. Once it’s deployed, the Services view will then display the application under Payara Server, where you can undeploy, enable, disable and view the application in the browser.