Using the Payara Micro Community Tools IntelliJ plugin, you can integrate Payara Micro within the IntelliJ IDE to easily start, stop and deploy applications to Payara Micro.
This is available in both the Payara Platform Tools and Payara Micro Community Tools plugin, therefore you do not need to install both to use these features.
|
Run Payara Micro from IntelliJ
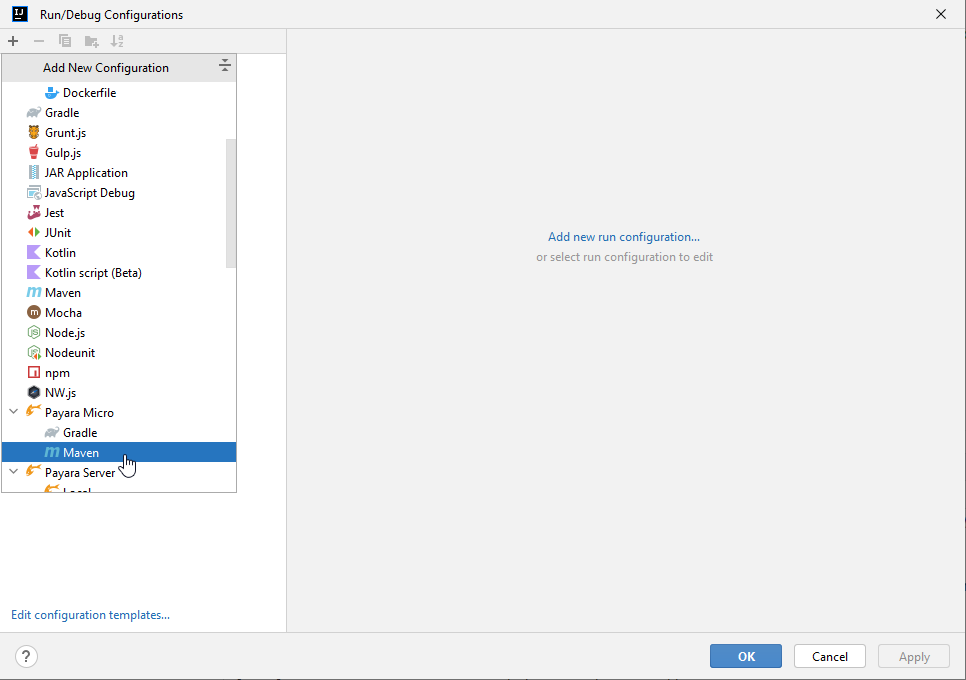
To run Payara Micro from IntelliJ, you need to first configure Payara Micro as a run configuration.
In the Run/Debug Configurations dialog, click +, expand the Payara Micro node, and select Maven or Gradle:
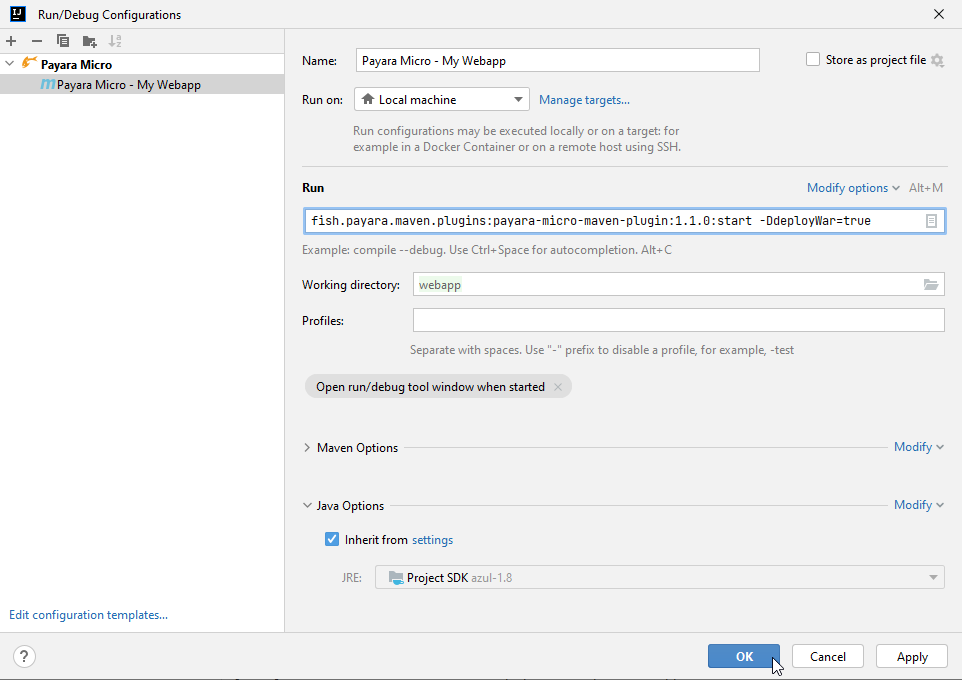
This run configuration will be configured by default to deploy the project you are currently working on. If you wish to modify which application is deployed, edit the Working Directory option. Otherwise the default settings are correct, and click OK.
Due to a known issue within the IntelliJ IDEA Payara plugin, you must modify the default Run option by removing the leading and trailing quotation marks, ".
|
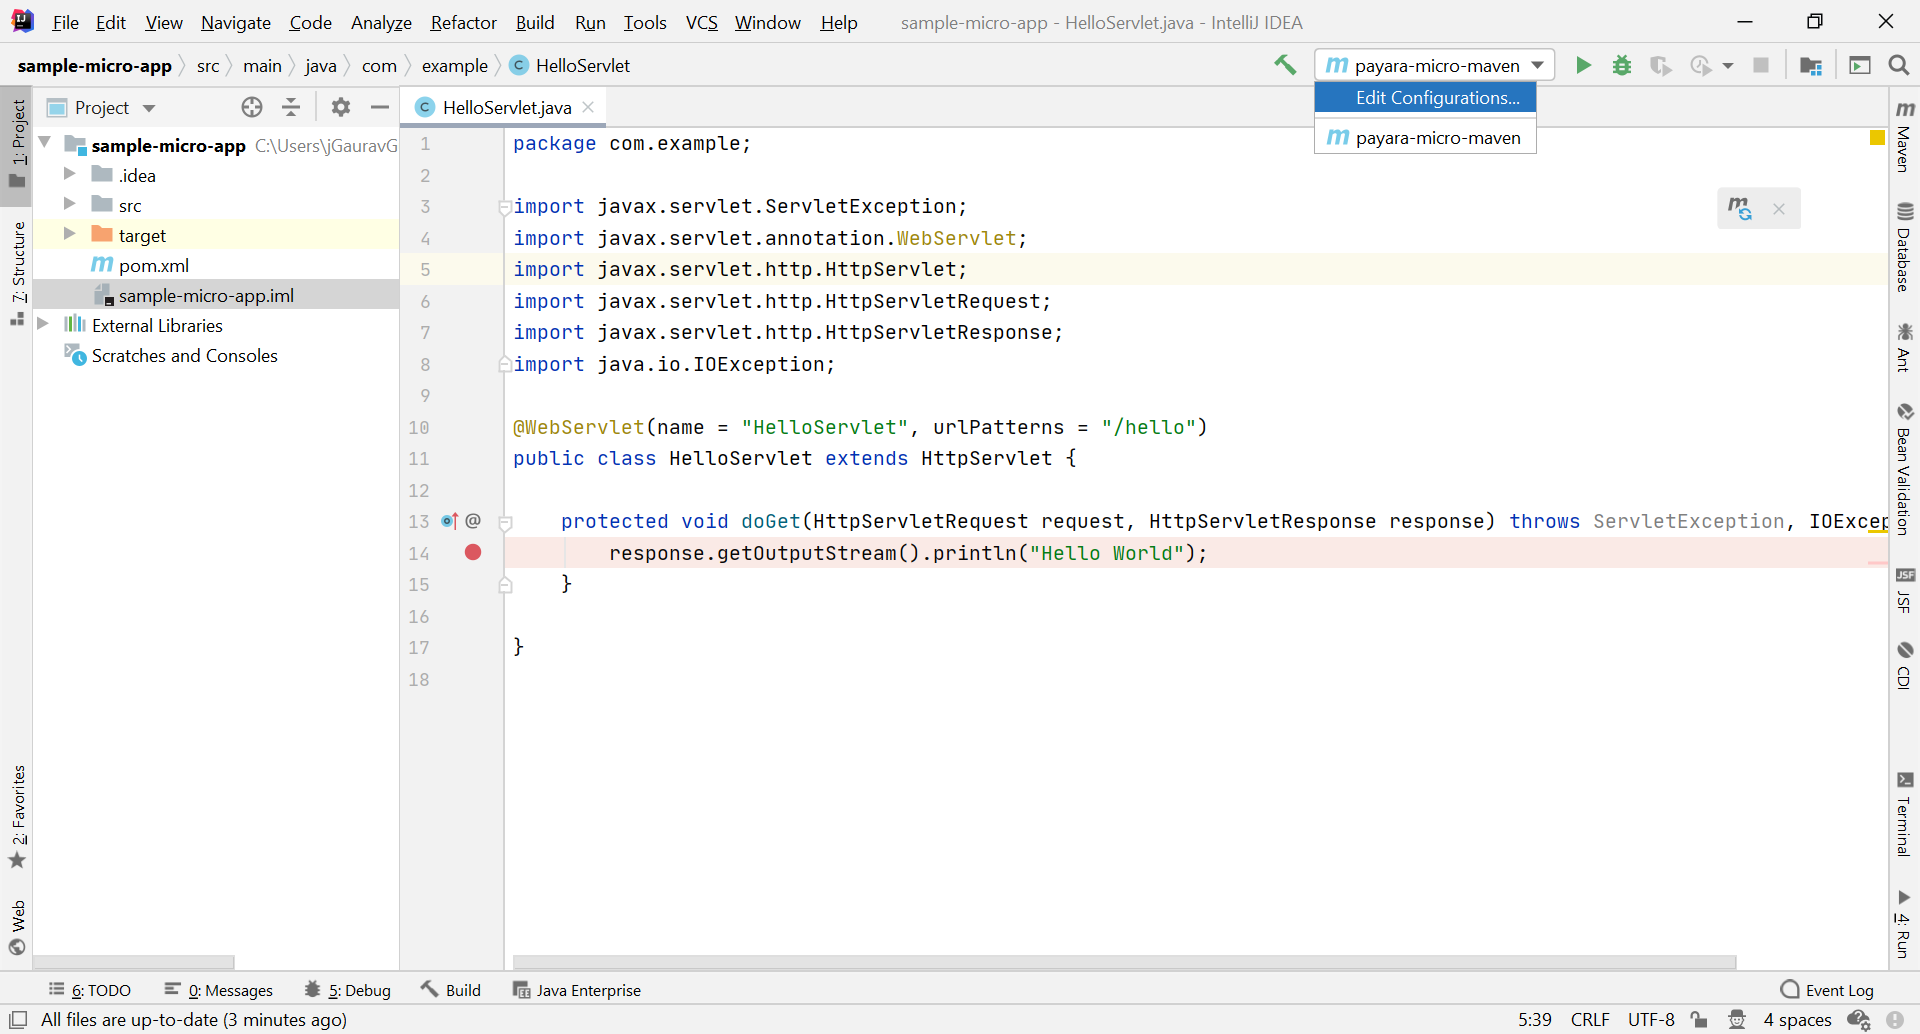
To run Payara Micro with your application compiled and deployed, just click Run. You can view the Payara Micro log in the Run window then select your run configurations name.
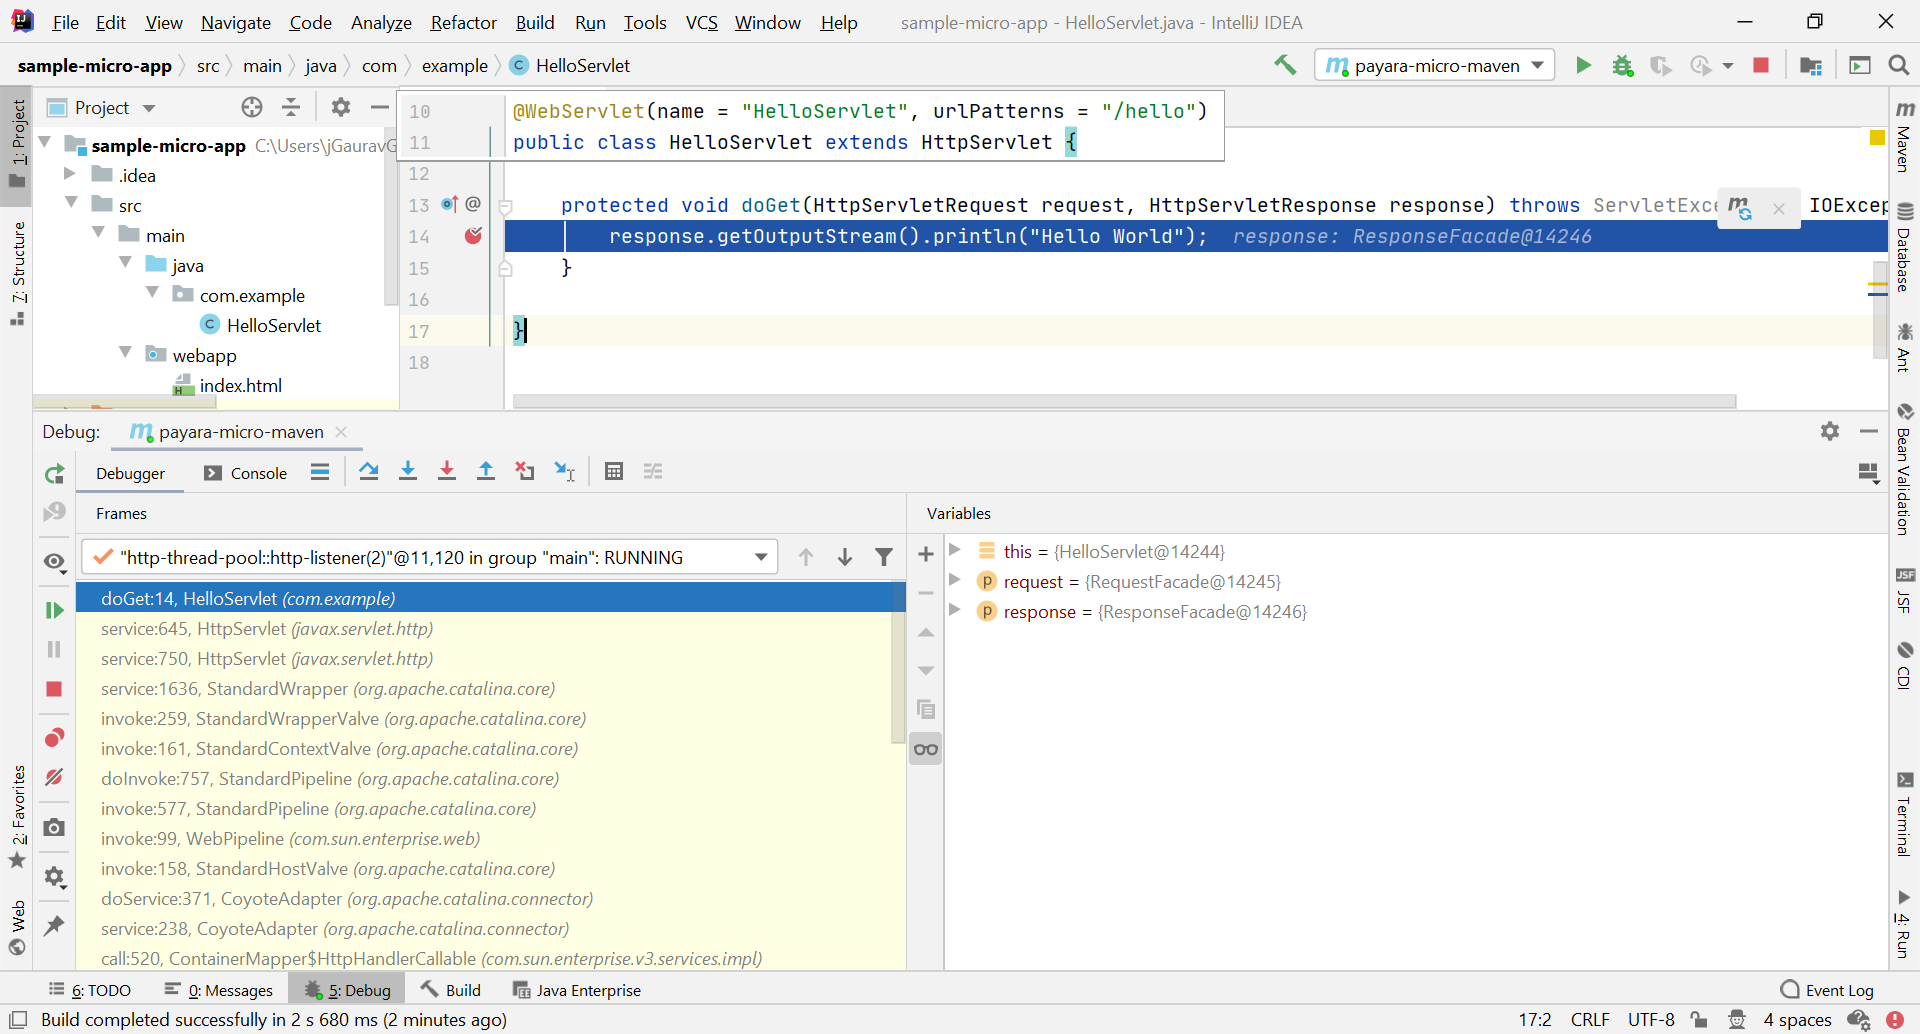
Debugging the Payara Micro Application
Instead of pressing the Run button, you can instead click Debug to automatically start the micro instance and attach the debugger to the application
After debugging the Payara Micro application, you can see the Payara Micro log in the Debug window then select your run configurations name.
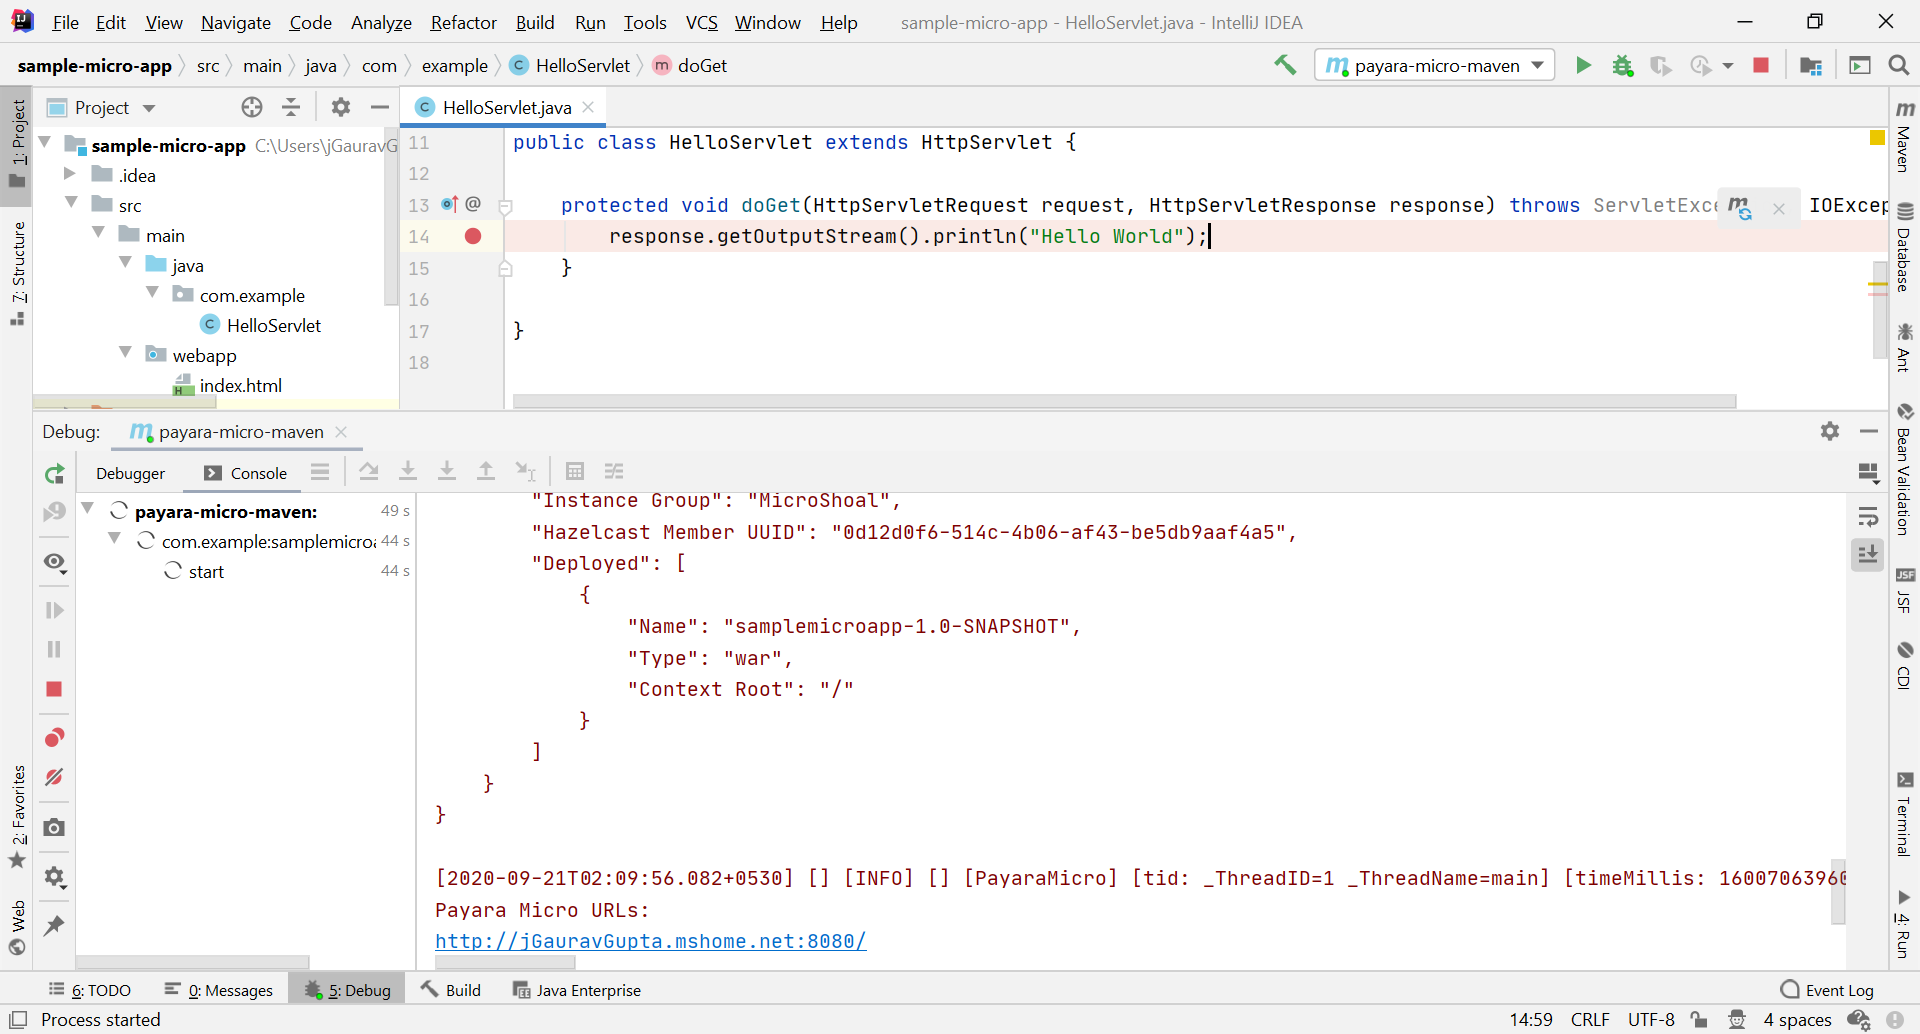
After the debugger session starts and the application hits the breakpoint, the code execution is paused at the line where the breakpoint was placed, showing a list of running threads and the stacktrace: