Using the Payara Tools Eclipse plugin, you can integrate Payara Server within the Eclipse IDE and perform the following tasks:
-
Run Payara Micro from within the IDE
-
Control Payara Micro properties from within the IDE
-
Deploy applications to Payara Micro within the IDE
-
Auto Publish & Hot Deploy your application
Creating A New Payara Micro Maven Application
-
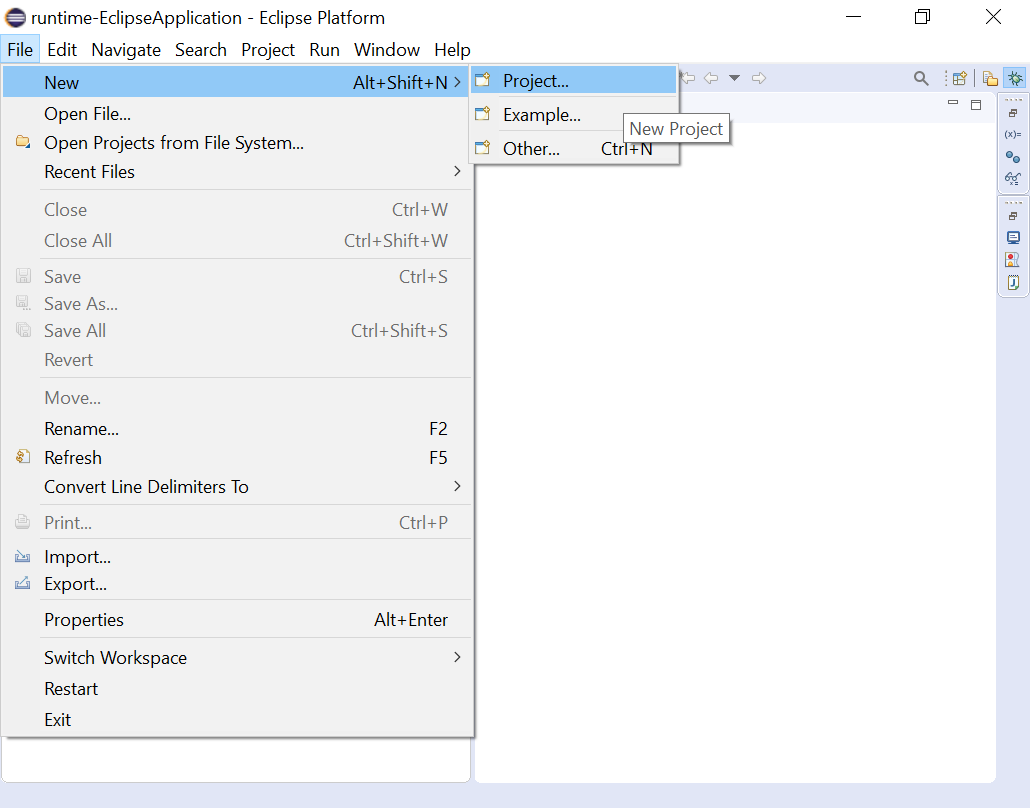
Simply start up Eclipse IDE and then Choose File > New > Project from the main menu or press Ctrl+N to get the list of available projects:
-
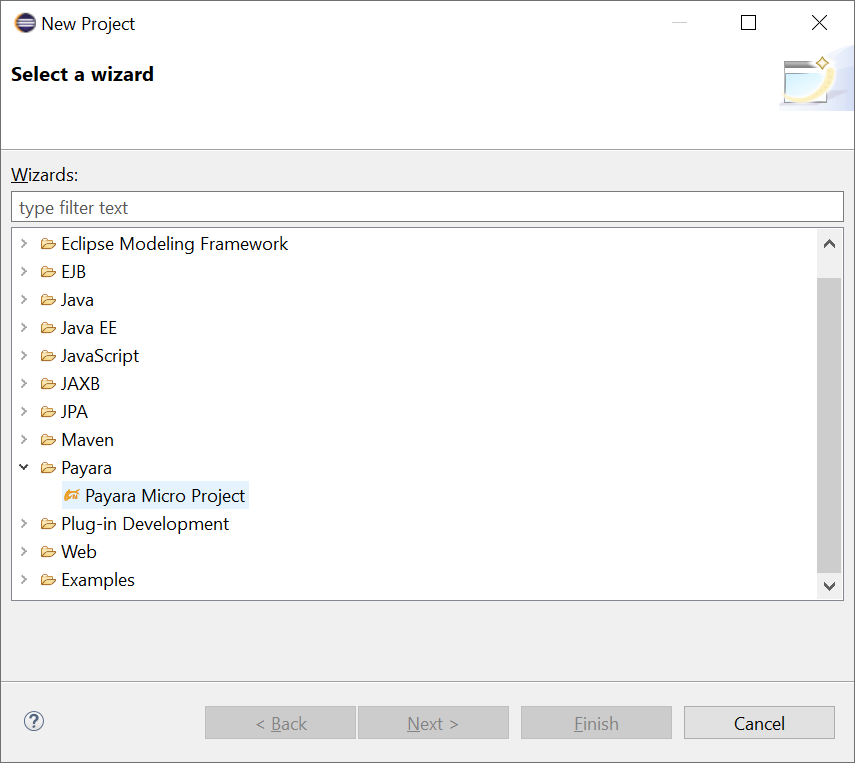
Now, select the Payara Micro Project type to create the application:
-
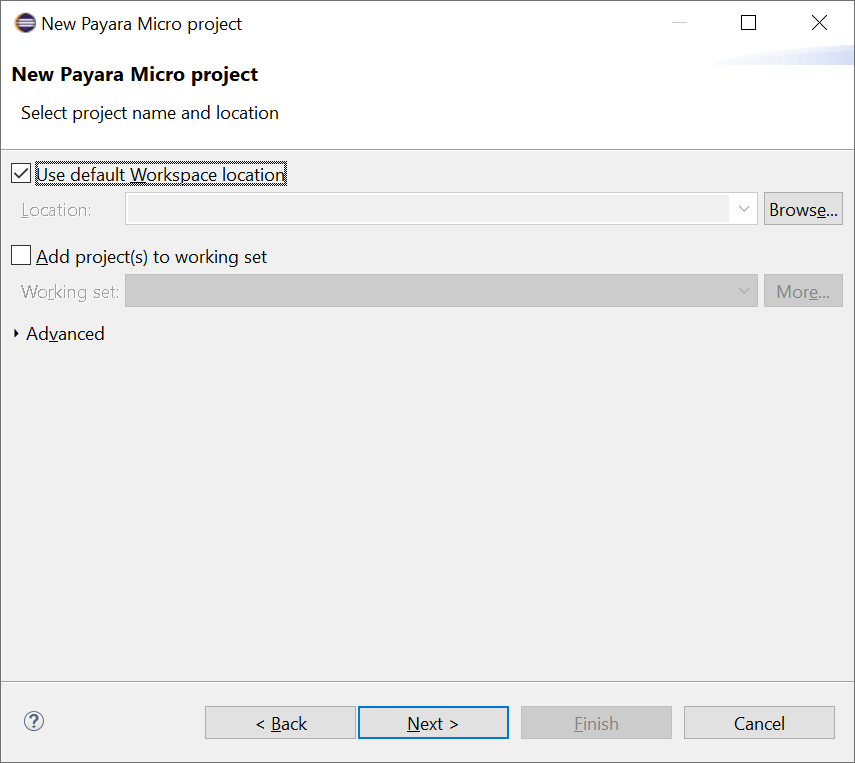
Select the destination folder, where the project will be generated. You may also use the default workspace location:
-
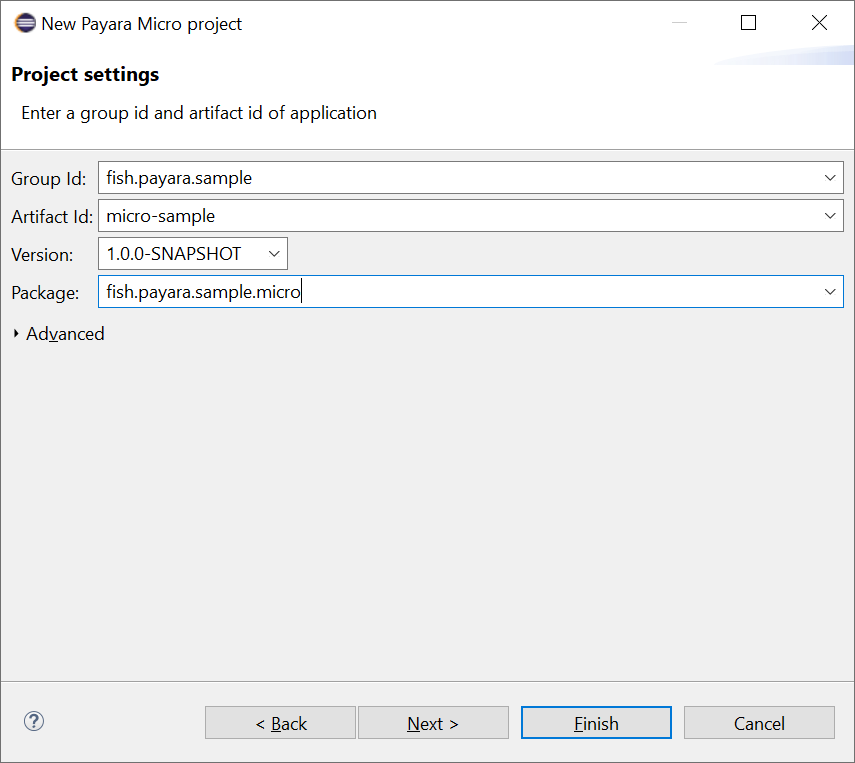
Enter the groupId, artifactId, etc to set up the project, and then click Next:
-
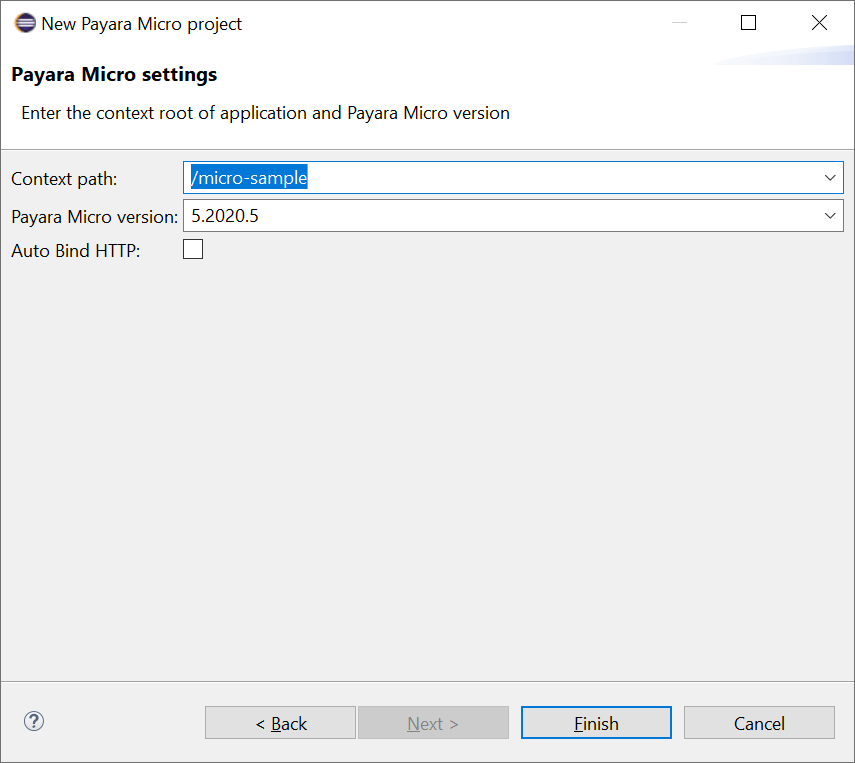
Enter the Payara Micro application settings e.g context path of the application and Payara Micro version and click the Finish button:
-
The IDE creates the Payara Micro application using the Payara Micro maven archetype. As you can see, the project has a basic structure with
src\main\javaandsrc\main\webappfolders: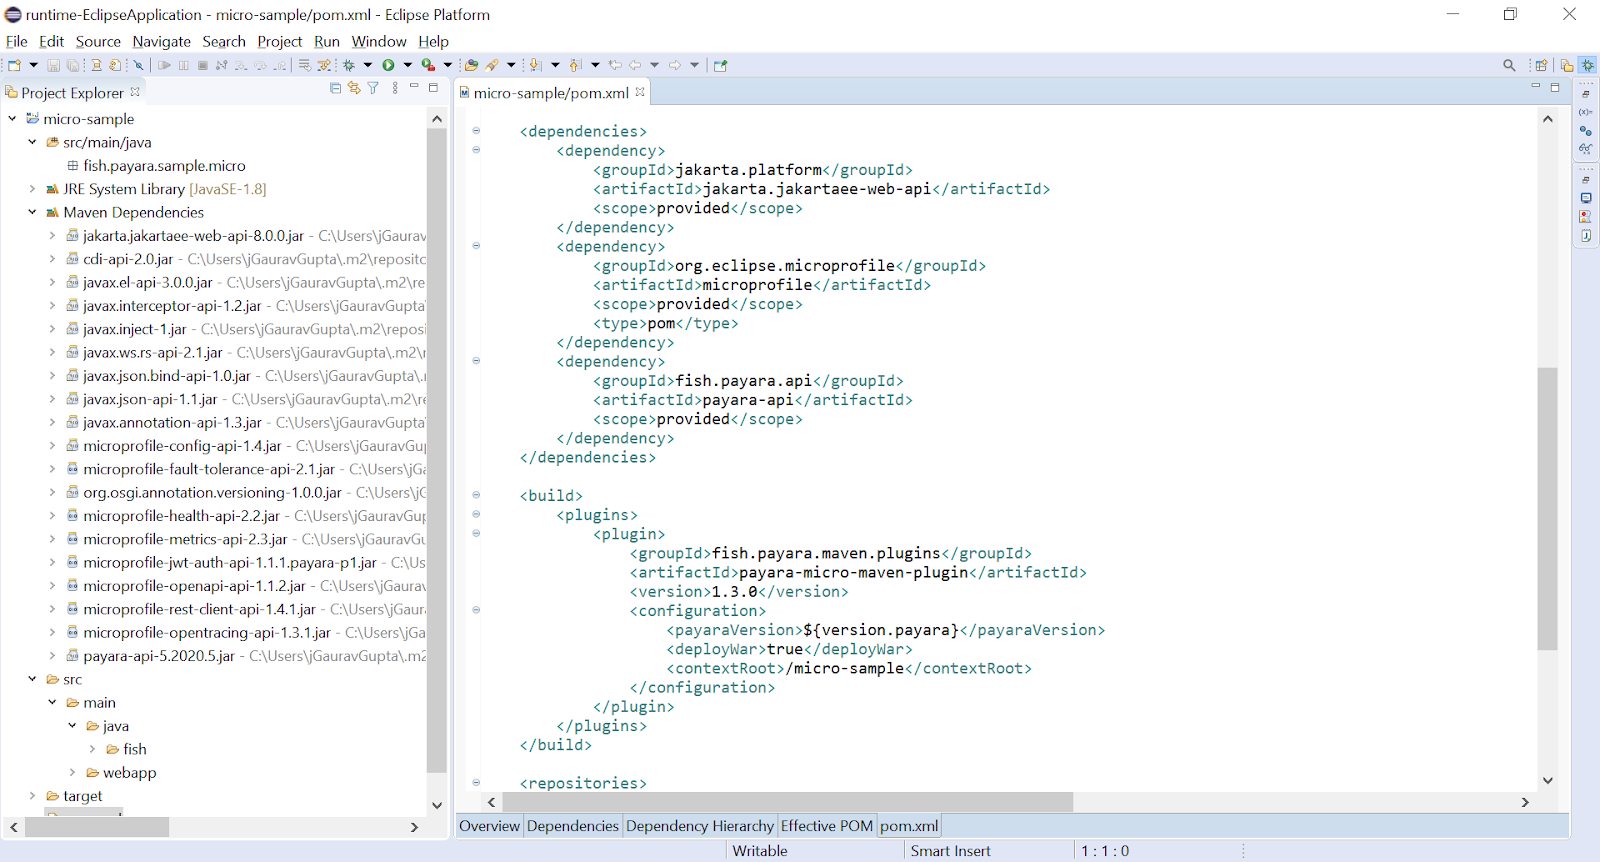
Running The Payara Micro Application
Eclipse IDE needs a run configuration to build the artifacts and run/debug the Payara Micro application.
-
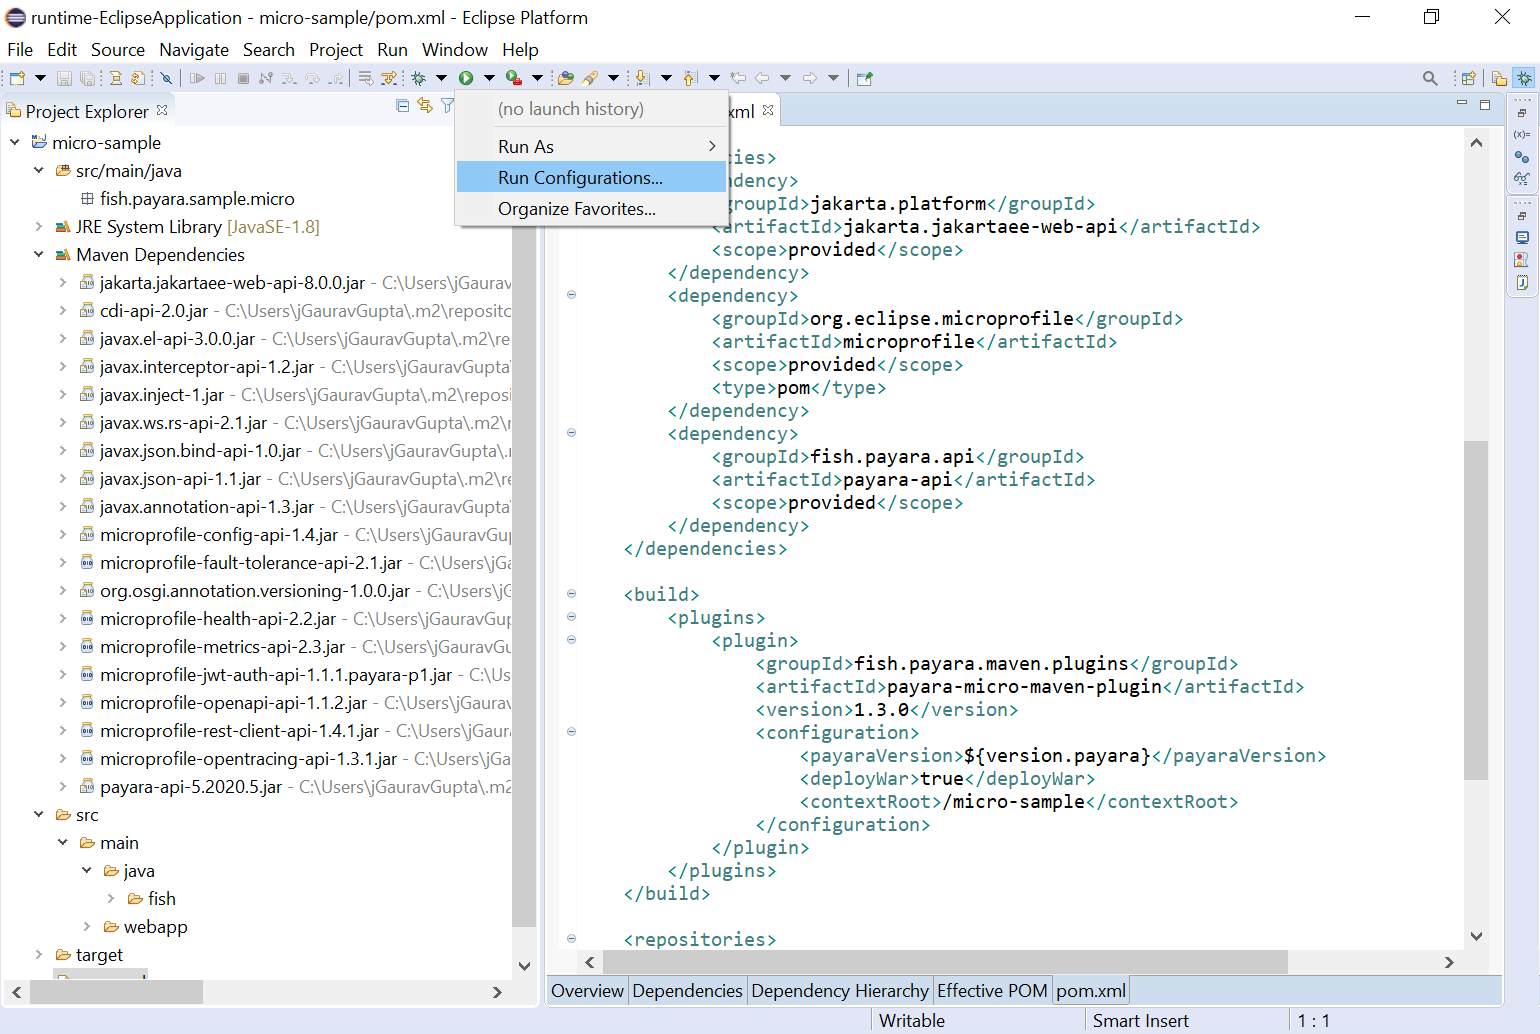
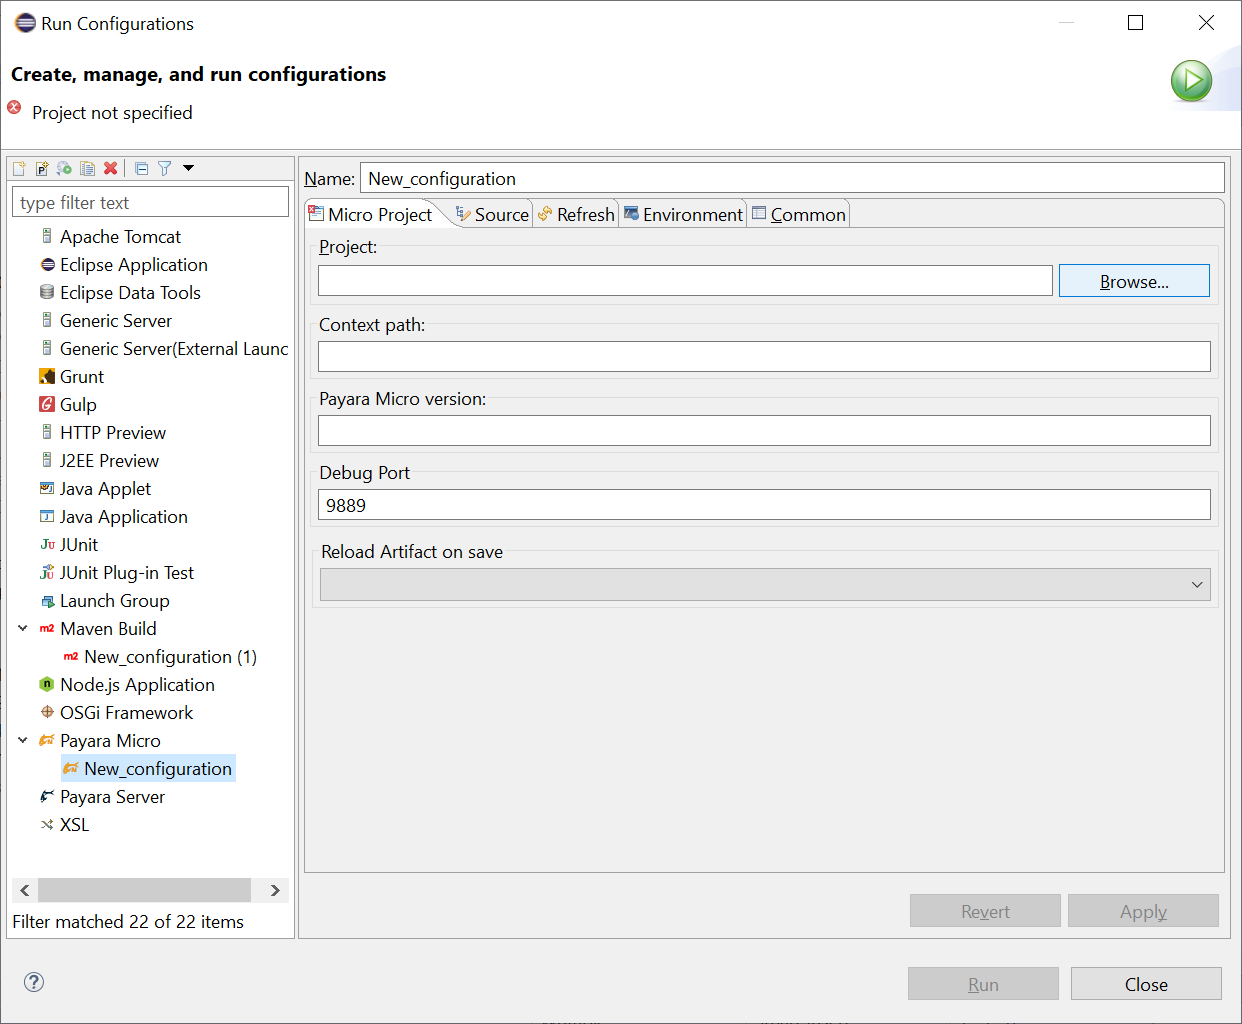
To create the Payara Micro Run configuration, select the Run > Run Configurations… from the main menu or toolbar:
-
The Payara Micro Run configuration dialog allows you to specify Payara Micro settings and environment variables.
Payara Micro setting specified by payara-micro-maven-plugin in the pom.xml takes precedence over the Run Configuration. -
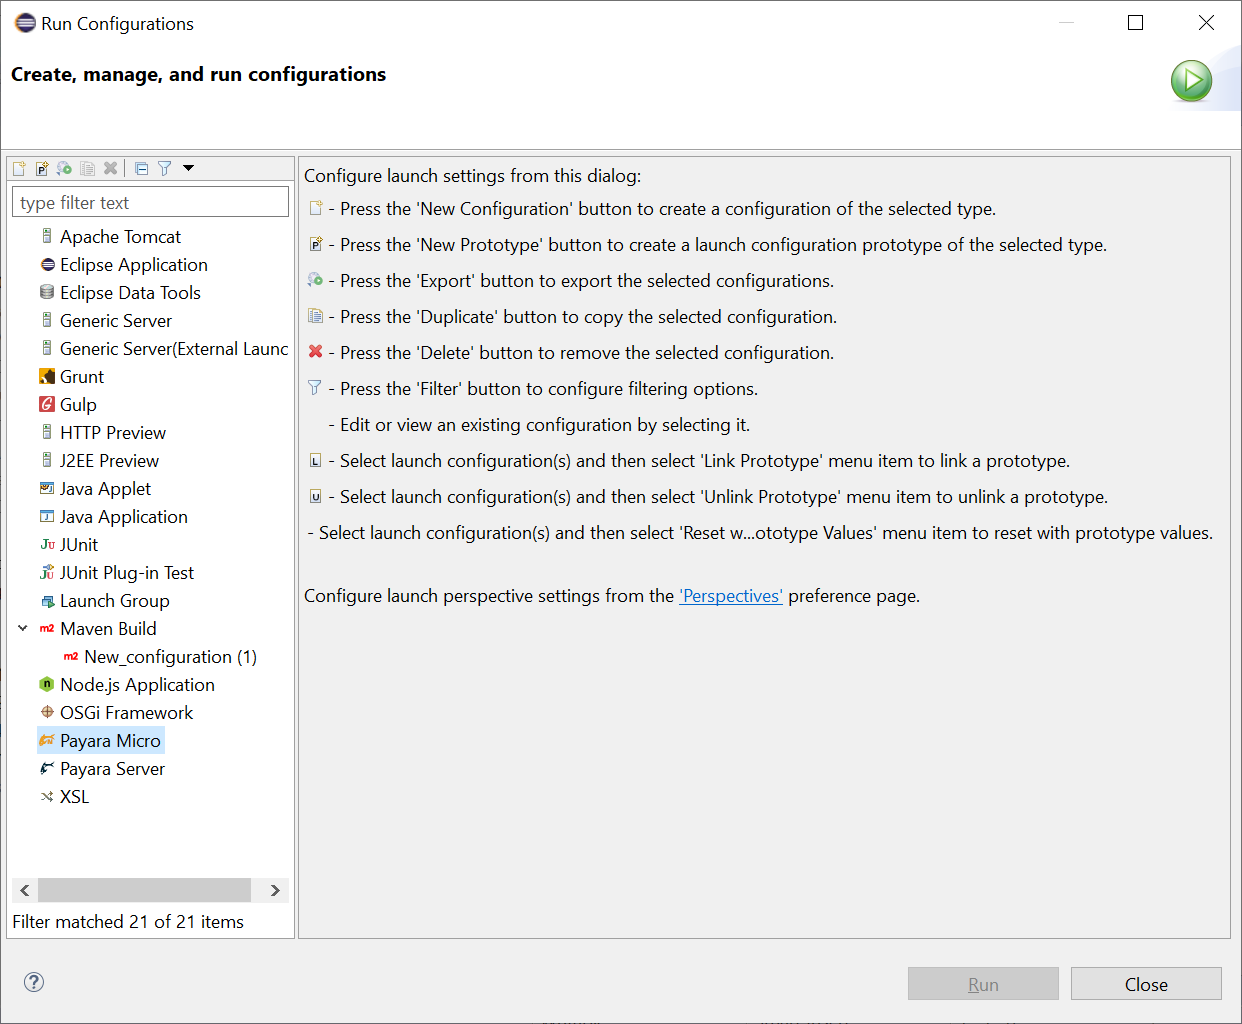
Select Payara Micro and double click it or click on the New configuration button to create a new configuration :
-
Associate the workspace project with the run configuration:
-
Click the browse button and select the project from the Project Selection dialog:
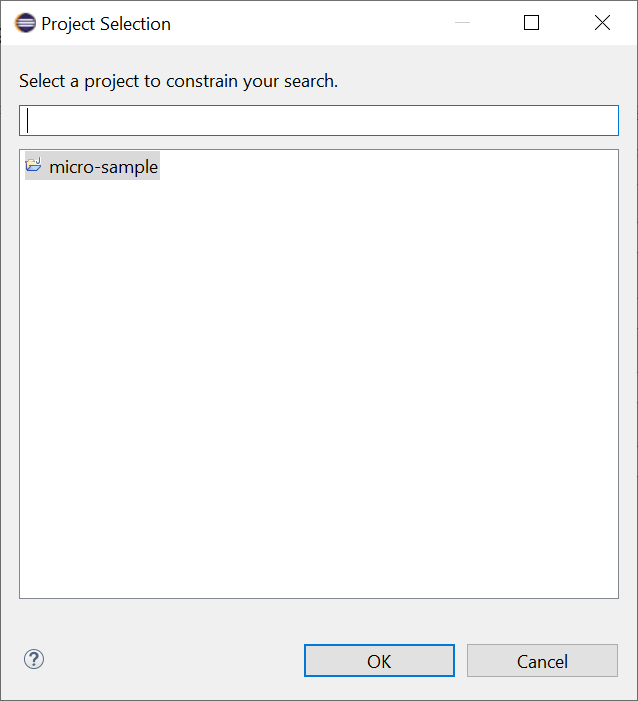
-
Enter the configuration name and choose the Build Artifact type
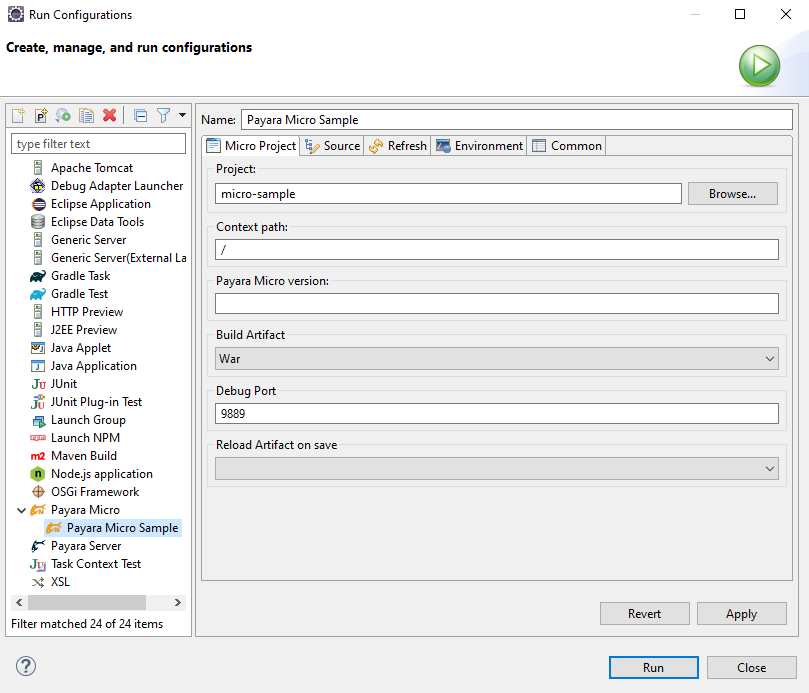
-
Add the configuration to Run and Debug menu and press the Apply button to save the configuration:
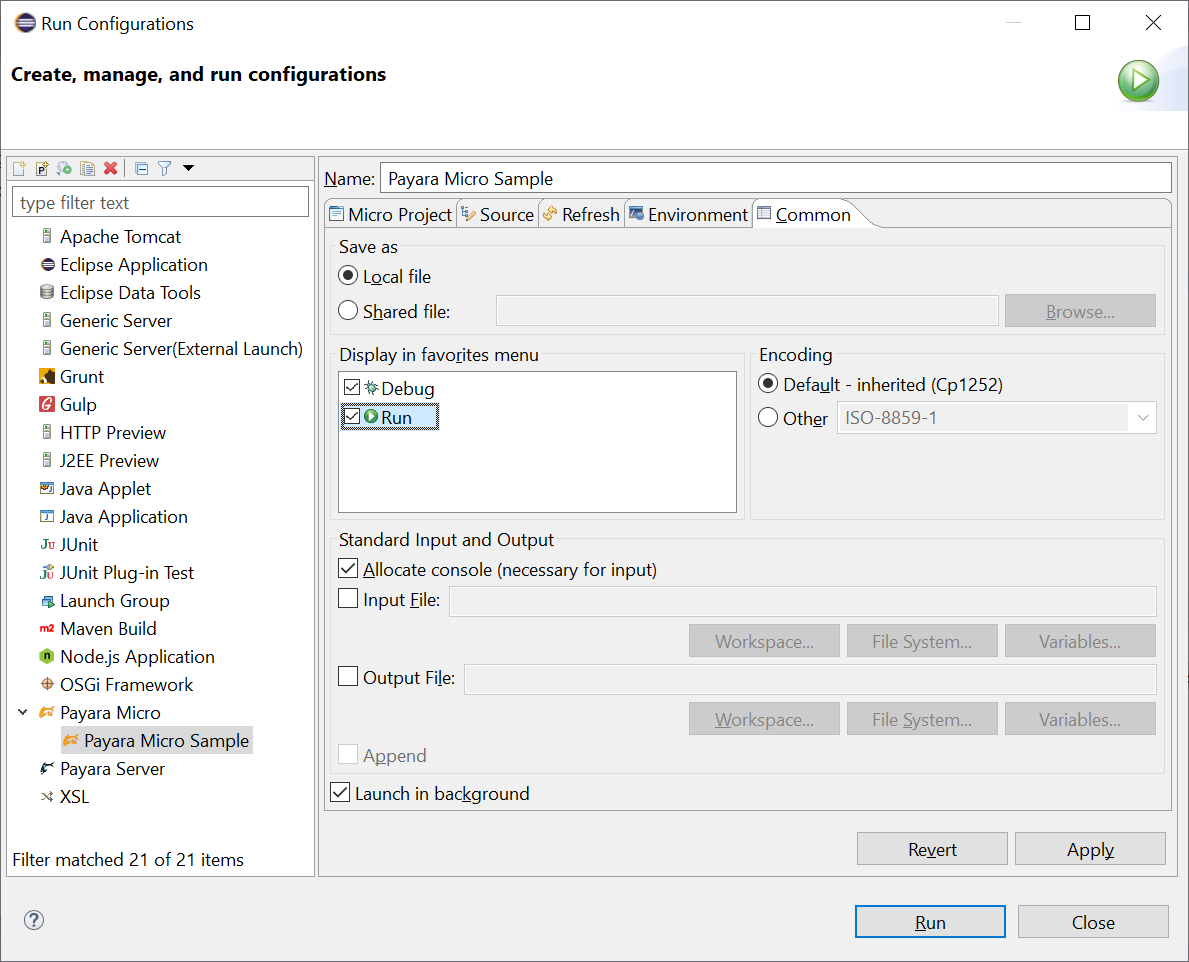
-
To start the Payara Micro instance, run the Payara Micro Sample configuration from the toolbar or main menu:
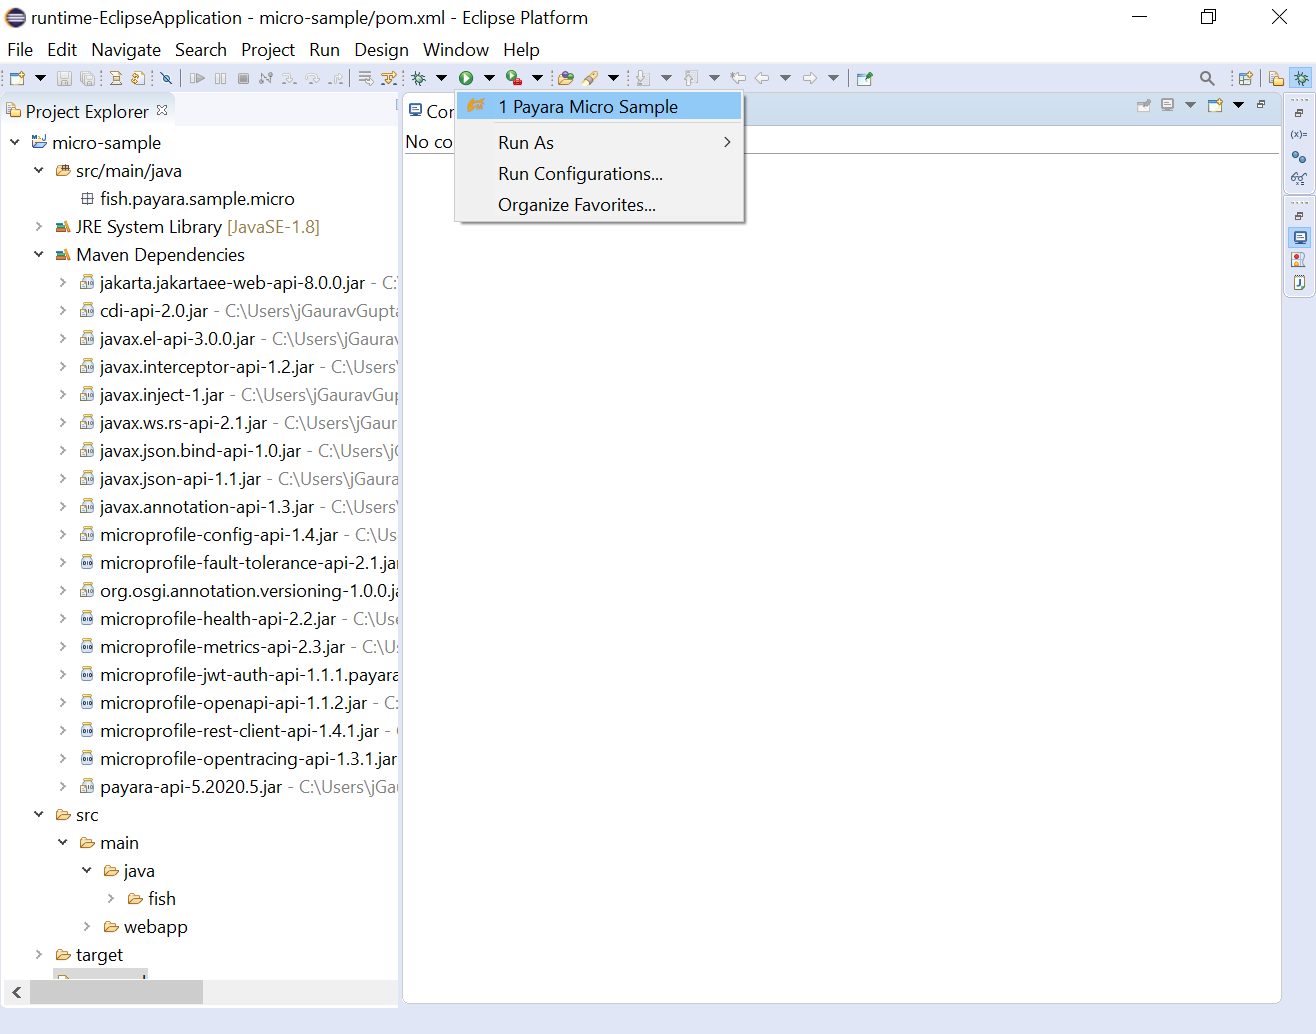
-
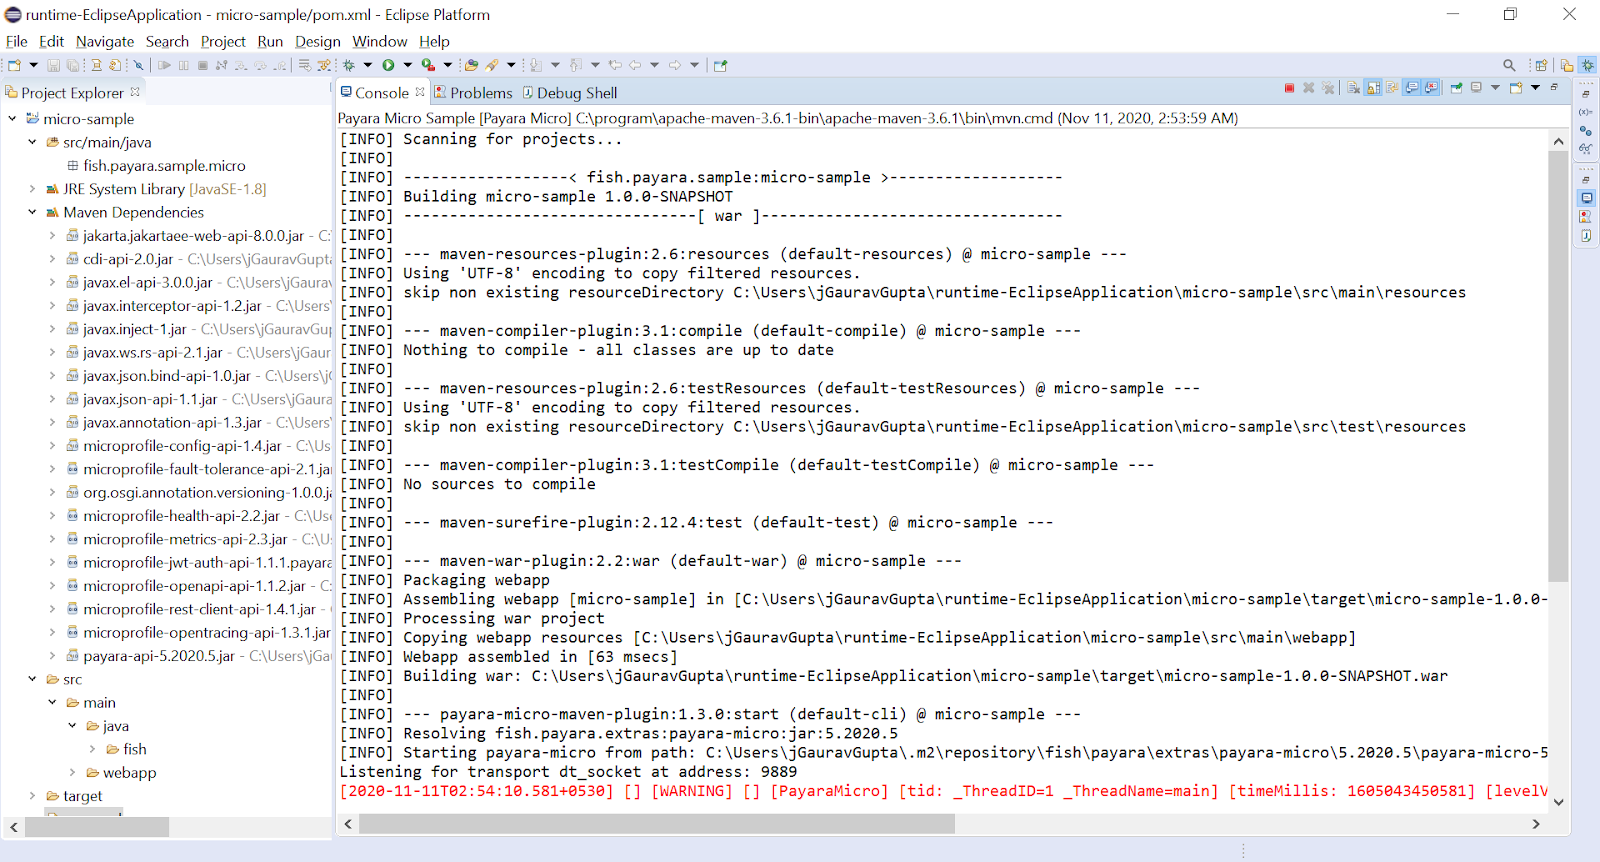
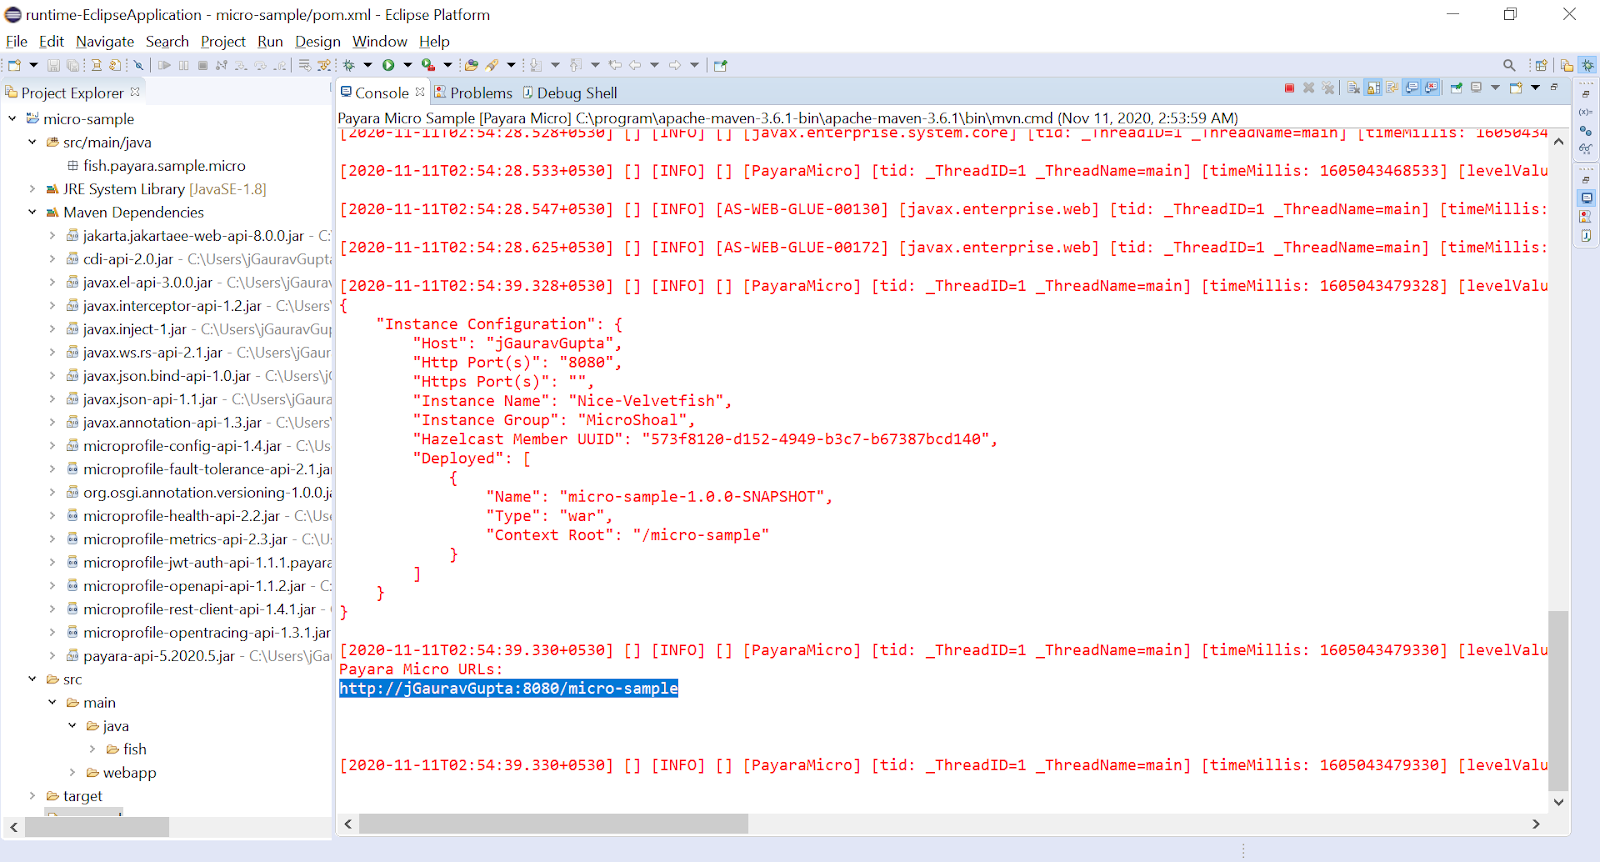
After running the Micro application, you may see the log in the OUTPUT window:
Similarly, to debug the Payara Micro application and attach the debugger to the application, instead of pressing the Run button, you can instead click Debug from similar locations and select the Payara Micro Sample configuration.