Introduction
The Payara IntelliJ Ultimate Tools plugin enables integration of Payara Qube (Managed) and Payara Platform with IntelliJ IDEA Ultimate Edition. The Payara IntelliJ Ultimate Tools plugin is available in the JetBrains Plugins Marketplace.
If you are developing an application on IntelliJ IDEA Community Edition, you should install the Payara IntelliJ Community Tools plugin, which enables integration of Payara Qube (Managed) and Payara Micro with IntelliJ IDEA Community Edition. The Payara IntelliJ Community Tools Plugin is also available in the JetBrains Plugins Marketplace.
If you are using IntelliJ IDEA Ultimate, you should only install the Payara IntelliJ Ultimate Tools plugin. This plugin supports both Payara Server and Payara Micro.
|
Installing the Payara IntelliJ Plugin
-
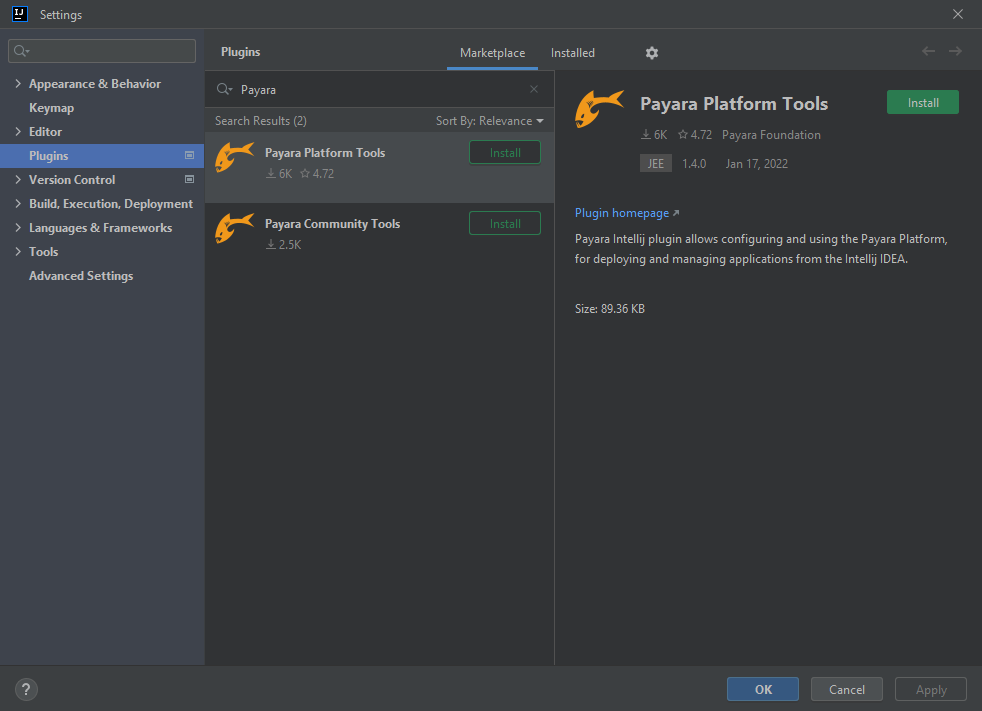
From the main menu, select File > Settings > Plugins.
-
In the Plugins dialog, switch to the Marketplace tab.
-
In the dialog that opens, search for Payara.
-
Click the Install button.
-
Click OK to apply the changes, and restart IntelliJ IDEA if prompted.
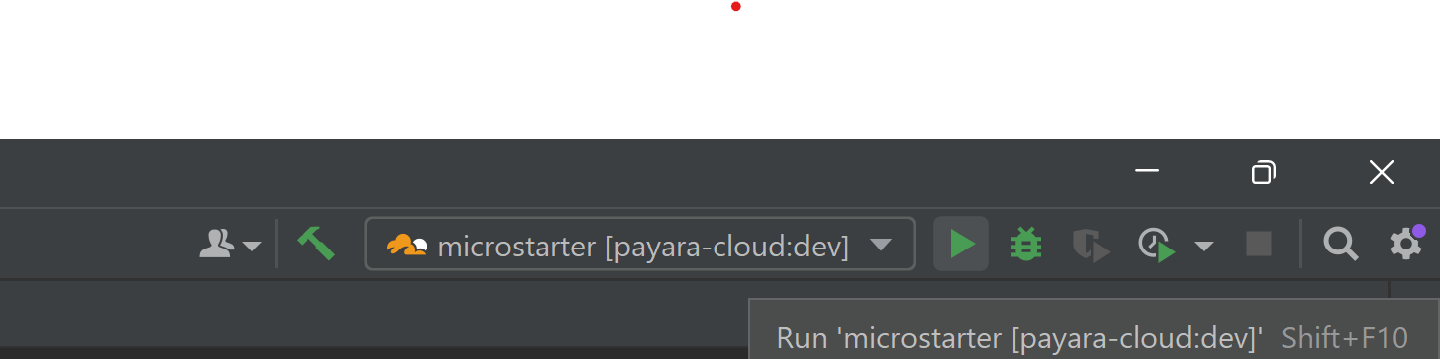
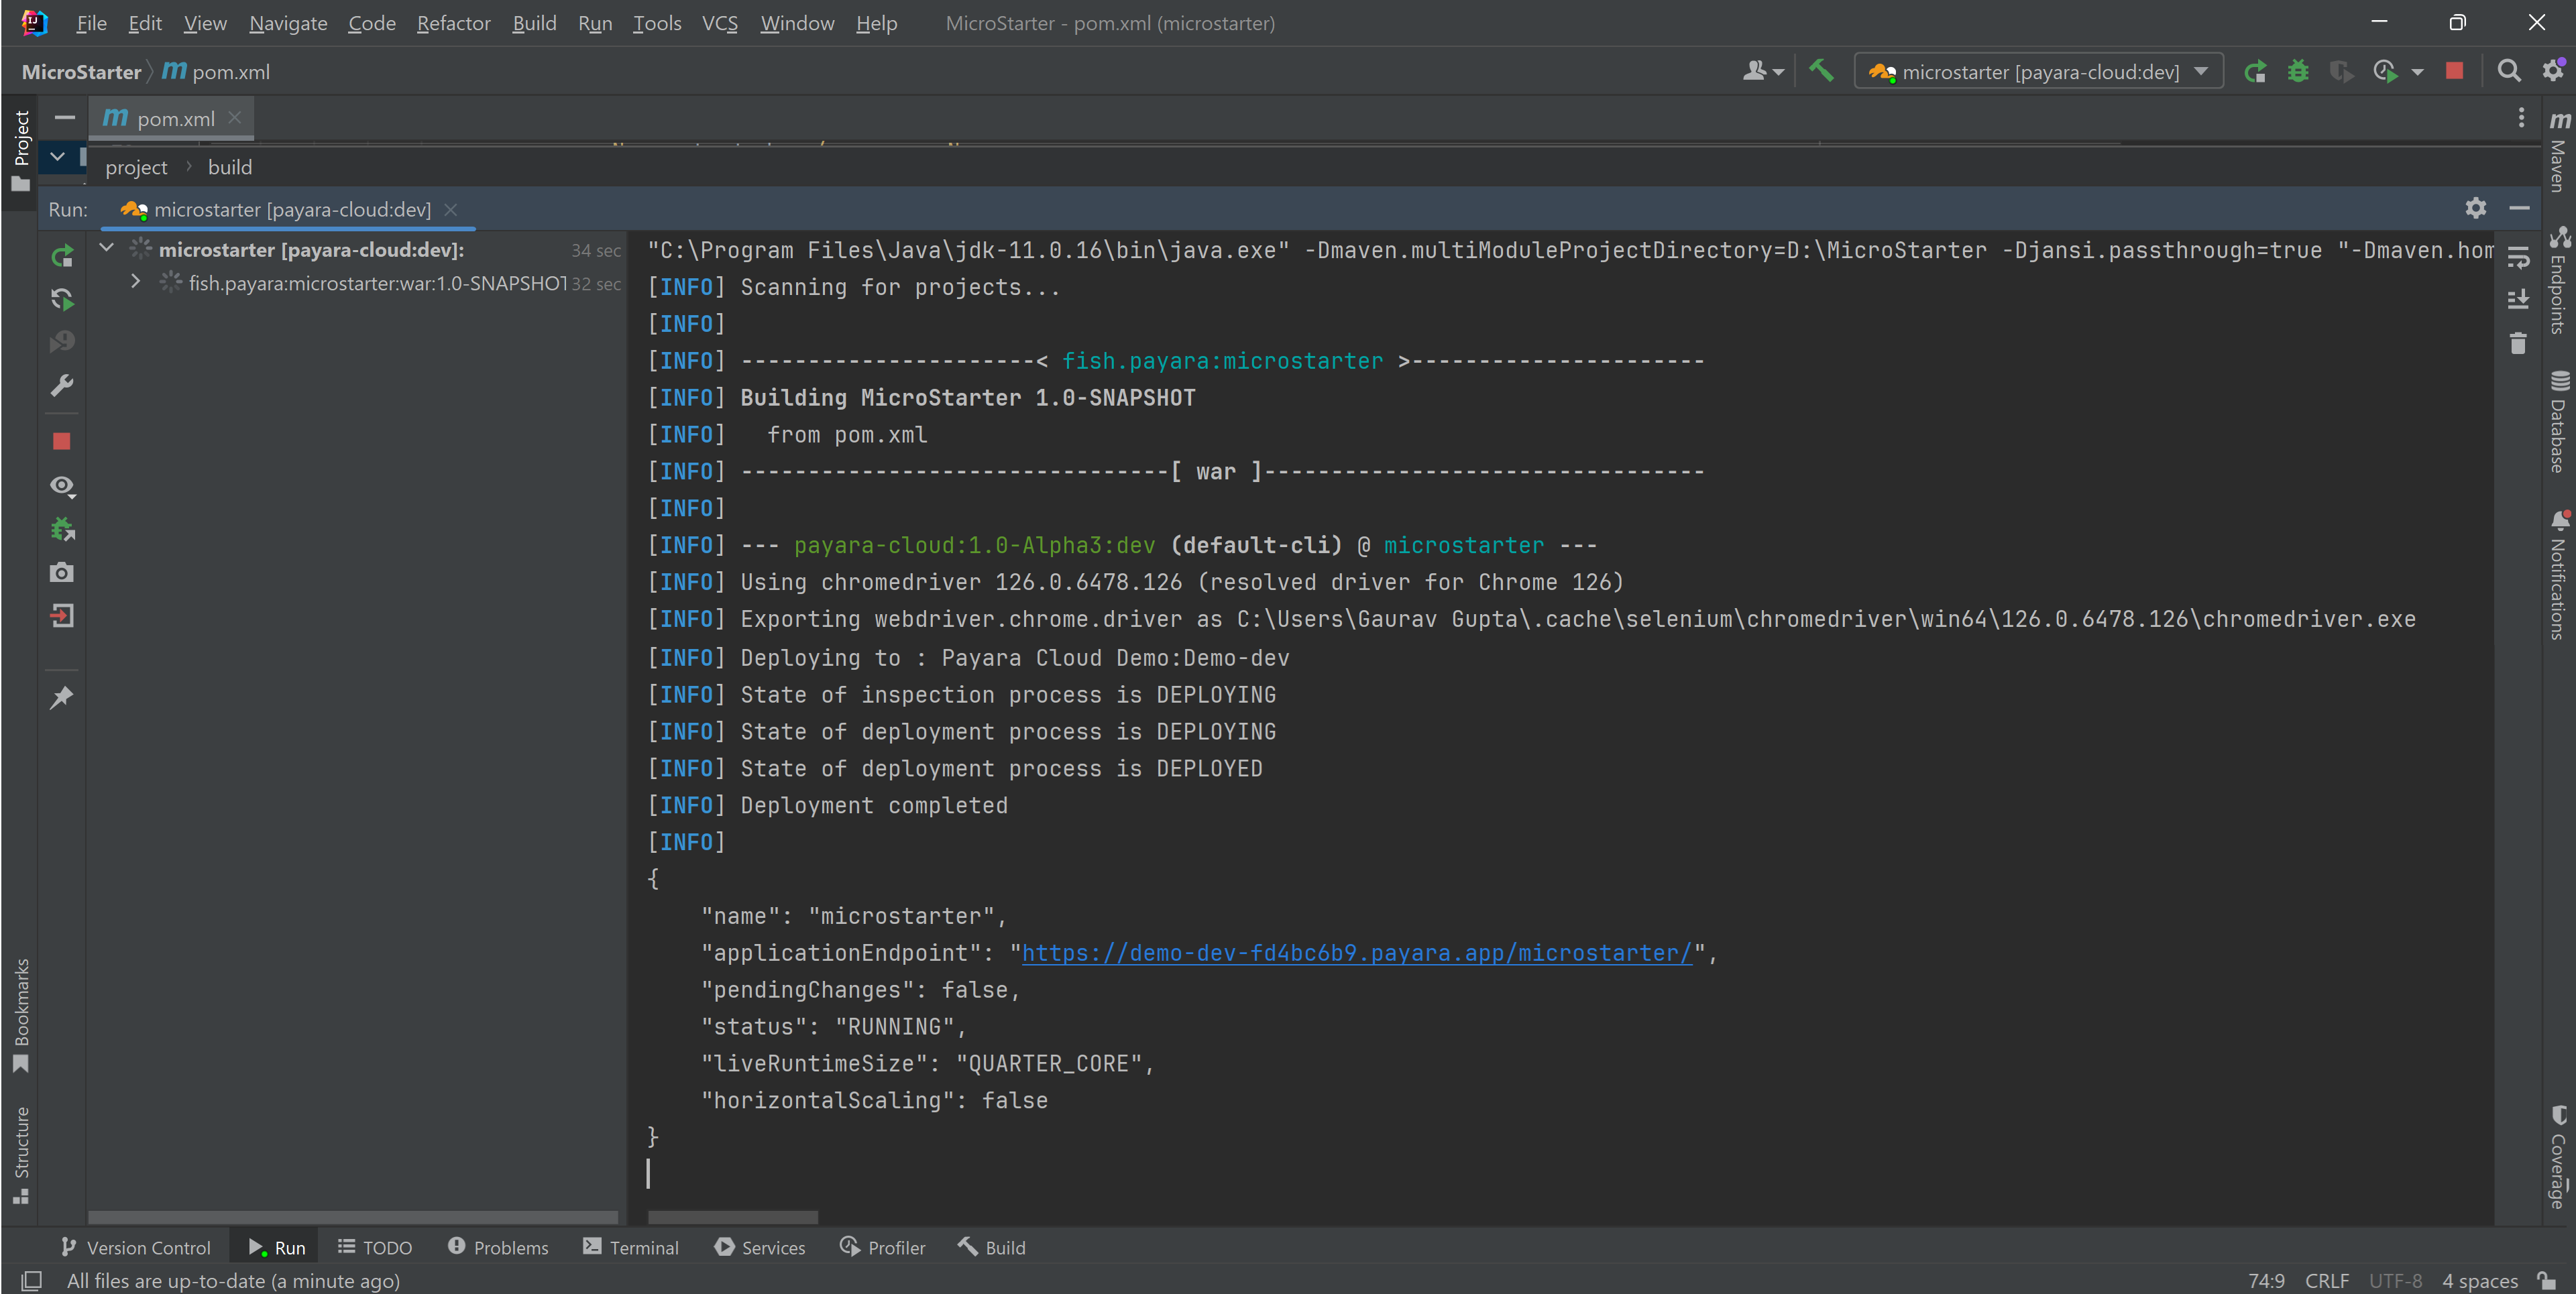
Deploying an Application to Payara Qube (Managed) from IntelliJ
Create configuration
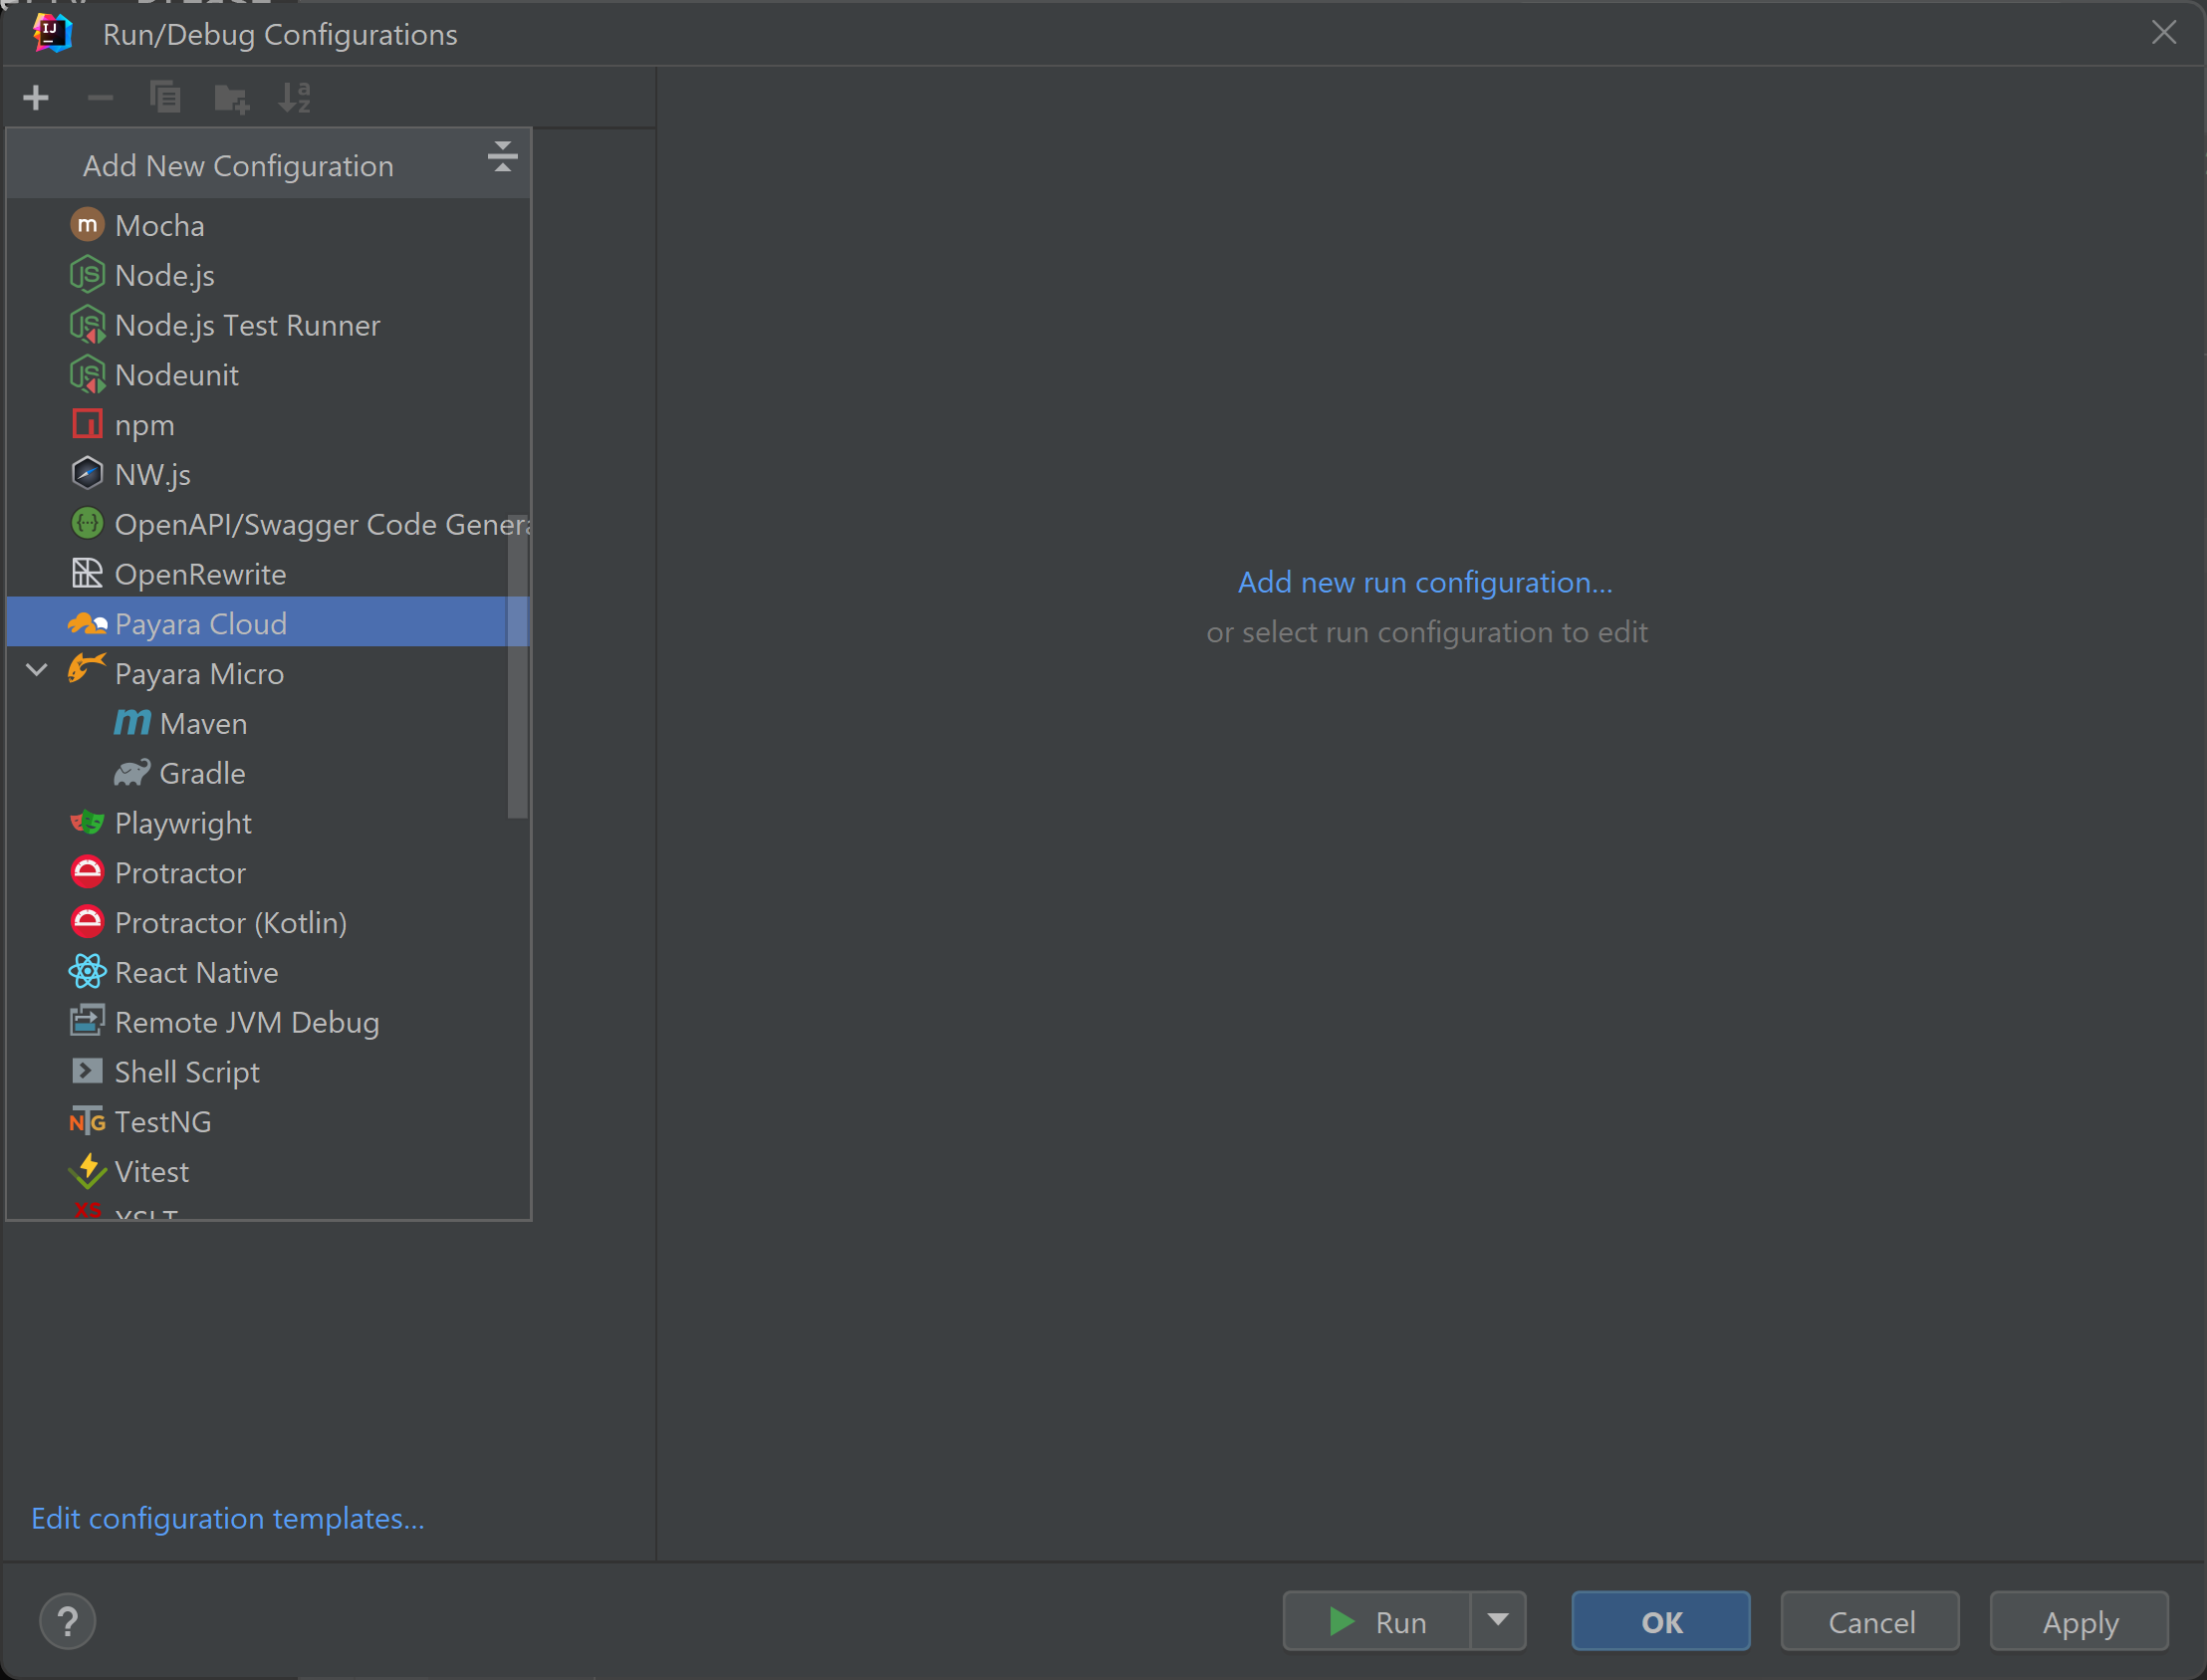
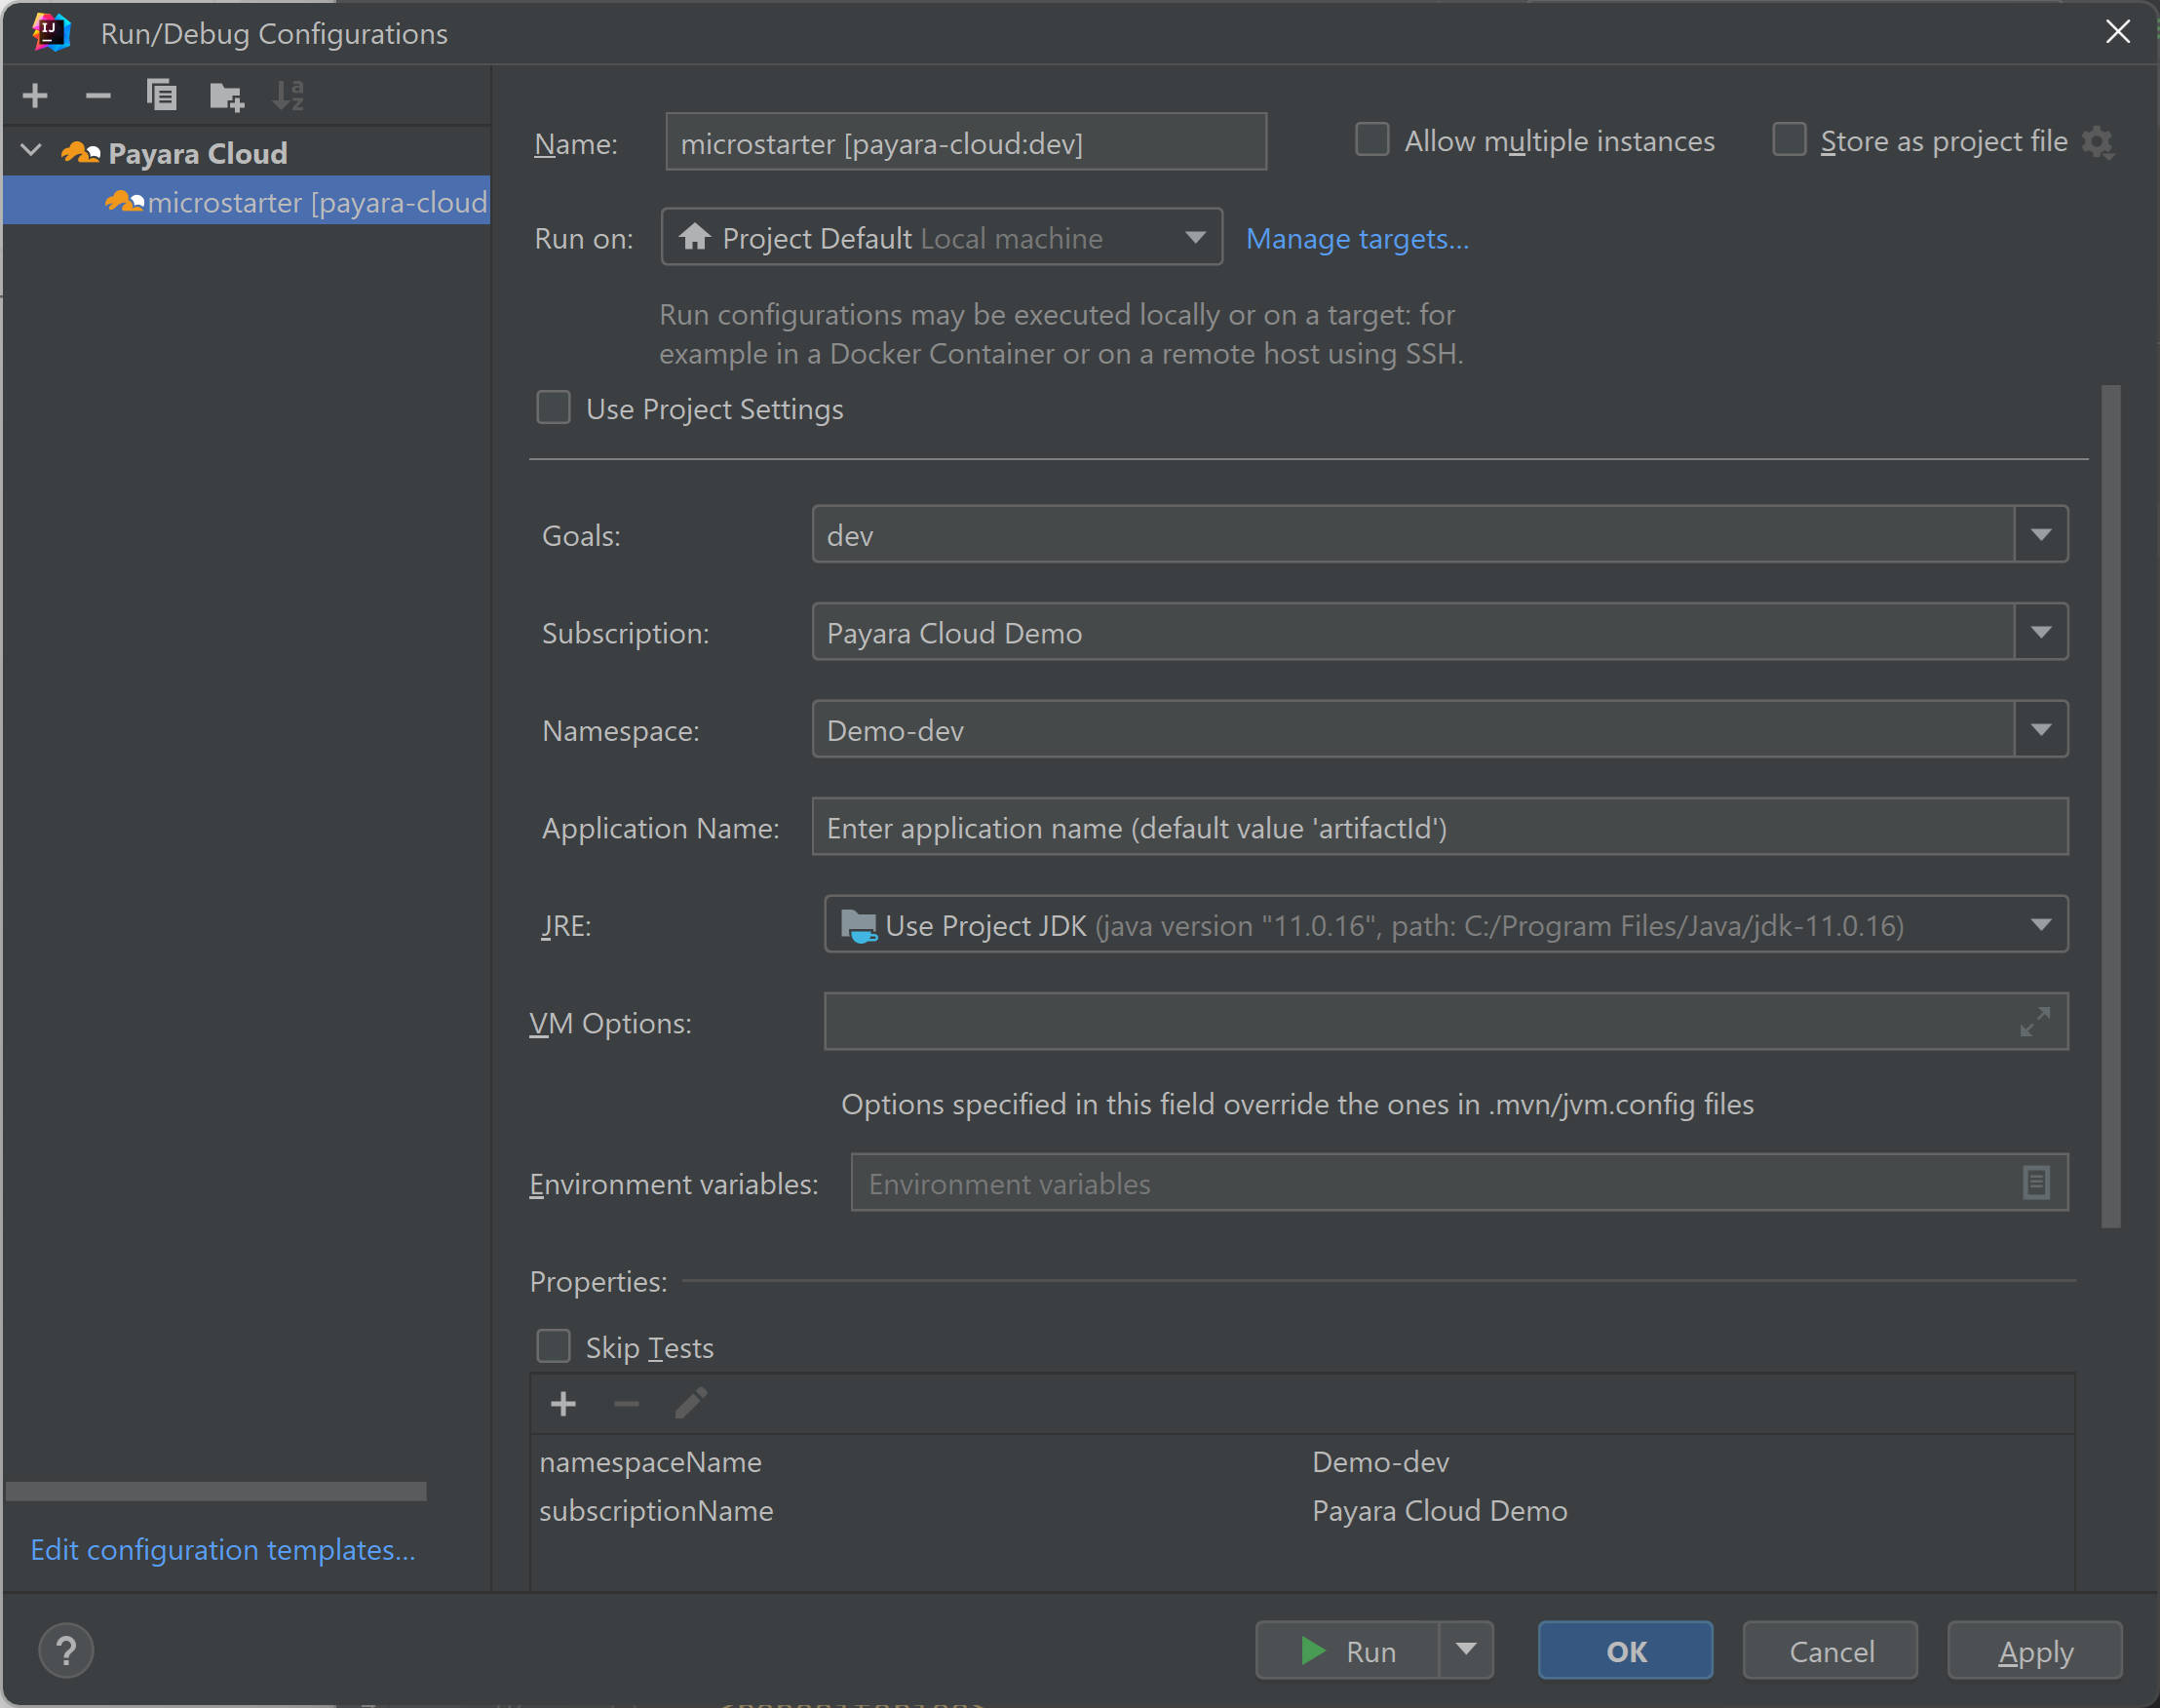
To deploy a Jakarta EE application to Payara Qube (Managed) from IntelliJ, you need to first configure Payara Qube (Managed) as a run configuration.
In the Run/Debug Configurations dialog, select the Payara Qube (Managed) node:
Select the Maven goal dev or deploy, then choose the Payara Qube (Managed) subscription name and namespace name in the configuration.
Authorize the Payara Tools
If authentication is not yet done, it will redirect you to the login page for authentication.
The plugin will also open the browser for you if your environment permits it.
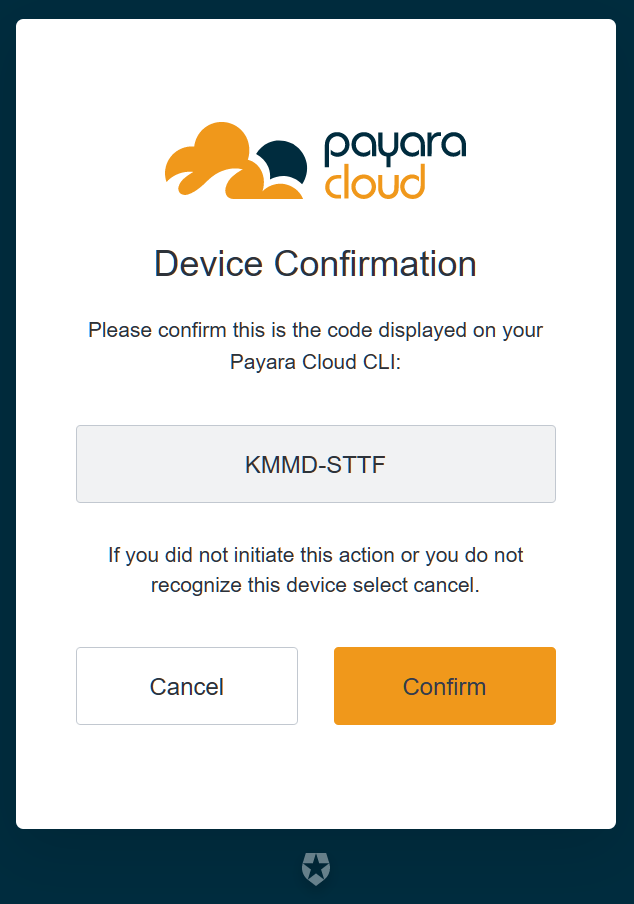
Only confirm this page if you knowingly initiated login flow via pcl login, payara-cloud-maven-plugin or Payara IDE plugins.
Payara Qube (Managed) will never ask you to authenticate via this flow via any other channel or under any other circumstance, such as solving a support issue.
|
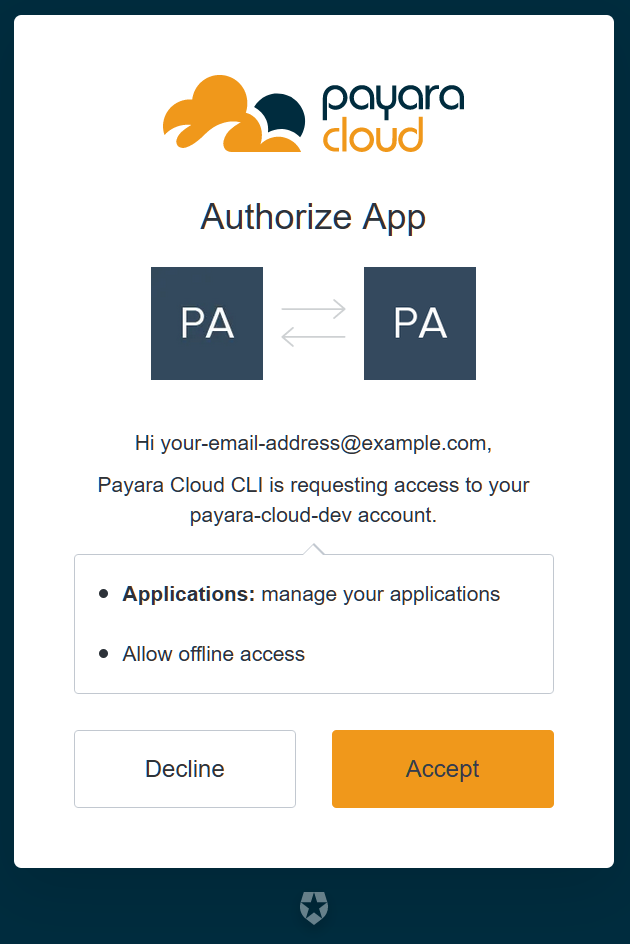
If you are logging in for the first time the authentication service will ask you to authorize Payara Qube (Managed) CLI to perform application management tasks with your identity:
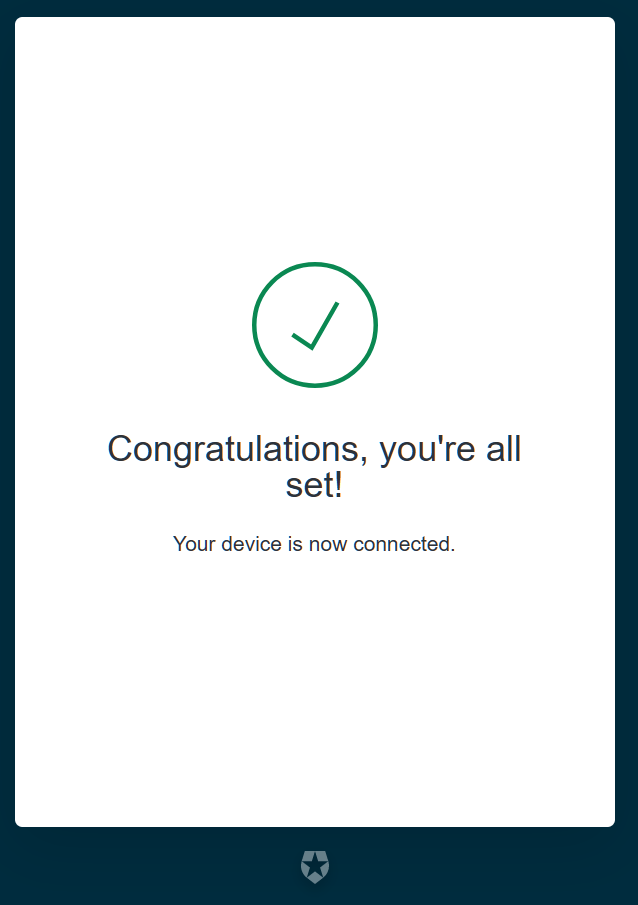
After confirming this, the authentication process is completed and you may close the browser window:
Managing tokens
After login is complete the relevant token is stored in $HOME/.payara/manage.payara.cloud.
The token does not have any expiration time, so you will not need to log in again for when using the Payara Qube (Managed) Tools.
Tokens can be invalidated remotely via User Preferences screen in Payara Qube (Managed) Web UI.