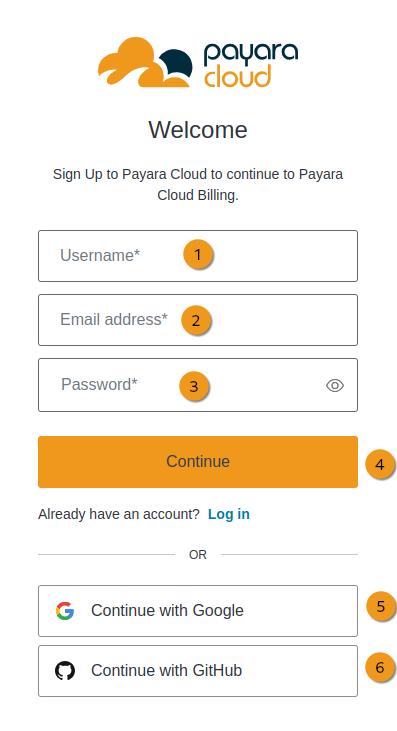
Payara Cloud offers a 15-day free trial to explore the service without commitment. To get started, head over to the signup page and fill in the signup form.
-
❶ Enter a username.
-
❷ Enter your email.
-
❸ Enter a strong password that is at least 8 characters long, has a number, uppercase, lowercase and/or special character
-
❹ Click to continue
-
❺ Alternatively you can sign up with your Google account
-
❻ Or your GitHub Account
| Ensure you use a valid email address for important account notifications. |
After clicking Continue, an account confirmation email will be sent to the email address you entered in the signup form.
Click the Verify Your Account button in the email to successfully verify your email. You can now proceed to log into your new Payara Cloud account.
Create A Subscription
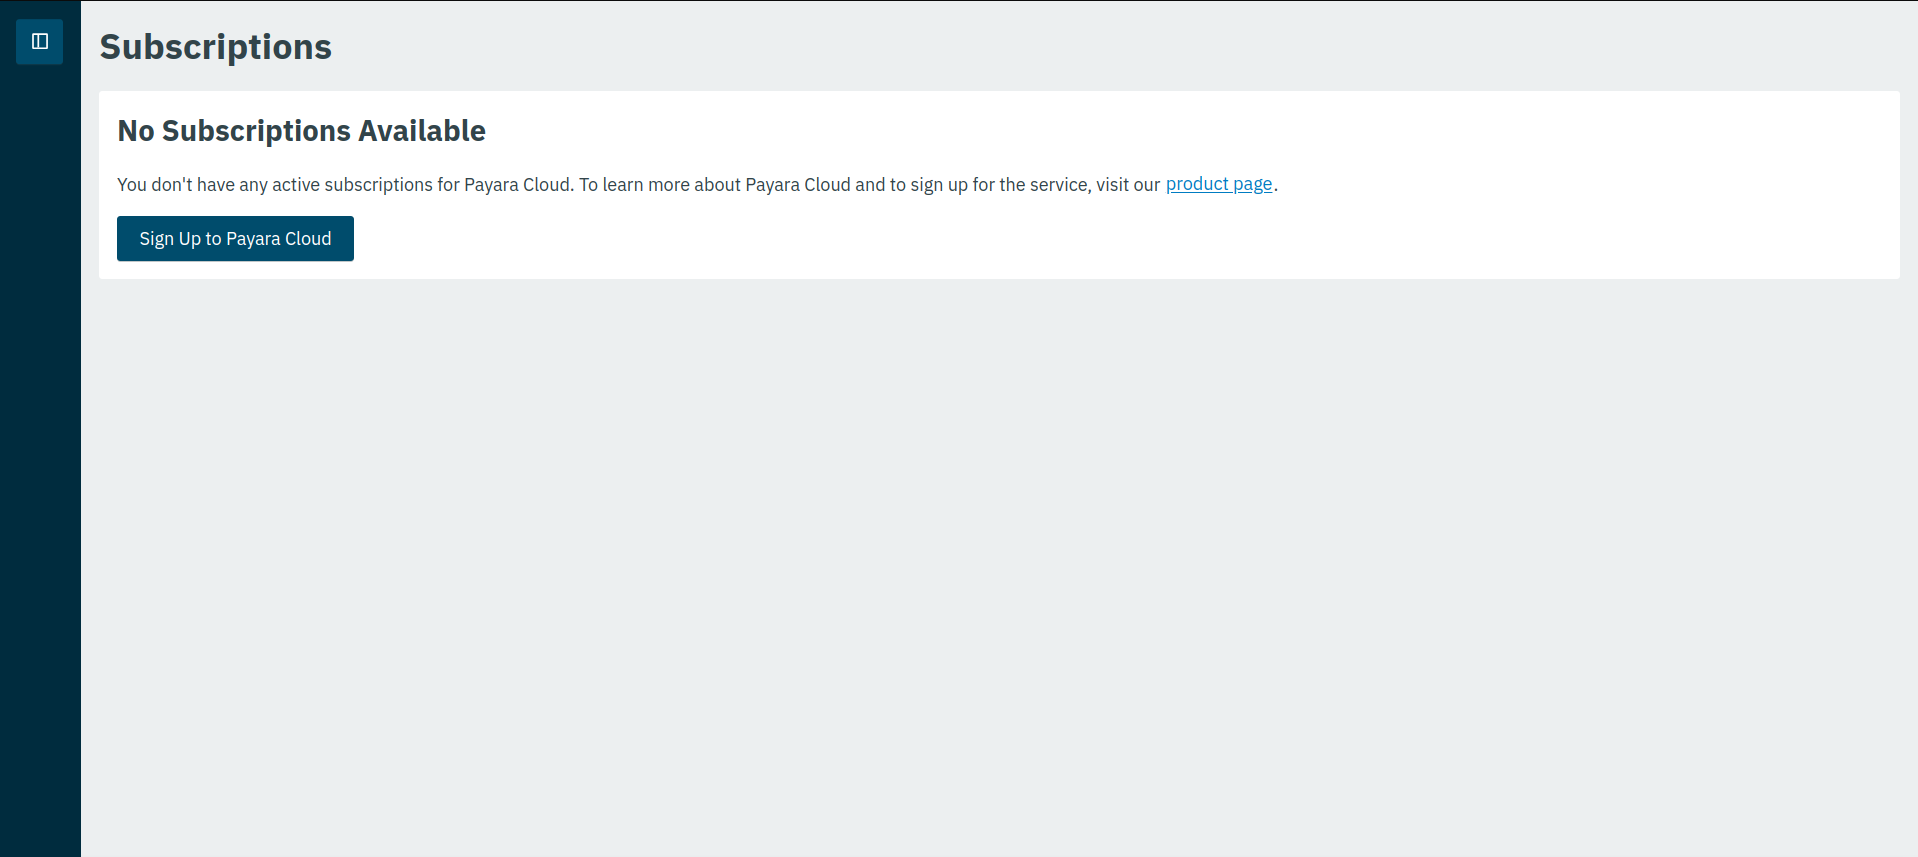
To use Payara Cloud for the first time after logging into your account, you must create a subscription. A Payara Cloud subscription plan represents the billable unit for your usage of the Payara Cloud service.
Click on the Sign-Up To Payara Cloud button to navigate to the subscription creation page.
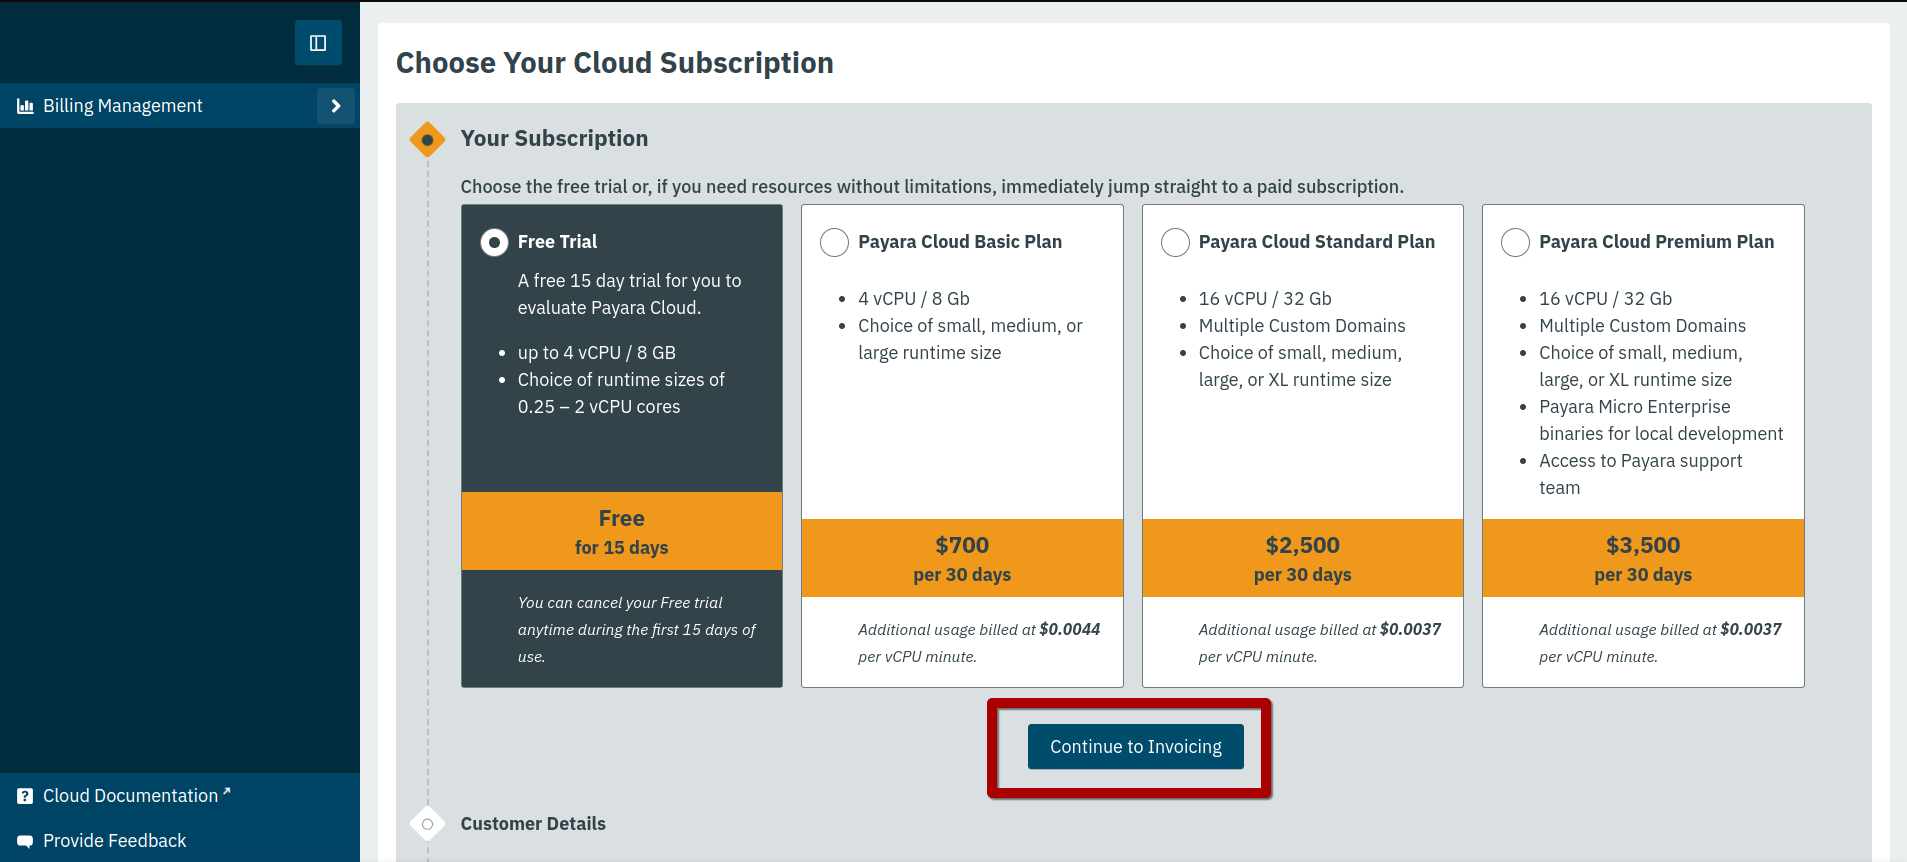
On the subscription creation page, leave the default selection on the free trial and click on the Continue To Invoicing button.
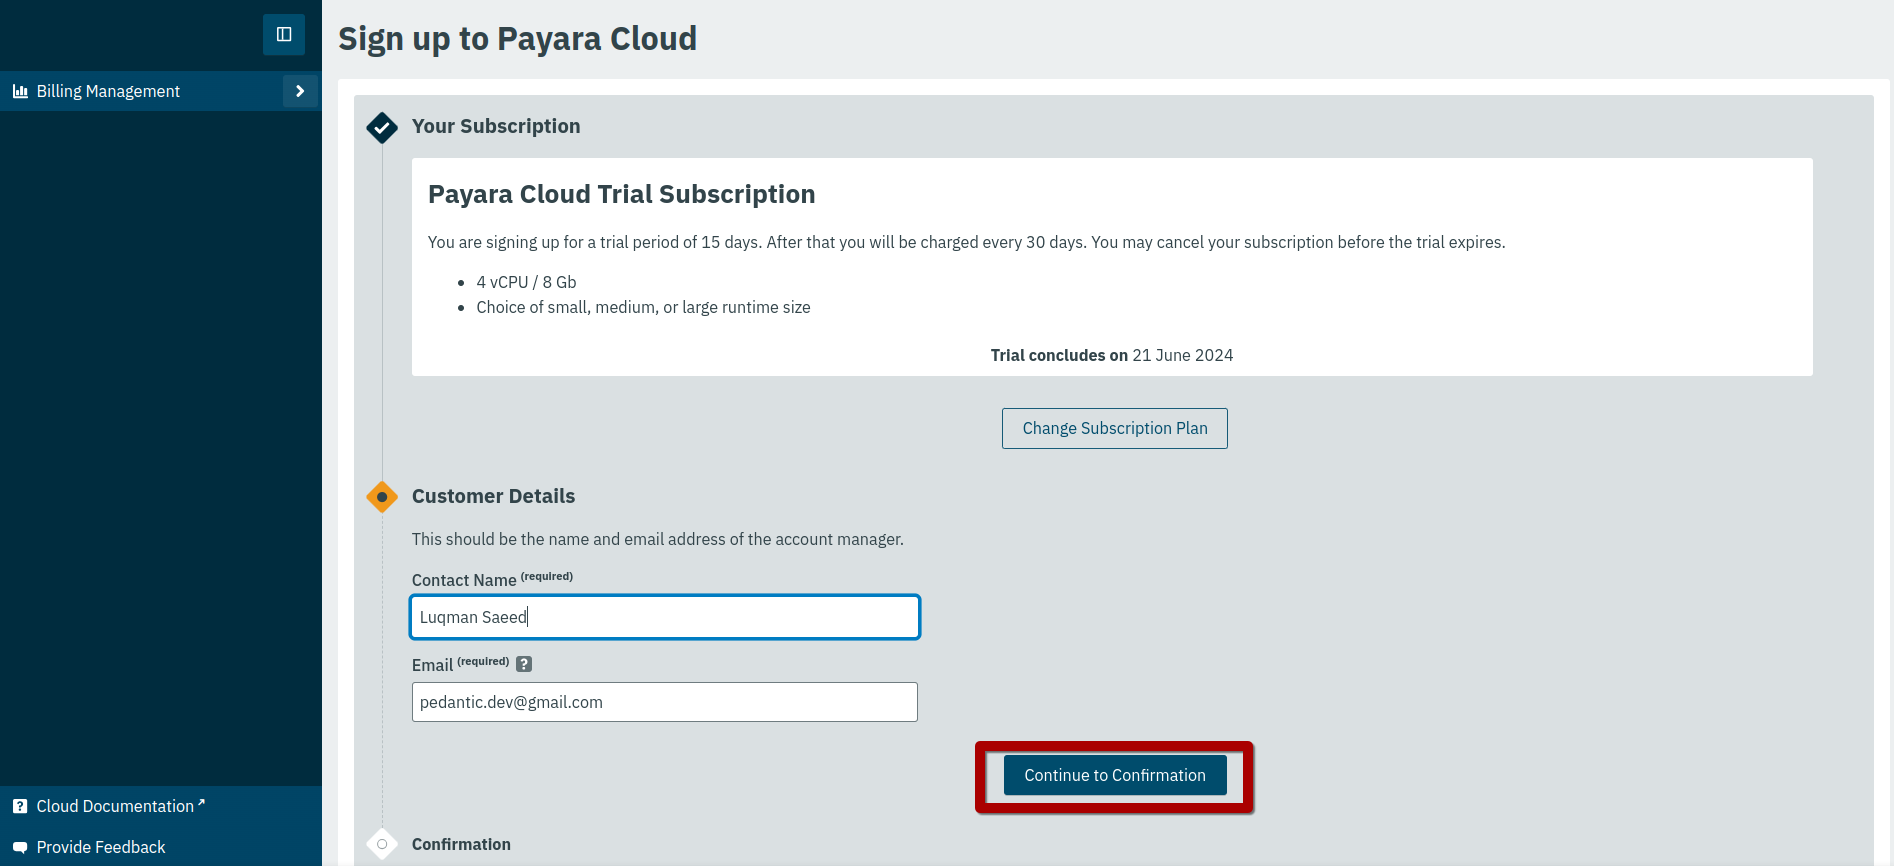
On the ensuing invoicing tab, set the name of the primary contact for the account and click the Continue To Confirmation button.
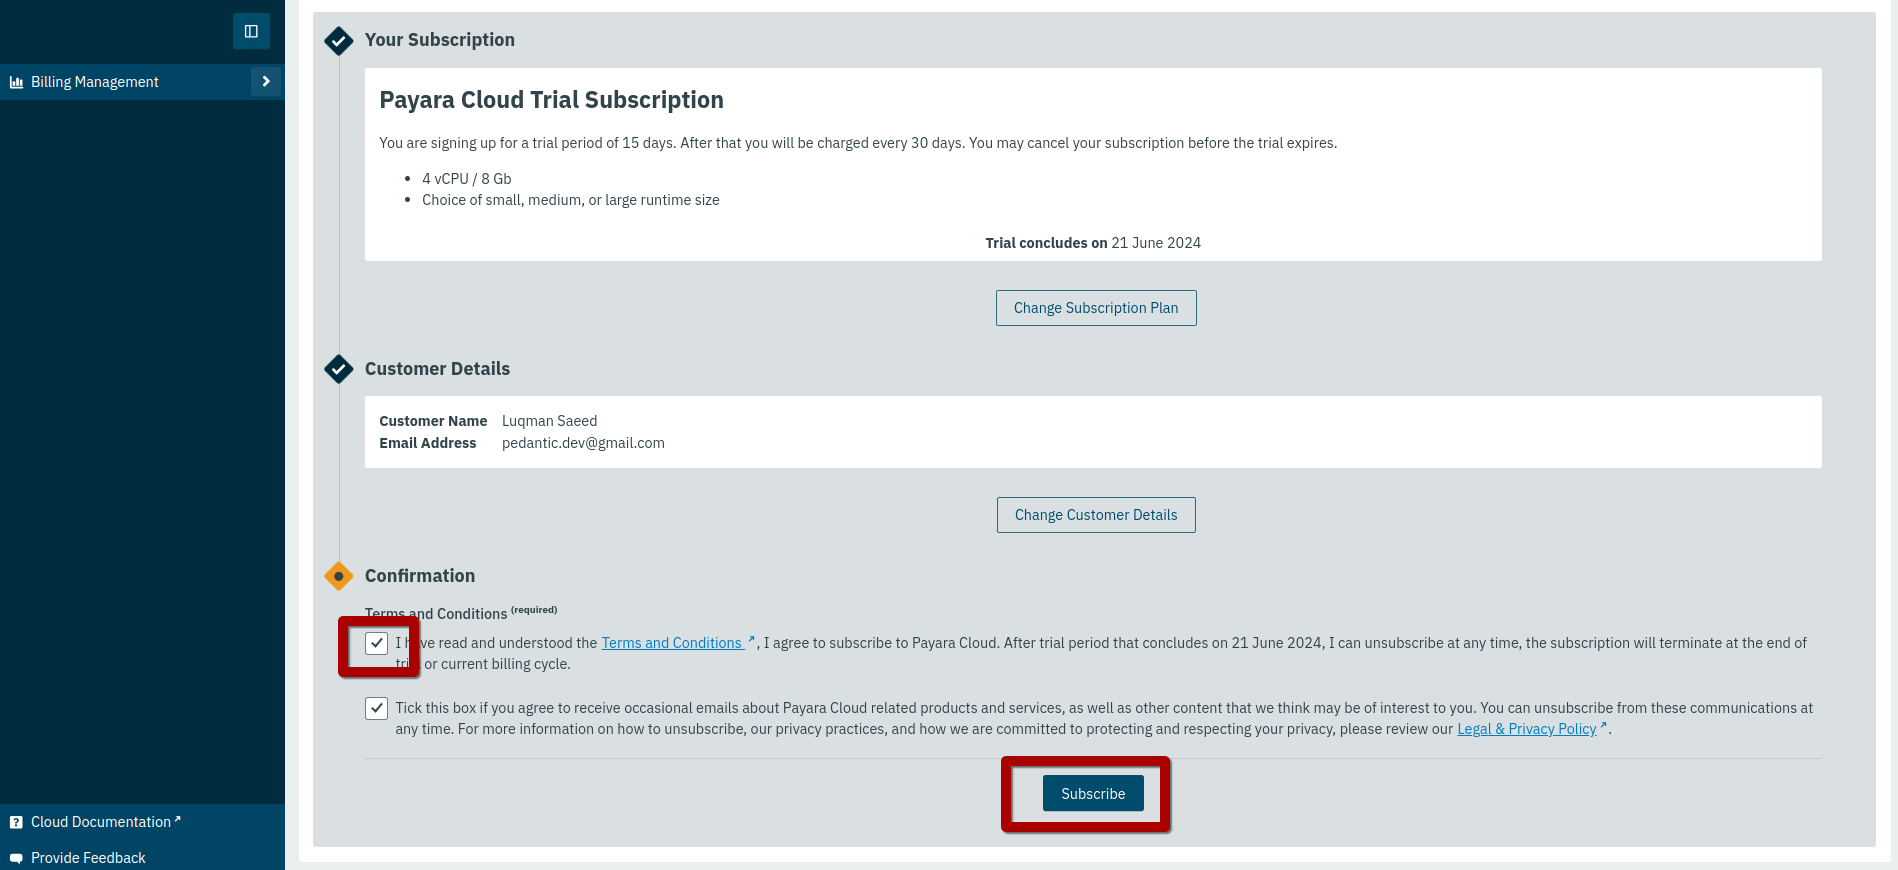
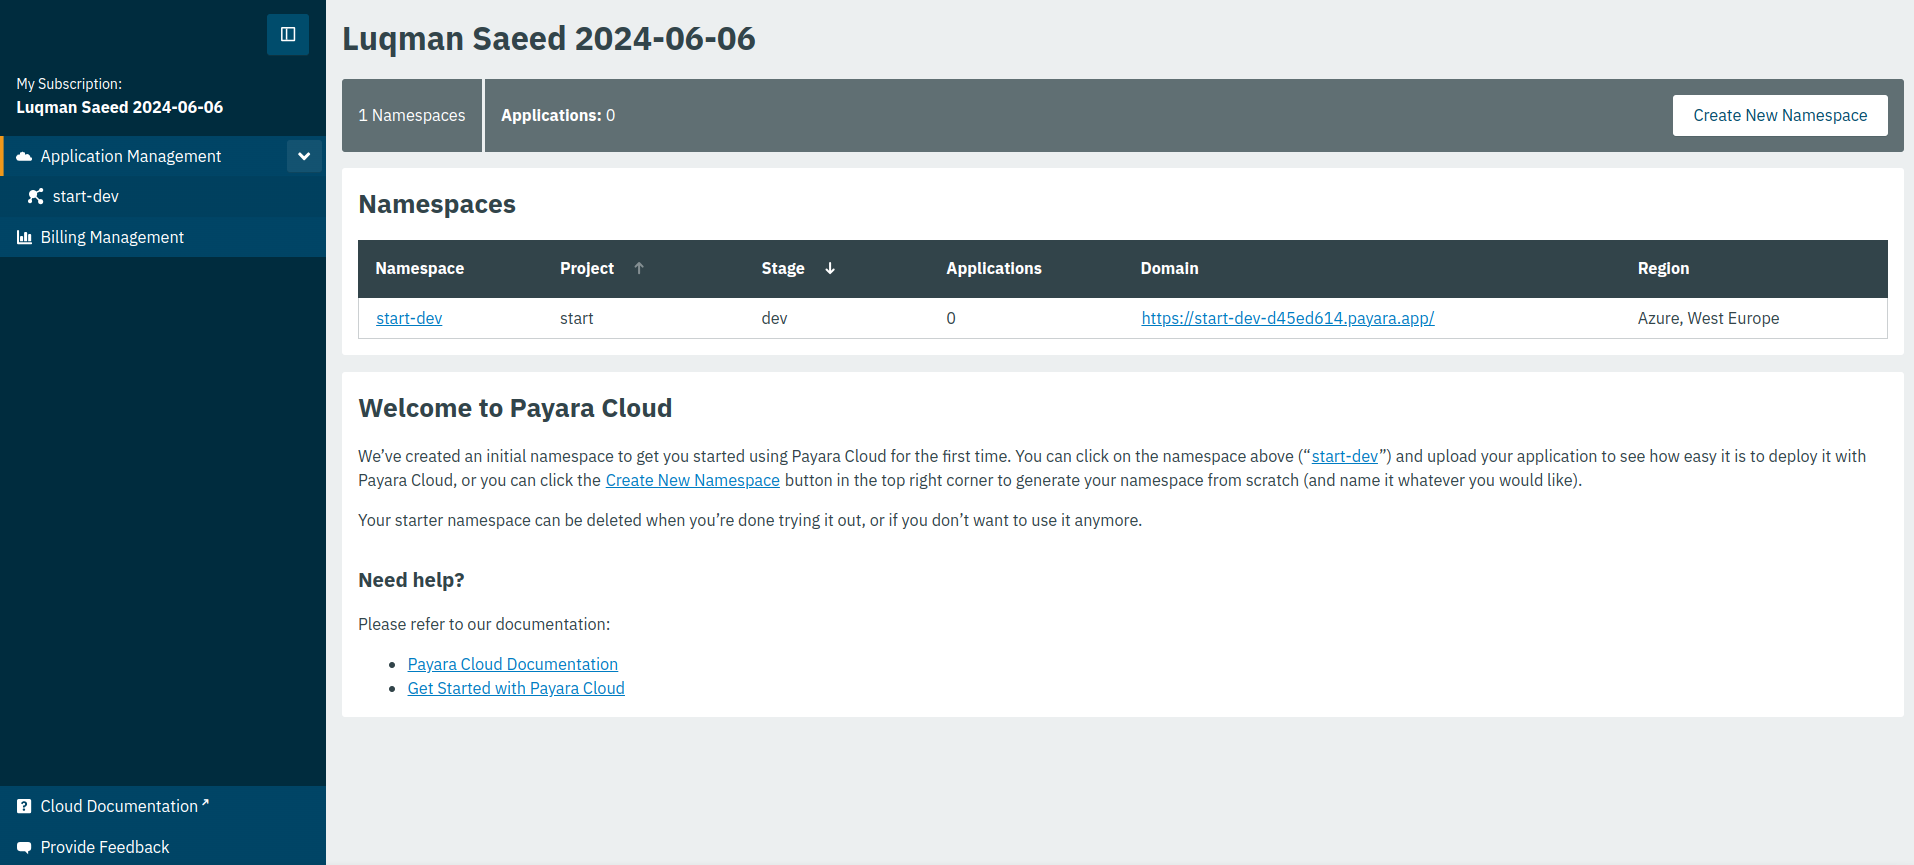
On the Confirmation tab, review and accept the Terms & Conditions. Optionally, opt in for marketing communications. Click the Subscribe button to create your subscription. You will be redirected to your Application Management Page that shows a default Namespace you can start using immediately.
Your free trial starts now. You won’t be charged until the trial ends, and you choose a paid subscription.
Your newly created start-dev Namespace is ready to use.
Learn more about managing applications within your namespace in the reference docs.

