Adding Payara Server to VS Code
-
Open the command pallet using Ctrl + Shift + P, type Payara and select the Add Payara Server option.
-
Browse the Payara Server installation path (recently used servers location are listed by default).
-
Choose a name for the server.
-
Then select a domain from the list or create a new domain by pressing the + button.
Managing Payara Server from VS Code
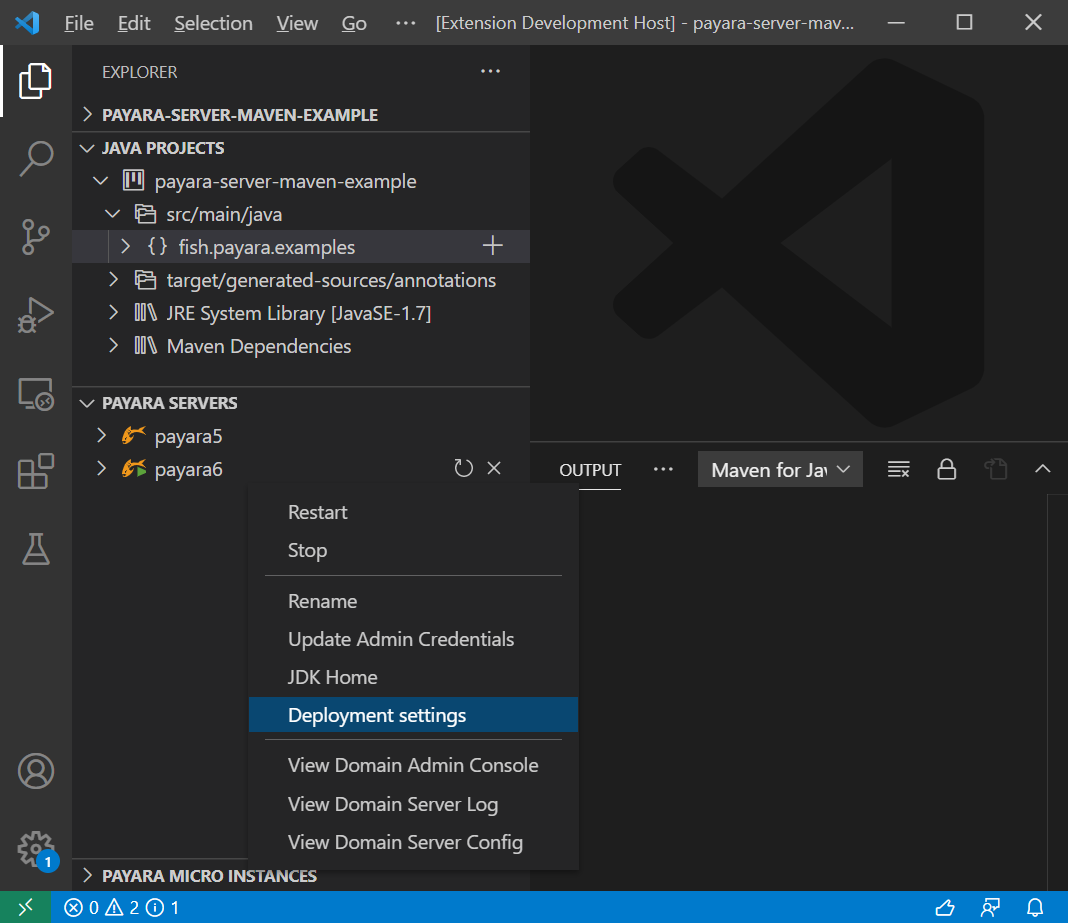
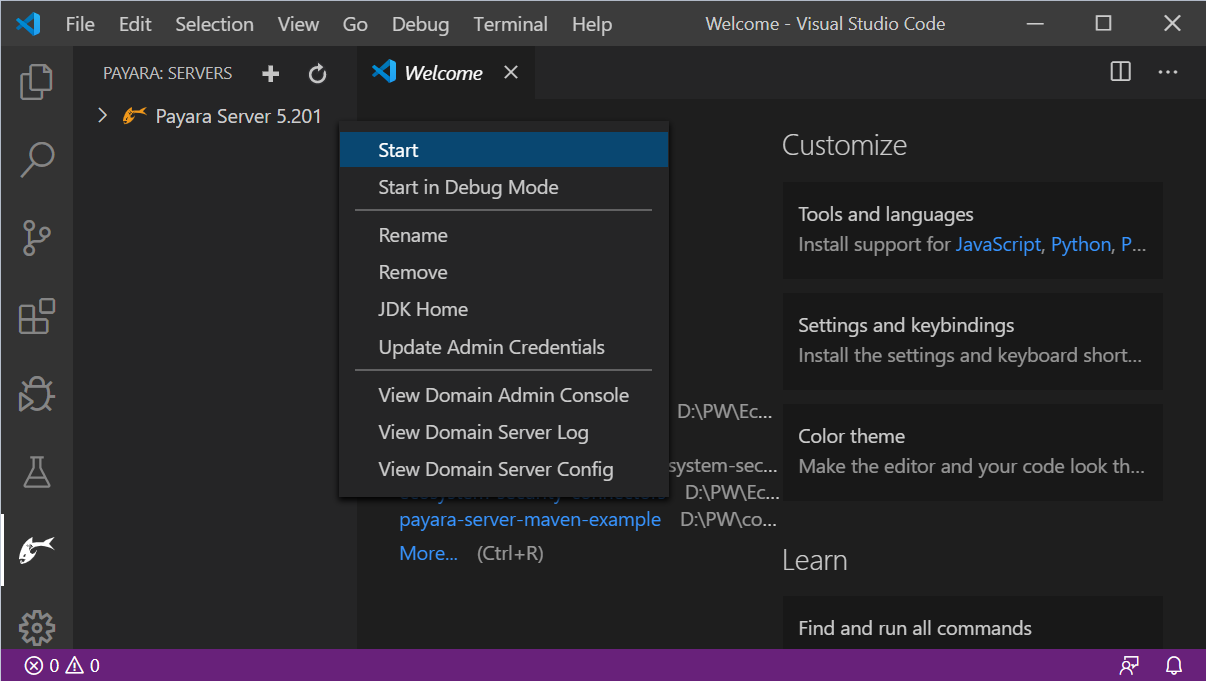
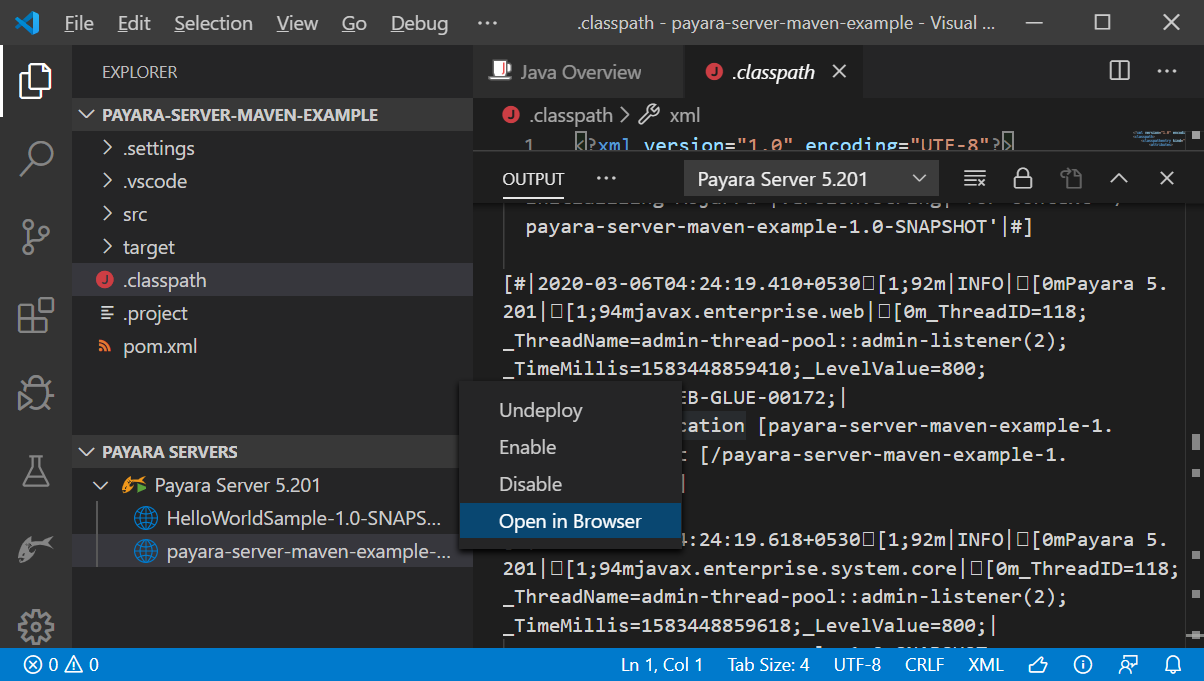
Once Payara Server is added to VS Code it can be found under the Payara Servers explorer panel with the configured name. Right-clicking on the server lets you perform any of the following actions:
-
Start, restart or stop the server
-
Start debugging the server
-
Rename or remove the server
-
Open admin console
-
Open server log
-
Open server domain.xml config
-
Update admin credentials
-
Update JDK path
Managing Applications on Payara Server
Deploying Applications
An application can be deployed to Payara Server easily though VS Code. Applications can be deployed via either of the following two methods
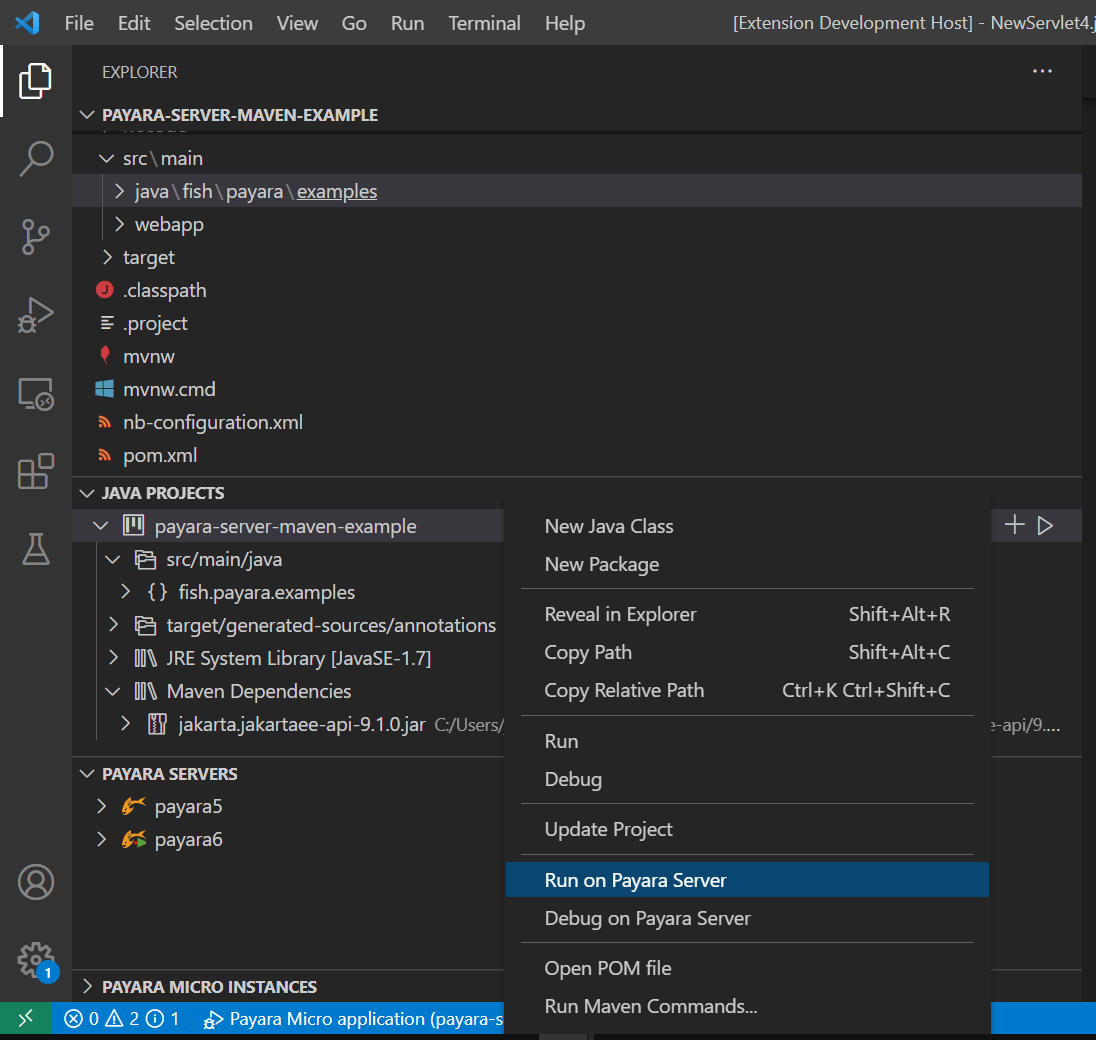
Right-click on the application and select Run on Payara Server to deploy the application:
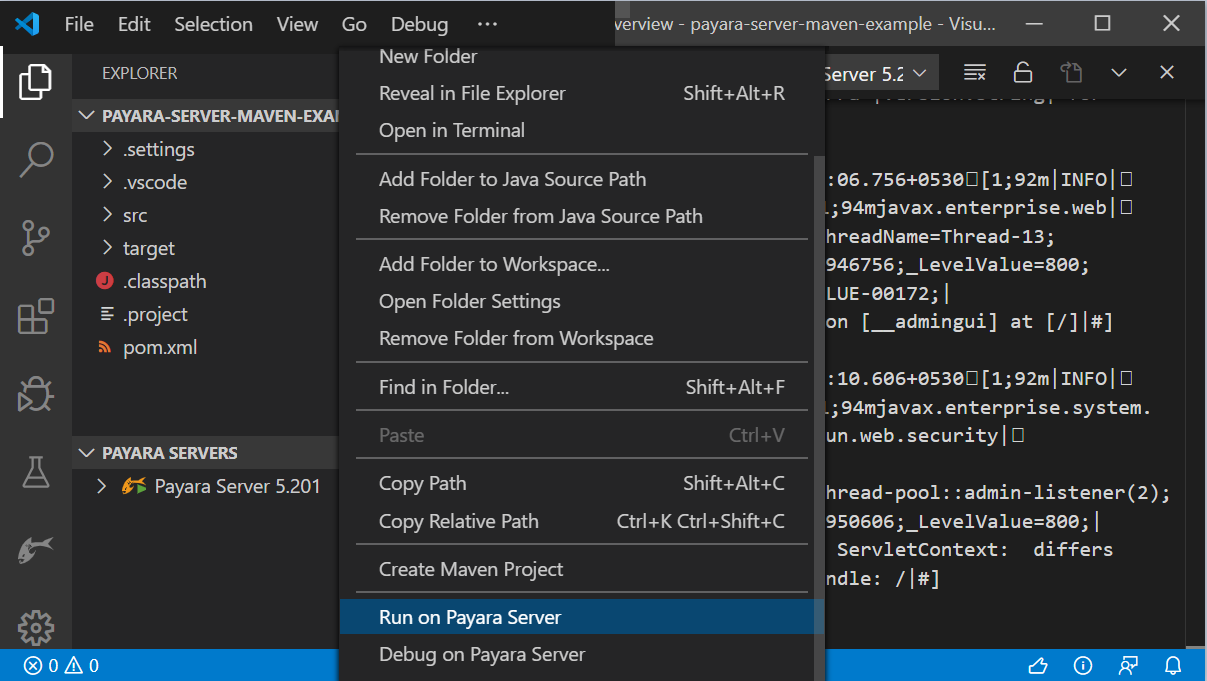
Alternatively, an application can be deployed from the Java Projects interface:
Deploy Applications in a Local Docker Container
The Payara Server tools for the VS Code extension includes Docker integration, making it seamless to deploy exploded applications to a Payara Server instance running within a local Docker container.
To take advantage of this feature, follow these steps below:
-
Register a new Payara Server instance by performing the following:
-
Open the command pallet using
Ctrl + Shift + P, type Payara and select the Add Payara Server option. -
Select Remote Domain.
-
For Docker integration, choose the "Docker" type and provide the
HOST_PATH(e.g.,D:/test) andCONTAINER_PATH(e.g.,/mnt/test) mapping details.This mapping should align with the exploded application path or parent path of exploded application.
-
Choose a name for the server.
-
Enter the domain name, host name, and necessary credentials.
-
-
Run the Payara Server Docker container using the following command:
docker run -p 8080:8080 -p 4848:4848 -p 9009:9009 -v HOST_PATH:CONTAINER_PATH payara/server-full:{page-version}Replace
HOST_PATHwith the actual host path andCONTAINER_PATHwith the desired container path. TheHOST_PATHpoints to the location on your host machine, andCONTAINER_PATHis the corresponding location inside the container. -
Create your web application and deploy it to the registered Payara Server instance.
Deploy Applications in a WSL Environment
Another noteworthy feature is the integration of the Payara Server Tools with Windows Subsystem for Linux (WSL).
This integration empowers developers to manage and deploy exploded applications to a Payara Server instance running within WSL.
Here’s how you can make use of this feature:
-
Start the Payara Server instance within WSL:
-
Run the following command to start the server:
./asadmin start-domain -
Set a password for the admin user:
./asadmin change-admin-password -
Enable secure admin:
./asadmin enable-secure-admin -
Restart the Payara Server domain:
./asadmin restart-domain -
Fetch the IP address of WSL environment using the command
hostname -Iand enter it in thehost namefield in the VS Code settings.
-
-
Register the WSL-based Payara Server instance in VS Code:
-
Open the command pallet using
Ctrl + Shift + P, type Payara and select the Add Payara Server option. -
Select Remote Domain.
-
For WSL integration, choose the
WSLinstance type. -
Choose a name for the server.
-
Enter the domain name, host name (fetched via the command
hostname -Iin WSL instance), and necessary credentials.
-
-
Create your web application and deploy it to the registered Payara Server instance.
Hot Deploy and Auto Deploy Settings
Hot Deploy and Auto Deploy can be enabled in Visual Studio Code IDE from the Deployment Settings of Payara Server: