Using the Payara Tools Eclipse plugin, you can integrate Payara Server within the Eclipse IDE and perform the following tasks:
-
Start and stop the Payara Server from within the IDE
-
Define the Java runtime to be used by Payara Server
-
Deploy an application from within the IDE
-
Launch the admin console within the IDE
-
View the server logs from the IDE
-
Auto Publish & Hot Deploy your application
Adding Payara Server to Eclipse IDE
-
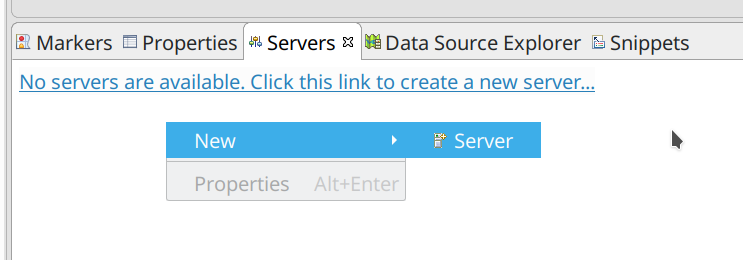
Open the Servers view (if not visible, it should be under menu Window → Show View → Servers).
-
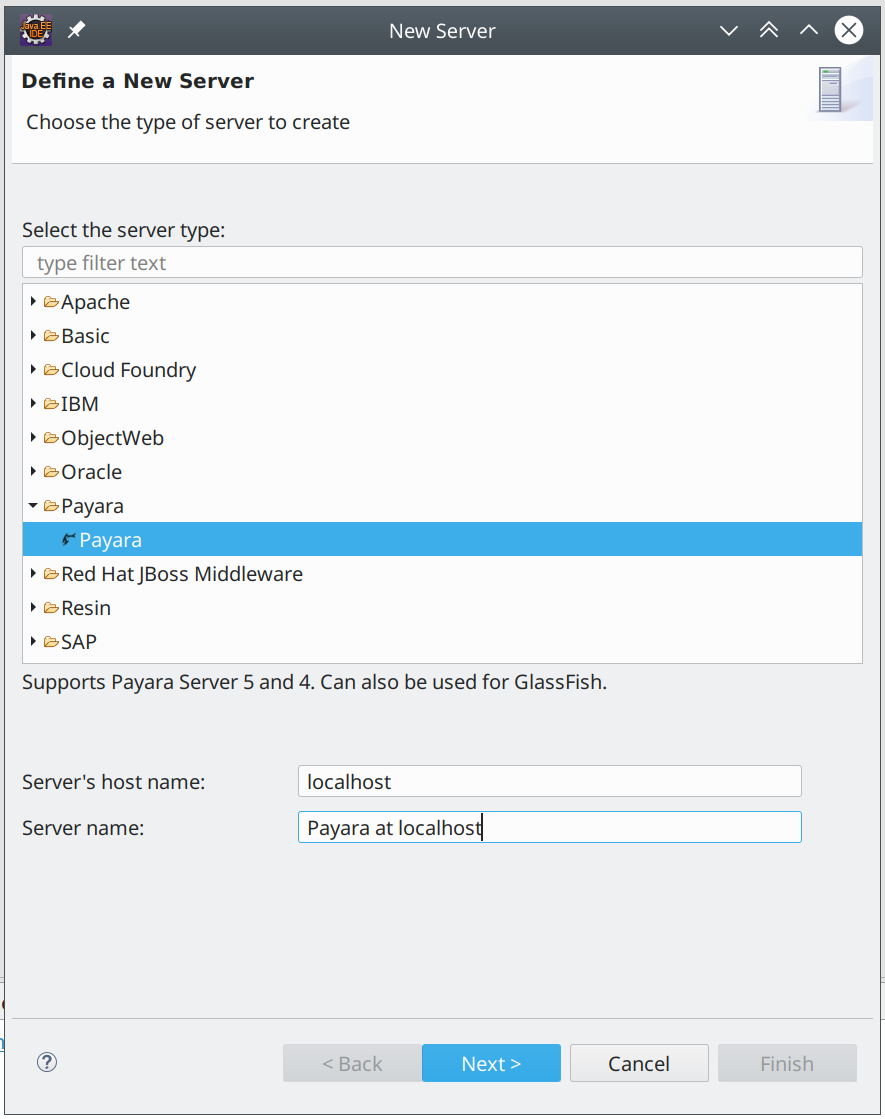
Select Payara → Payara and set the Host name and some comprehensible Server name.
-
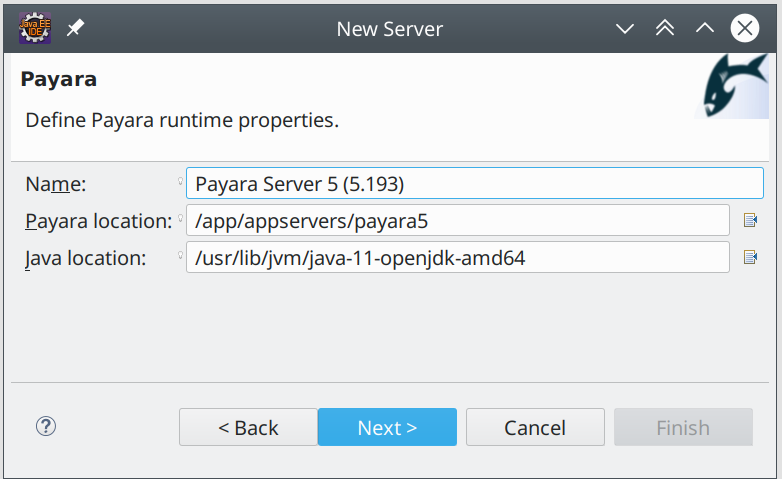
Then click Next to another window with server runtime configuration.
-
Then click Next again to window with the configuration of the domain. In this example we use domain without configured admin user and the server is not started in debug mode.
-
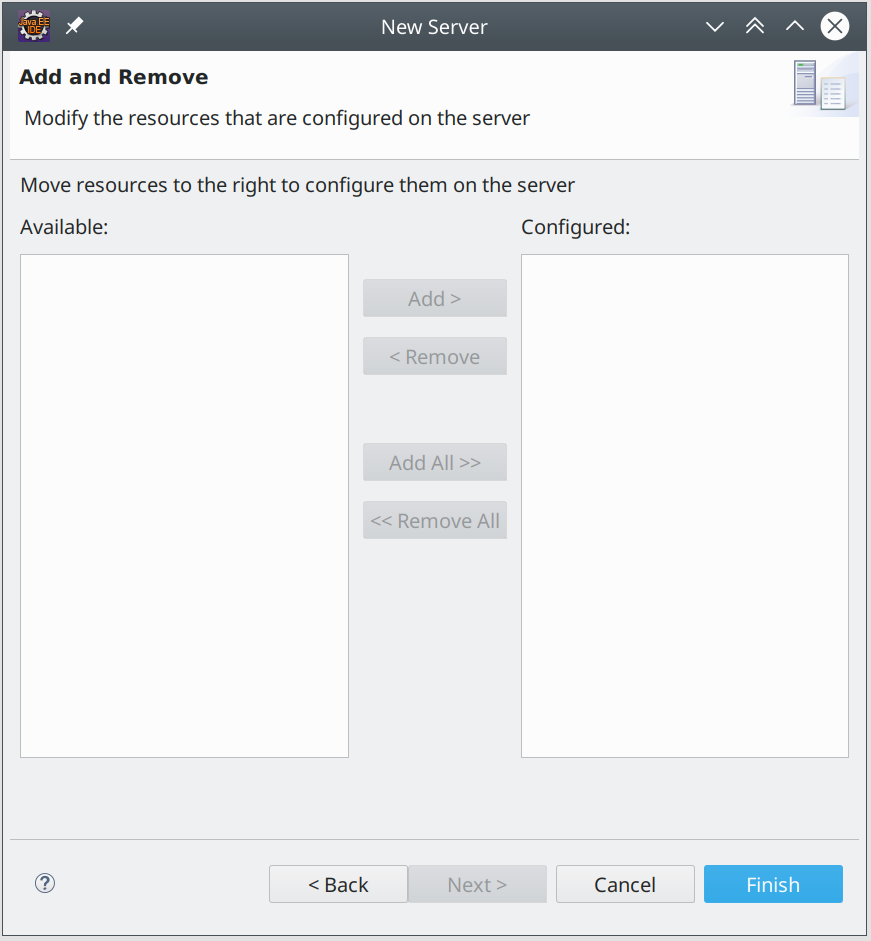
In the last step you can select resources which will be deployed on the server. Here we don’t have any deployable projects in the workspace yet, so both panels are empty.
Adding Resources to Server
-
First import or create some project, deployable to the Payara Server. Here we use one of the Java EE 7 Samples .
-
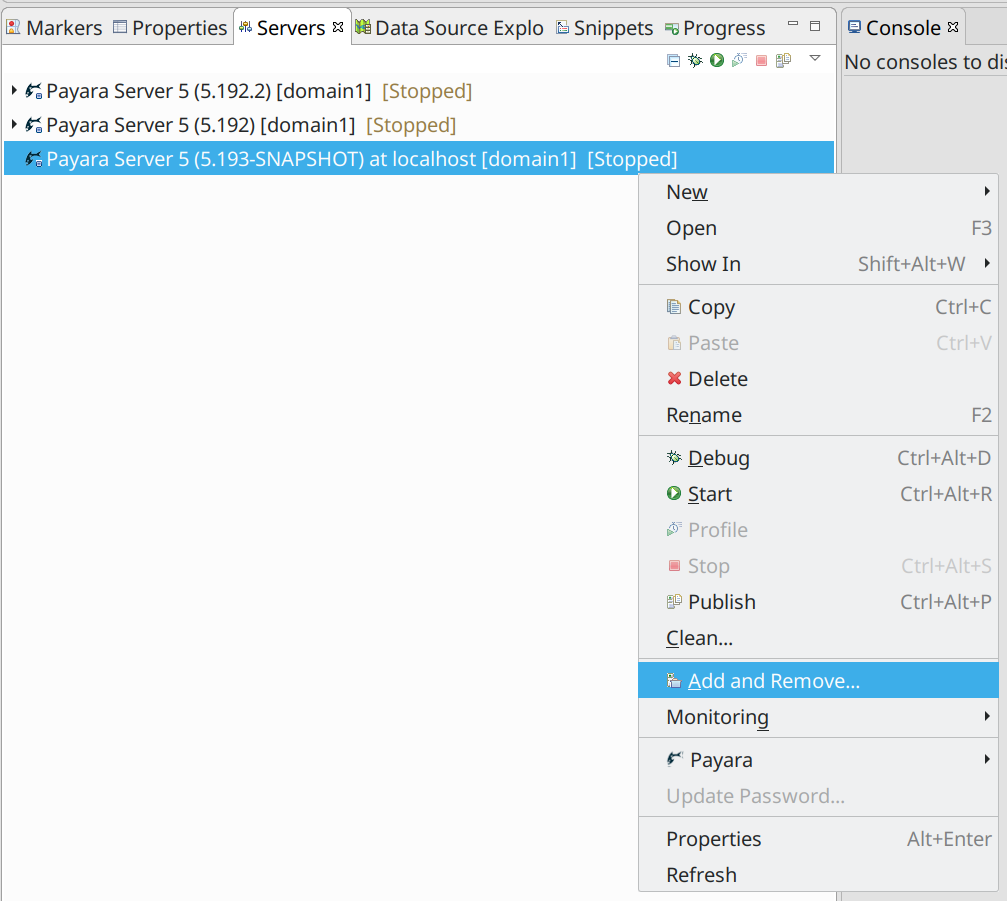
Right-click the target server in the Servers view and click Add and Remove…
-
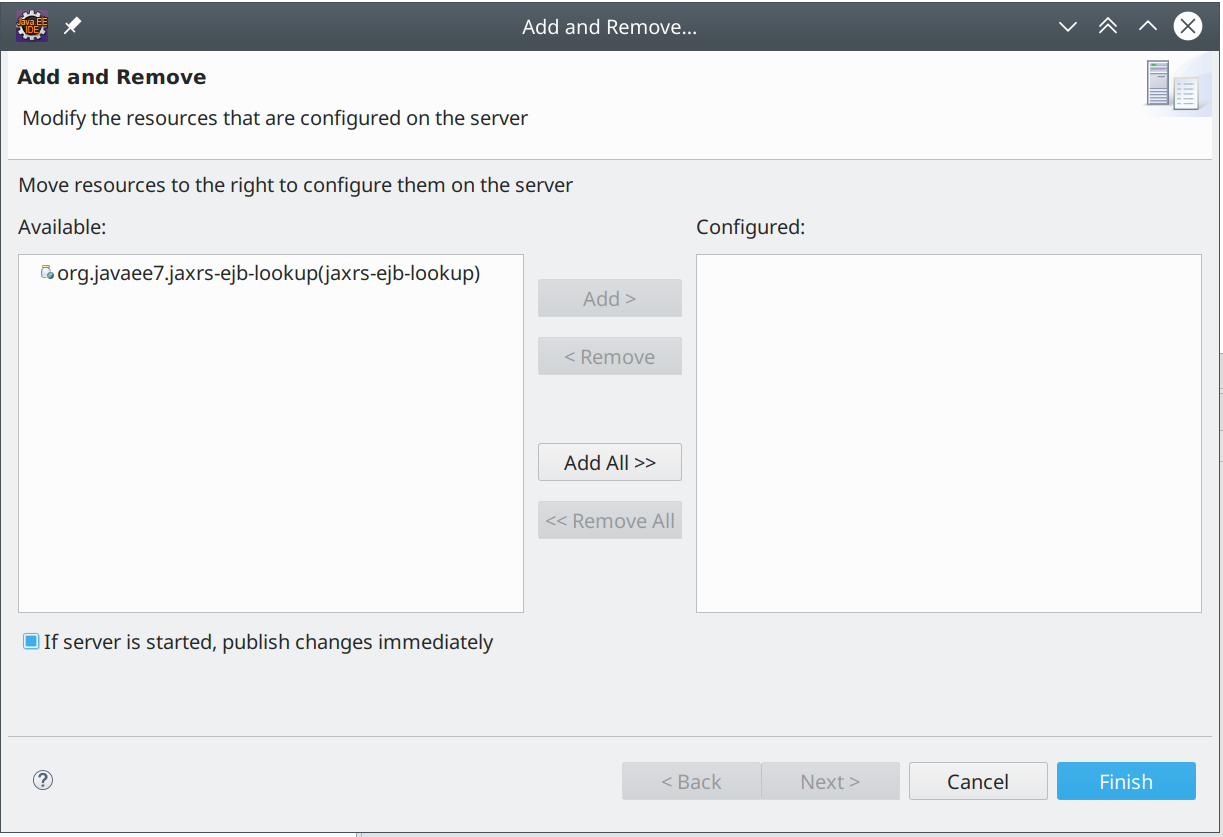
Select resources you want to be managed by the Payara Tools, add them to the right panel and click Finish.
-
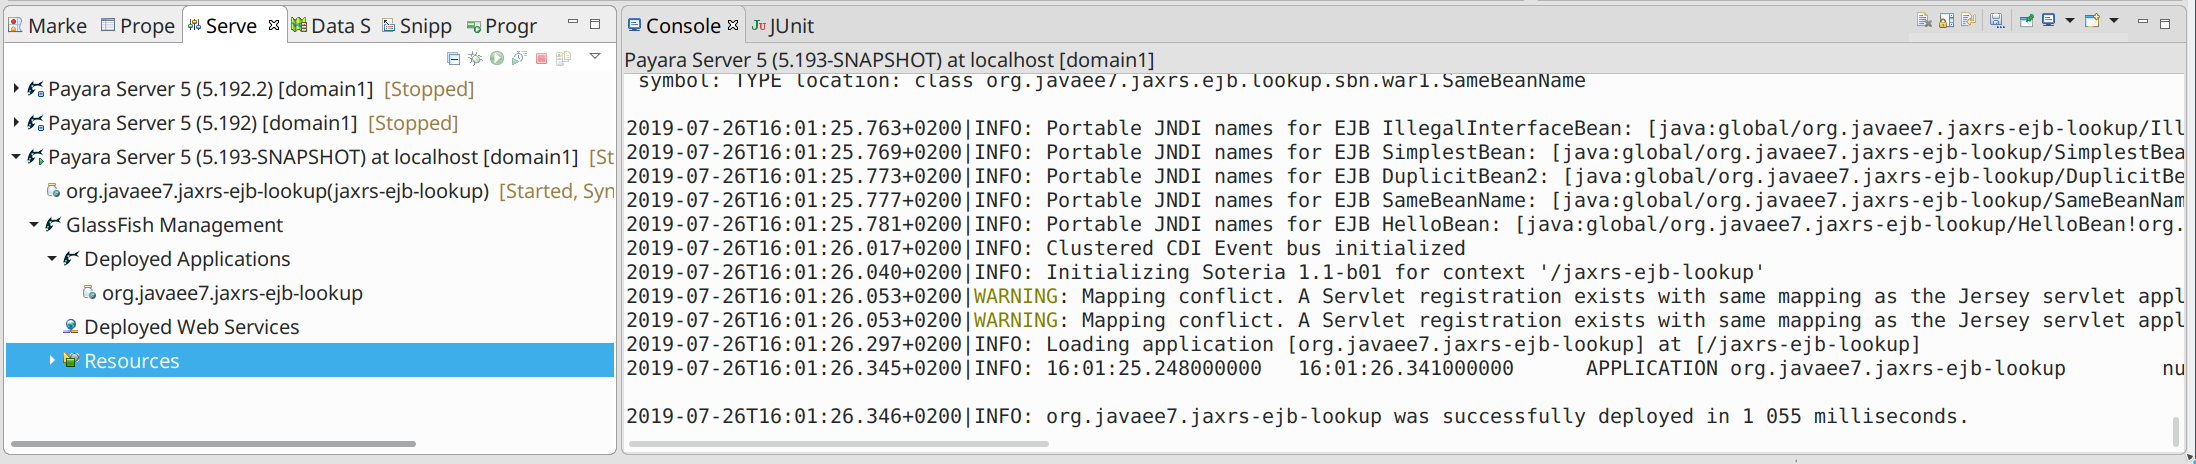
Now you can watch the deployment of the application in the Console view.
-
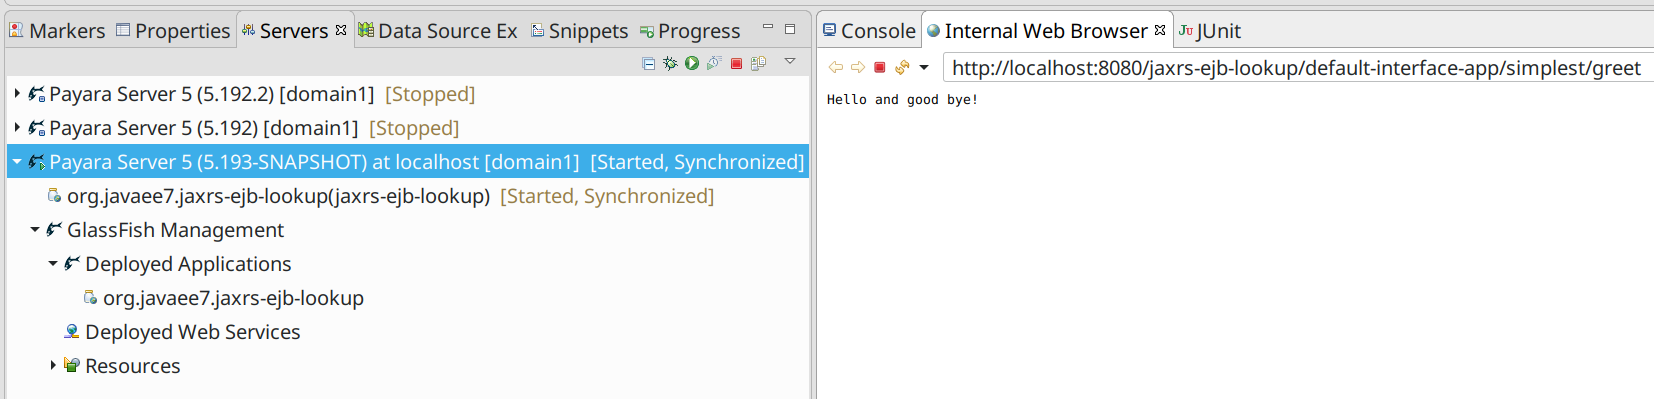
If the deployment was successful, you can use the application. Here we simply opened the internal Eclipse’s browser and sent the HTTP GET request - and the application responded.
-
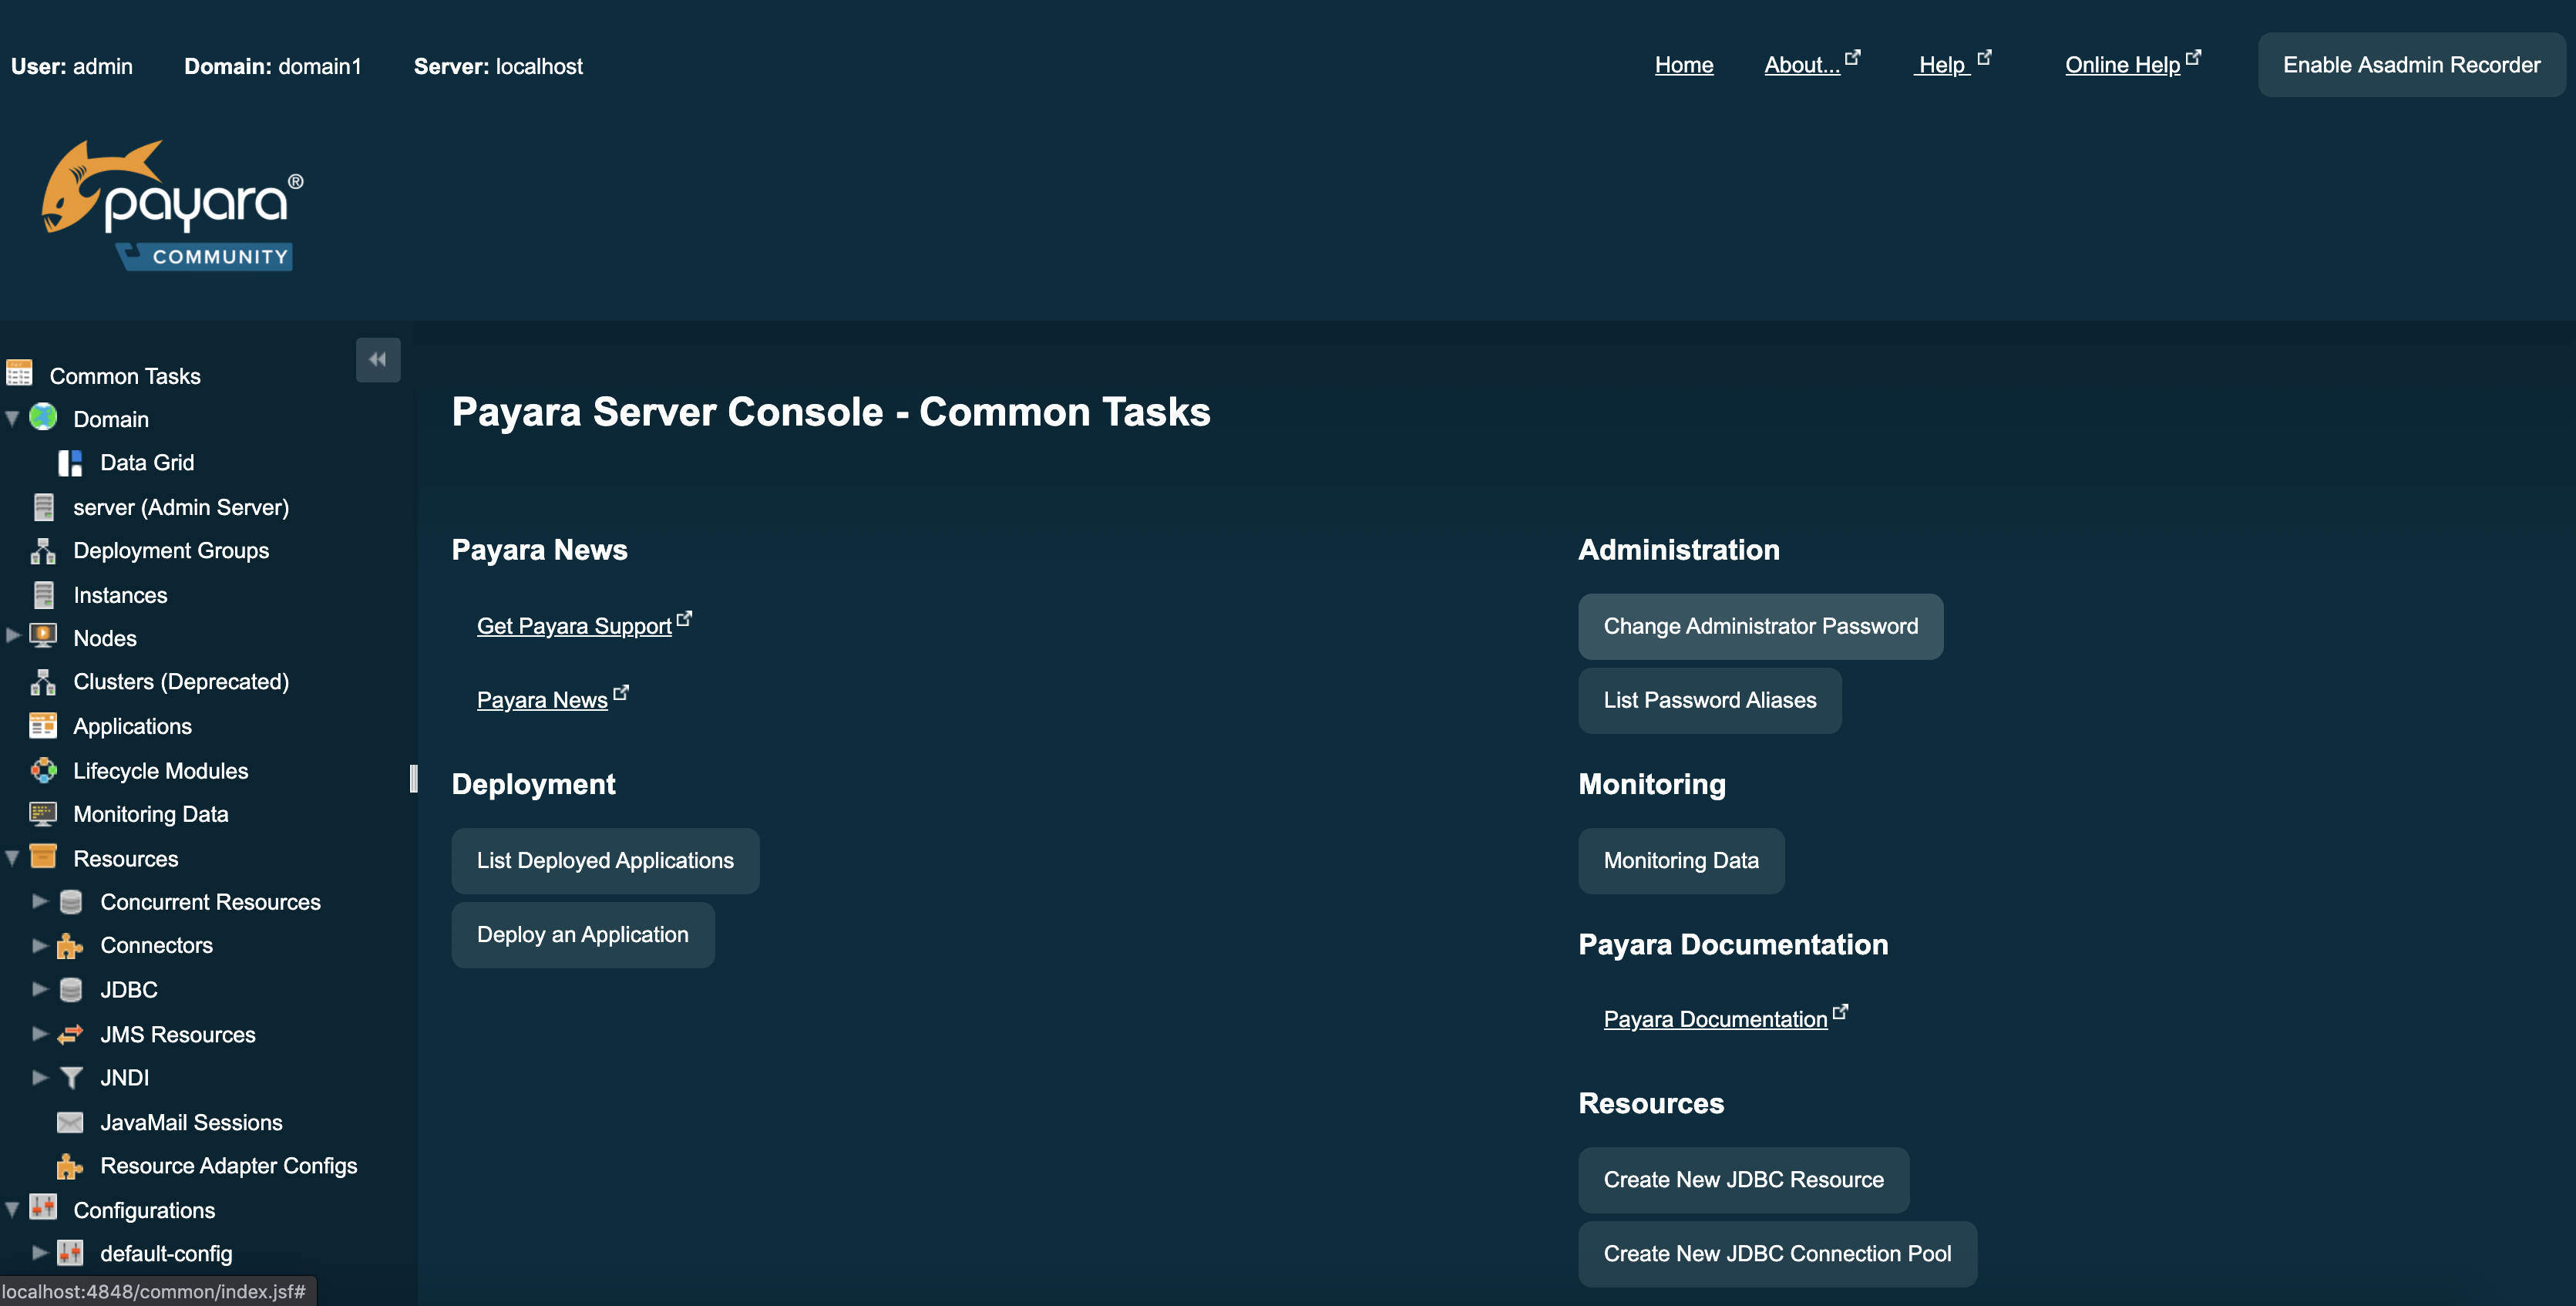
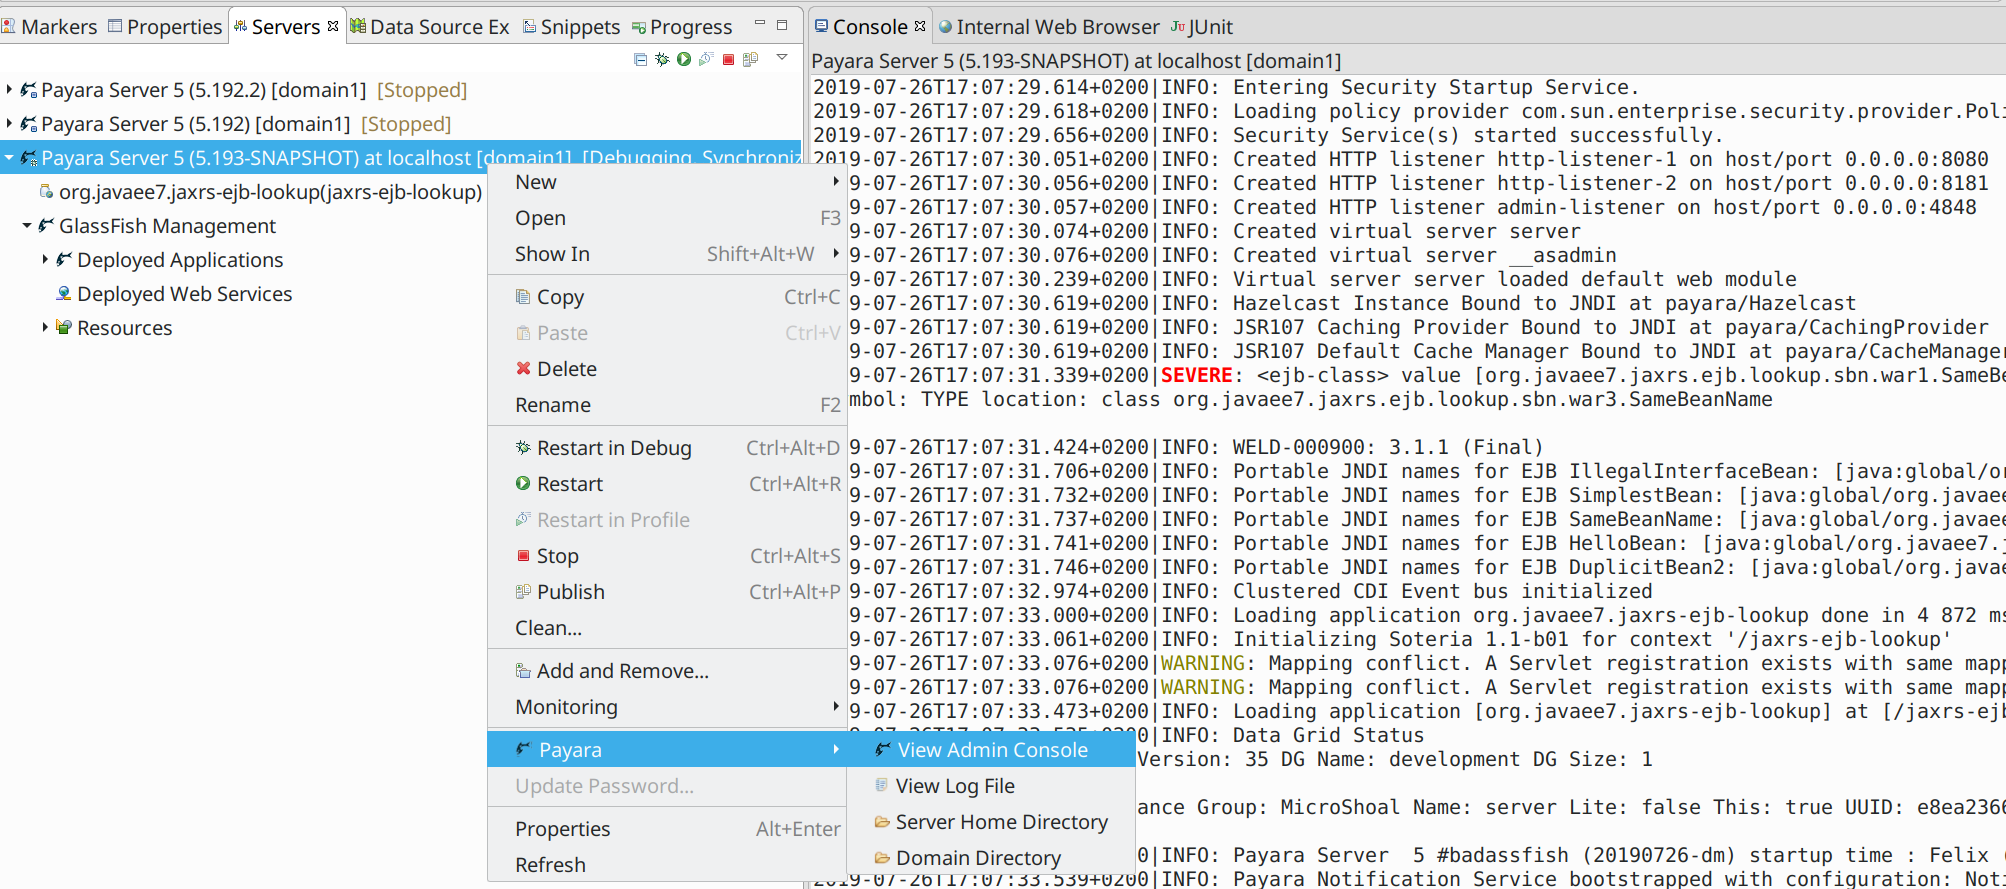
You can also access the administration console directly from the Eclipse Browser. Just right-click the target server in the Servers view and click Payara → View Admin Console
Runtime Reconfiguration
-
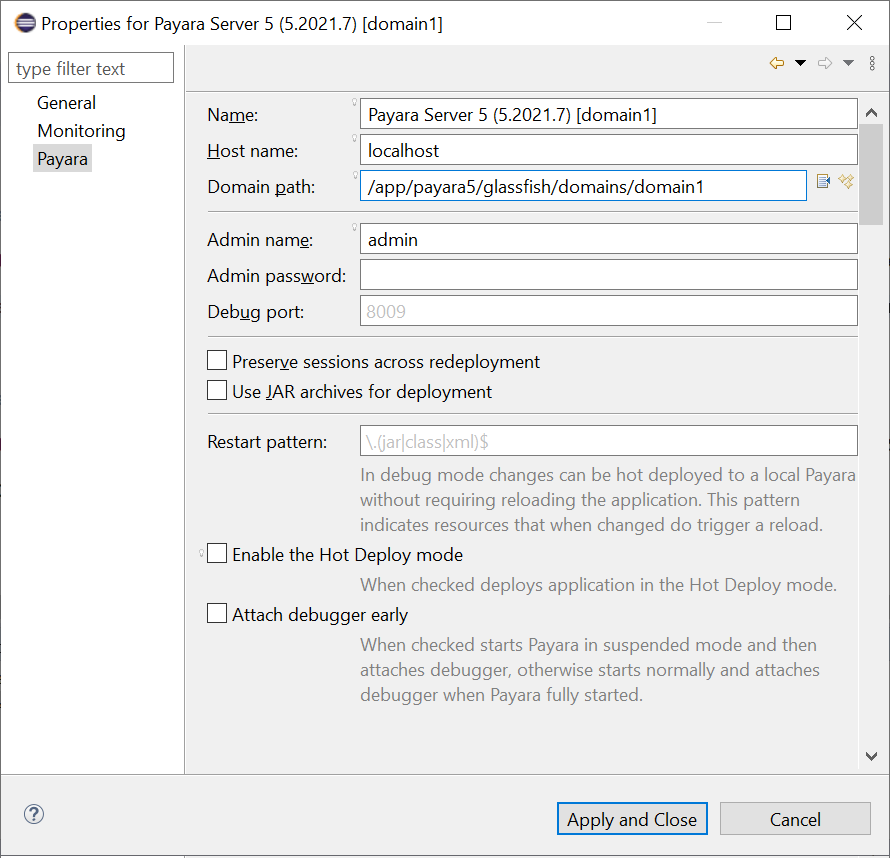
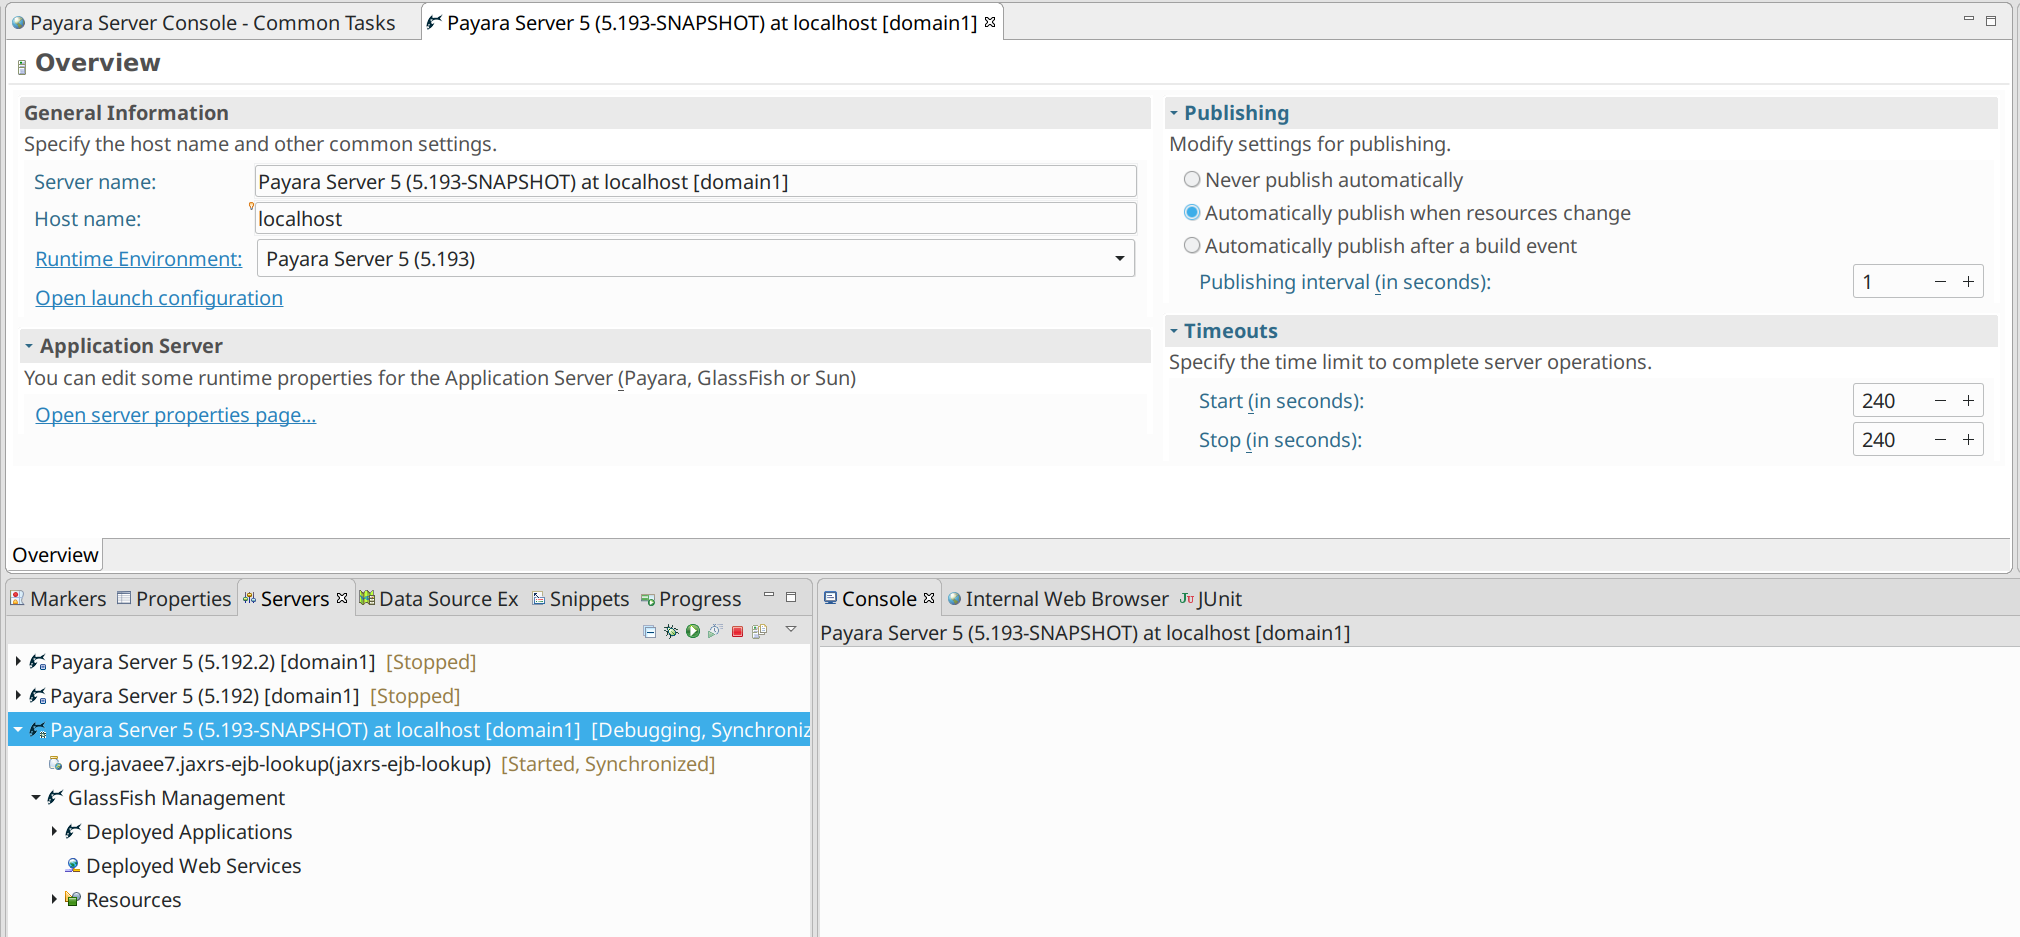
In the Servers view double-click the server you want to reconfigure. The Server Overview will open.
-
Click on Runtime Environment and you will see well known window.
Changing the runtime may result in unusable state of the server because of incompatible configuration. 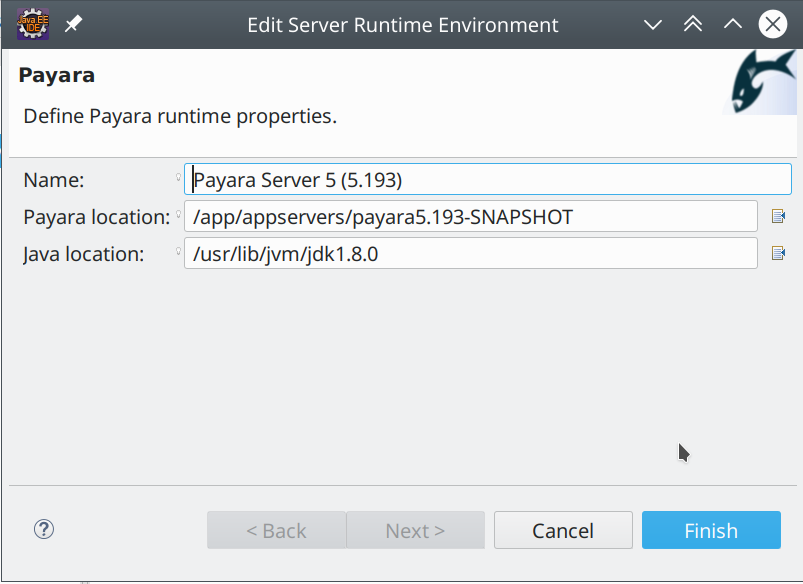
Deploy Applications in a Local Docker Container
The Payara Server tools for Apache NetBeans include Docker integration, making it seamless to deploy exploded applications to a Payara Server instance running within a local Docker container.
To take advantage of this feature, follow these steps below:
-
Register a new Payara Server instance by performing the following:
-
Open the Servers view (if not visible, it should be under menu Window → Show View → Servers).
-
Select Payara → Payara and set the Host name and some comprehensible Server name.
-
Then click Next to another window with server runtime configuration and browse and locate the Payara Server installation directory with the same version as the one running in the Docker container.
-
Then click Next again to window with the configuration of the domain. Enter the domain name, host, and necessary credentials.
-
For Docker integration, choose the "Docker Volume" option and provide the
HOST_PATH(e.g.,D:/test) andCONTAINER_PATH(e.g.,/mnt/test) mapping details.This mapping should align with the exploded application path or parent path of exploded application.
-
In the last step you can select resources which will be deployed on the server. You may add them later.
-
-
Run the Payara Server Docker container using the following command:
docker run -p 8080:8080 -p 4848:4848 -p 9009:9009 -v HOST_PATH:CONTAINER_PATH payara/server-full:{page-version}Replace
HOST_PATHwith the actual host path andCONTAINER_PATHwith the desired container path.The
HOST_PATHpoints to the location on your host machine, andCONTAINER_PATHis the corresponding location inside the container. -
Create your web application and deploy it to the registered Payara Server instance.
Deploy Applications in a WSL Environment
Another noteworthy feature is the integration of the Payara Server Tools with Windows Subsystem for Linux (WSL).
This integration empowers developers to manage and deploy exploded applications to a Payara Server instance running within WSL.
Here’s how you can make use of this feature:
-
Start the Payara Server instance within WSL:
-
Run the following command to start the server:
./asadmin start-domain -
Set a password for the admin user:
./asadmin change-admin-password -
Enable secure admin:
./asadmin enable-secure-admin -
Restart the Payara Server domain:
./asadmin restart-domain -
Fetch the IP address of WSL environment using the command
hostname -Iand enter it in thehost namefield in the Eclipse IDE settings.
-
-
Register the WSL-based Payara Server instance in VS Code:
-
Open the Servers view (if not visible, it should be under menu Window → Show View → Servers).
-
Select Payara → Payara and set the Host name and some comprehensible Server name.
-
Then click Next to another window with server runtime configuration and browse and locate the Payara Server installation directory with the same version as the one running in the Docker container.
-
Then click Next again to window with the configuration of the domain. Enter the domain name, host name (fetched via the command
hostname -Iin WSL instance), and necessary credentials. -
For WSL integration, choose the "WSL" instance type.
-
In the last step you can select resources which will be deployed on the server. You may add this setting later.
-
-
Create your web application and deploy it to the registered Payara Server instance.
Hot Deploy and Auto Deploy Settings
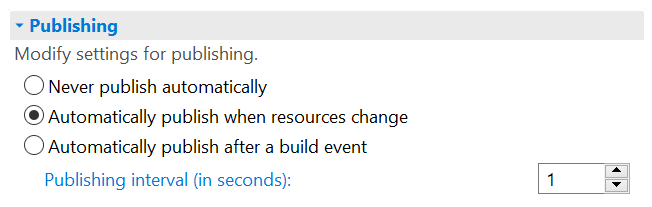
To enable Auto Deploy from the Eclipse IDE, open The Server panel, double-click the server name and expand the Publishing section to reconfigure the setting.
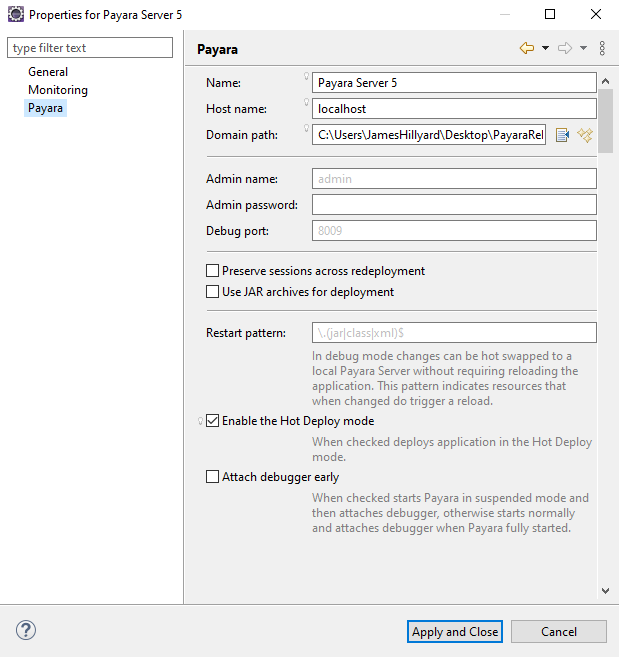
Hot Deploy mode can be enabled from the Payara Server properties page to boost the deployment performance which reuses the existing application instance relative to the modified source: