This is only available in the Payara IntelliJ Ultimate Tools plugin which is exclusive to IntelliJ IDEA Ultimate
|
Using the Payara IntelliJ Ultimate Tools plugin, you can integrate Payara Server within the IntelliJ IDEA and perform the following tasks:
-
Start and stop the Payara Server from within the IDE
-
Define the Java runtime to be used by Payara Server
-
Deploy an application from within the IDE
Managing Payara Server from the IntelliJ IDE
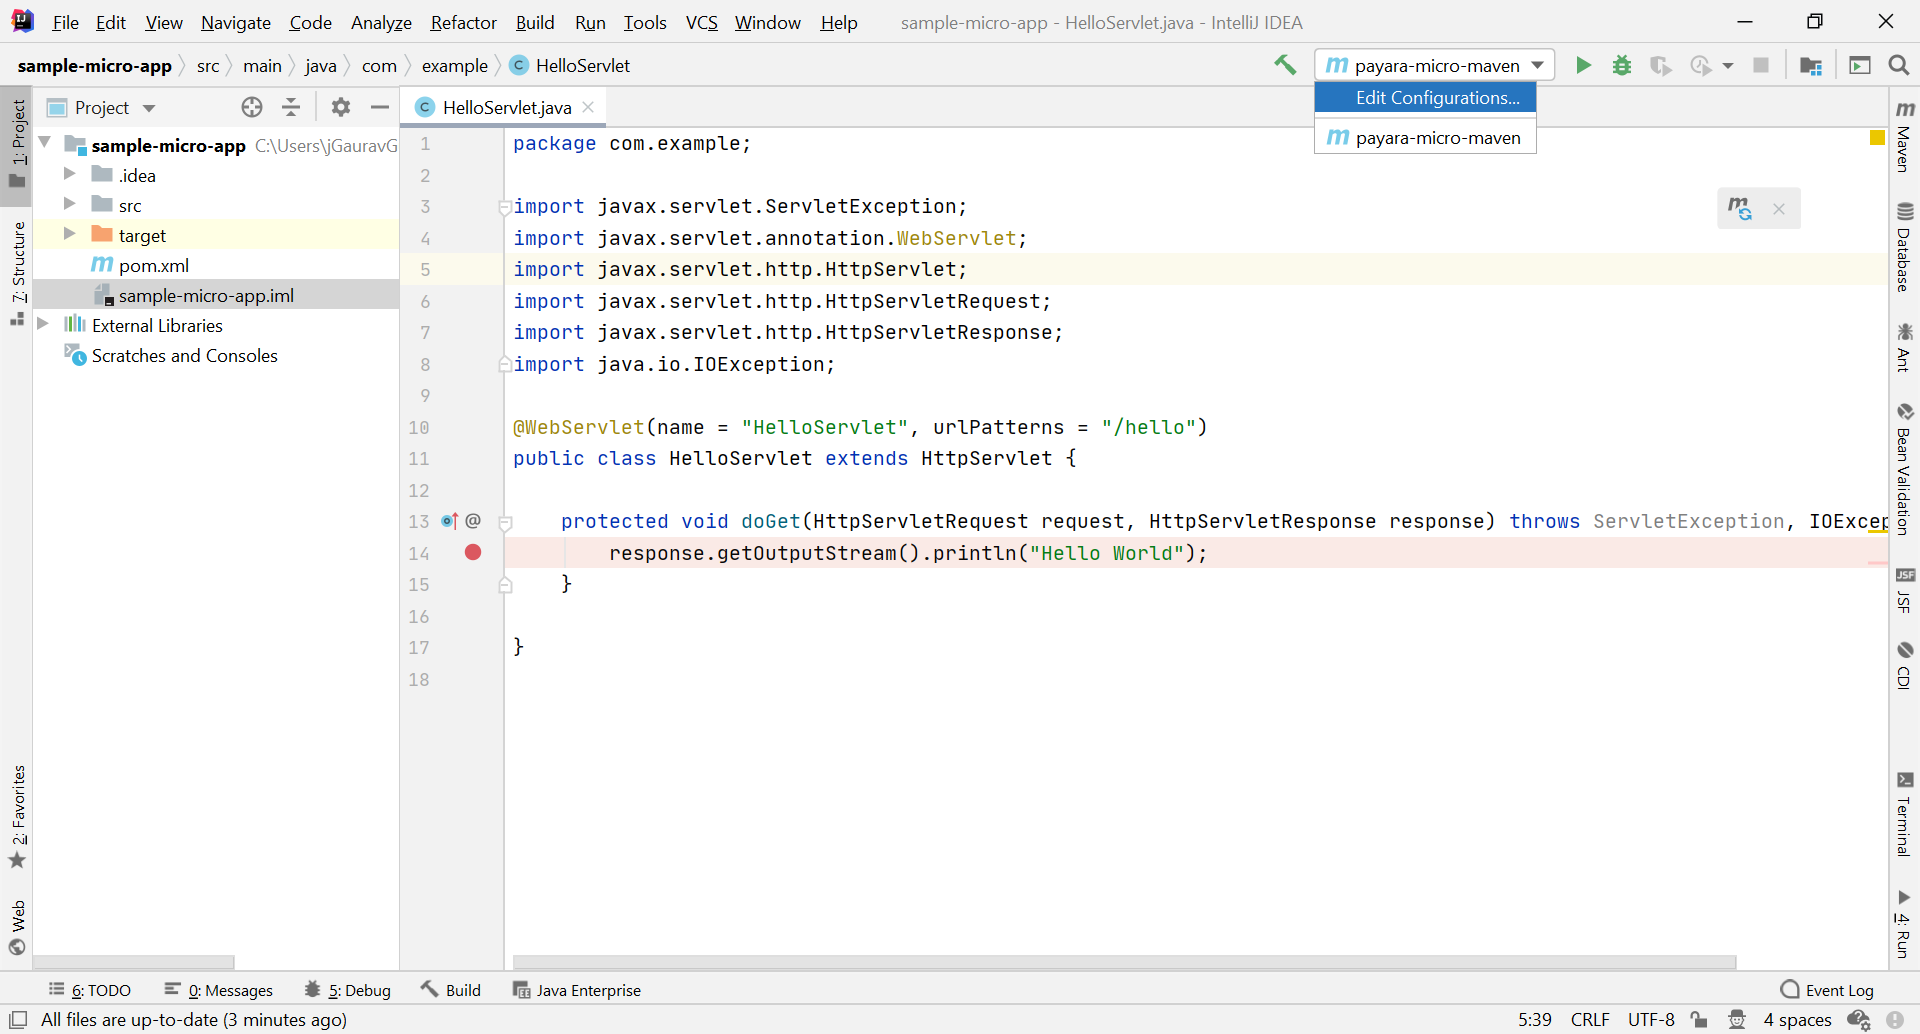
To manage Payara Server from the IntelliJ idea, first create the new Payara Server configuration by selecting the Edit Configuration option:
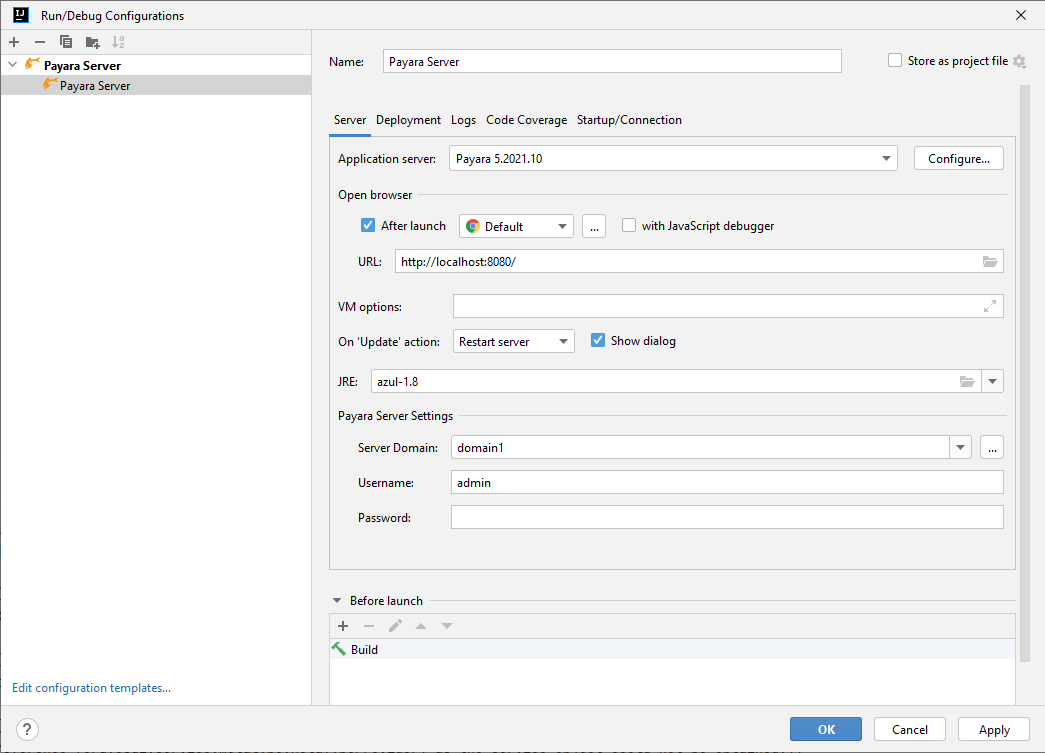
In the Run/Debug Configurations dialog, click +, expand the Payara Server node, and select Local:
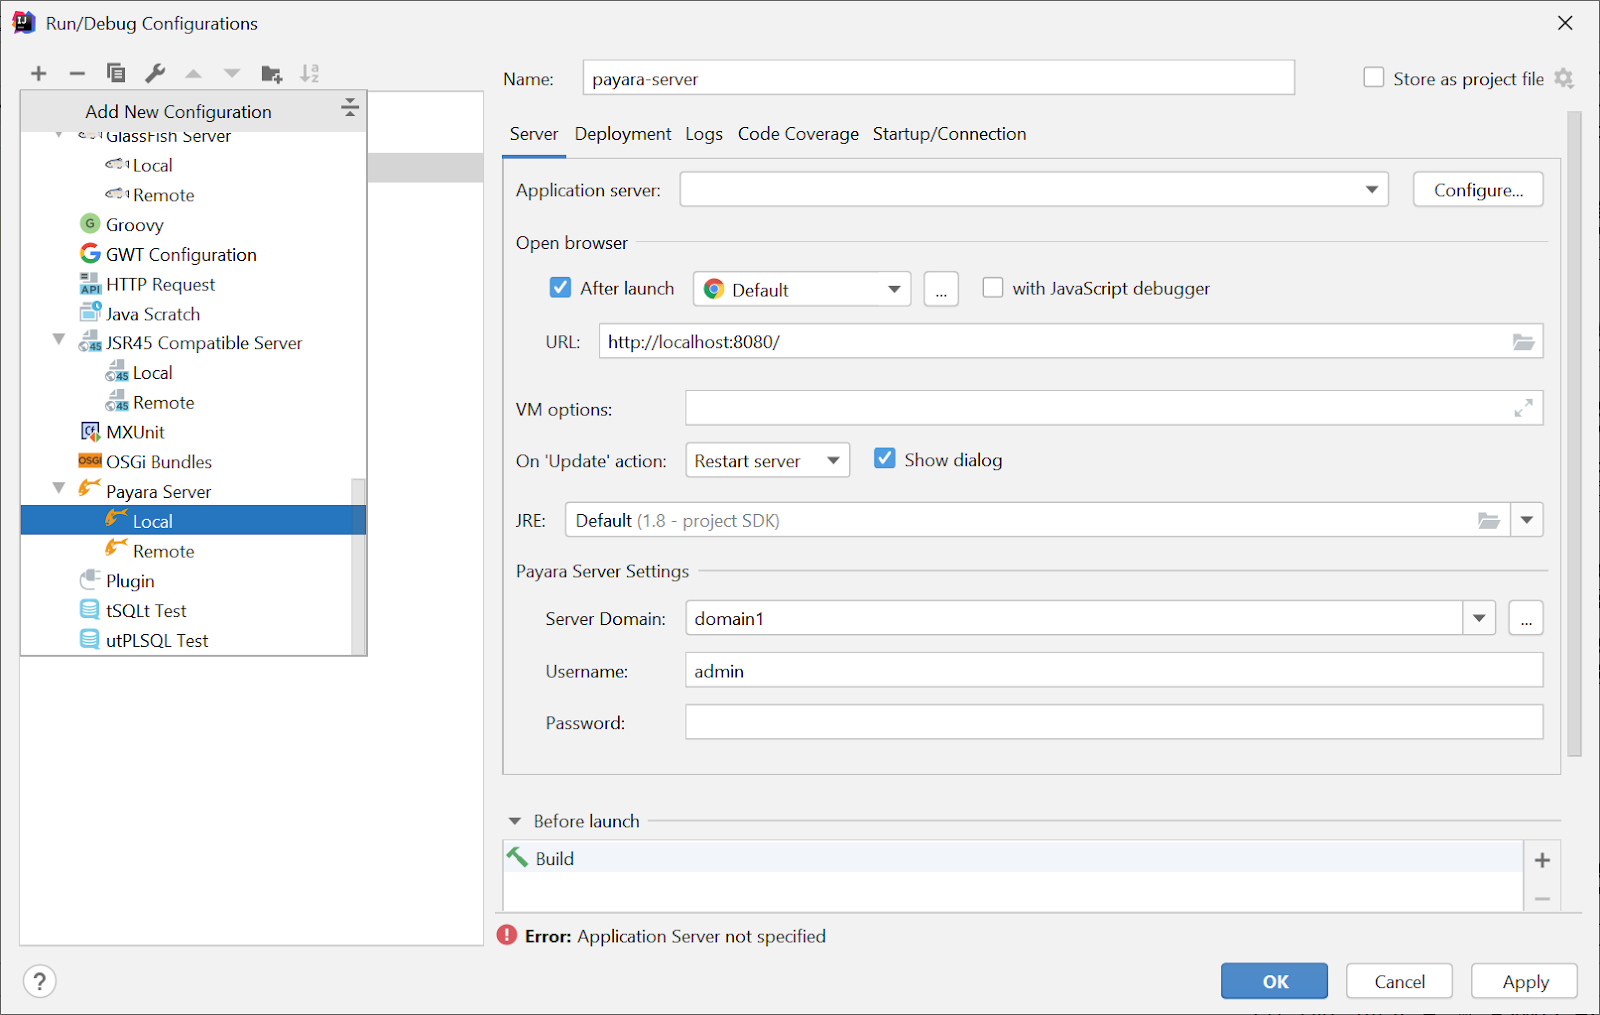
To add the Payara Server to the configuration, click the Configure… button and set it to the Payara Server’s installation path you would like to add to the IDE.
Specify the path to the JRE or JDK version you would like Payara Server to run on.
Finally, fix the debugger related warning by pressing the Fix button, which updates the debugger settings in the domains.xml of the selected Payara Server’s domain.
For now, ignore the No artifacts marked for deployment warning and click OK to save the configuration
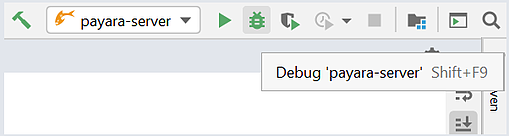
Click the Run or Debug button from top-right panel to start Payara Server, or start Payara Server in debug mode, which would allow you to debug deployed applications
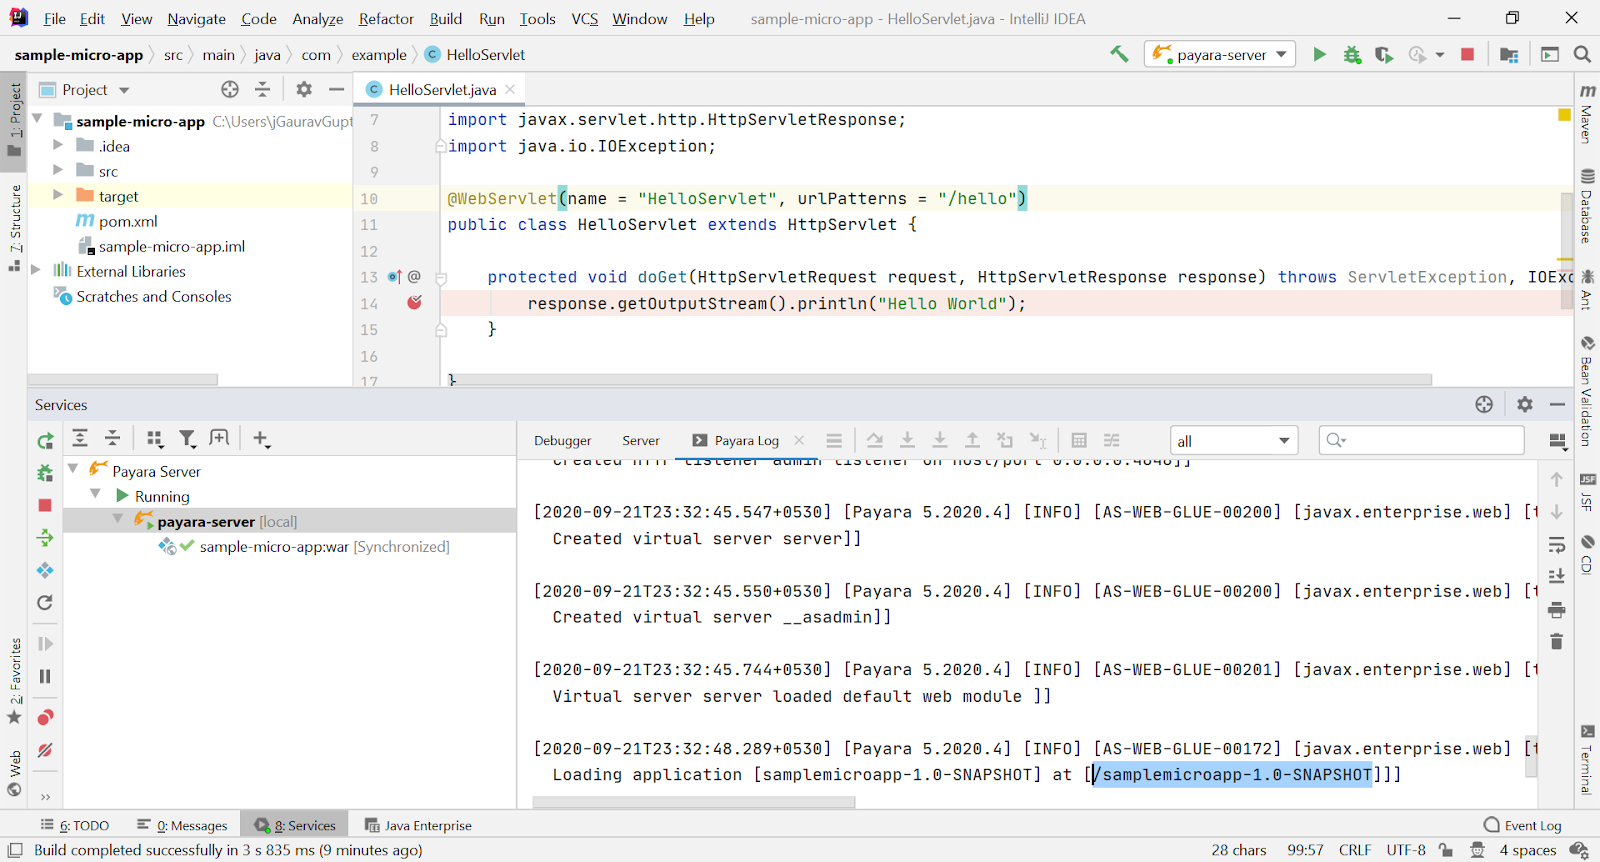
You can see the server log in the Run > Payara Log window.
You can filter logs by level with the dropdown menu on the right of the Payara Log
|
Deploying an Application to Payara Server from IntelliJ
To deploy an application to Payara Server you must further edit the run configuration you are using to run Payara Server from IntelliJ.
-
Select the Run Configurations drop down menu
-
Click on Edit Configurations
-
Choose the Payara Server configuration to which you want to deploy the application.
-
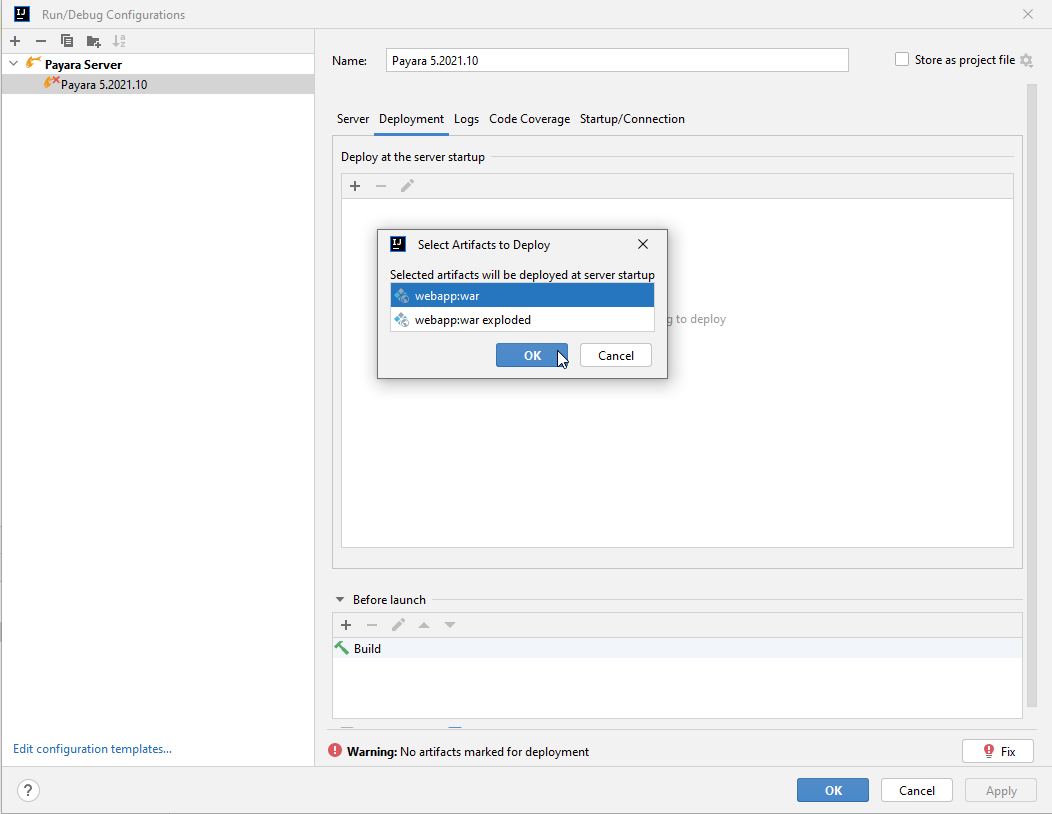
In the configuration settings, navigate to the Deployment section and click on the + button.
-
Select Artifact… then choose the non-exploded format of your application’s name.
-
Click OK
After application deployed to the Payara Server, IntelliJ starts a web browser and opens the application context root in the web browser.
Deploy Applications in a Local Docker Container
The Payara Server tools for IntelliJ IDEA include Docker integration, making it seamless to deploy exploded applications to a Payara Server instance running within a local Docker container.
-
Run the Payara Server Docker container using the following command:
docker run -p 8080:8080 -p 4848:4848 -p 9009:9009 -v HOST_PATH:CONTAINER_PATH payara/server-full:{page-version}Replace
HOST_PATHwith the actual host path andCONTAINER_PATHwith the desired container path that must be the exploded application path or parent path of application.The
HOST_PATHpoints to the location on your host machine, andCONTAINER_PATHis the corresponding location inside the container. -
Open Intellij IDEA Ultimate and first create the new Payara Server configuration by selecting the Edit Configuration option:
-
In the Run/Debug Configurations dialog, click
+, expand the Payara Server node, and select Remote. -
To add the Payara Server to the configuration, click the Configure… button and set it to the Payara Server’s installation path with the same version as the one running in the Docker container.
-
For Docker integration, choose the "Docker Volume" option and provide the
HOST_PATH(e.g.,D:/test) andCONTAINER_PATH(e.g.,/mnt/test) mapping details.This mapping should align with the exploded application path or parent path of exploded application.
-
Navigate to the Deployment section and click on the
+button to select Artifact…. -
Click OK
-
Click the Run or Debug button from top-right panel to deploy the application to the registered Payara Server docker instance.
Deploy Applications in a WSL Environment
Another noteworthy feature is the integration of the Payara Server Tools with Windows Subsystem for Linux (WSL).
This integration empowers developers to manage and deploy exploded applications to a Payara Server instance running within WSL.
Here’s how you can make use of this feature:
-
Start the Payara Server instance within WSL:
-
Run the following command to start the server:
./asadmin start-domain -
Set a password for the admin user:
./asadmin change-admin-password -
Enable secure admin:
./asadmin enable-secure-admin -
Restart the Payara Server domain:
./asadmin restart-domain
-
-
Register the WSL-based Payara Server instance in the IntelliJ IDEA:
-
Open Intellij IDEA Ultimate and first create the new Payara Server configuration by selecting the Edit Configuration option:
-
In the Run/Debug Configurations dialog, click
+, expand the Payara Server node, and select Remote. -
To add the Payara Server to the configuration, click the Configure… button and set it to the Payara Server’s installation path running within WSL on your Windows machine.
-
For WSL integration, choose the "WSL" option and make sure Use SSL Connection option is checked.
-
Enter the host (fetched via the command
hostname -Iin WSL instance) and the necessary credentials. -
Navigate to the Deployment section and click on the + button to select Artifact….
-
Click OK
-
Click the Run or Debug button from top-right panel to deploy the application to the registered Payara Server WSL environment.
-