Apache NetBeans IDE provides tools to allow users to automatically convert the source code of Java/Jakarta EE 8 applications to Jakarta EE 10.
| The features described on the following page will be available until Apache NetBeans 19 is released. You can see the release dates here: https://cwiki.apache.org/confluence/display/NETBEANS/Release+Schedule |
Transform a Single File
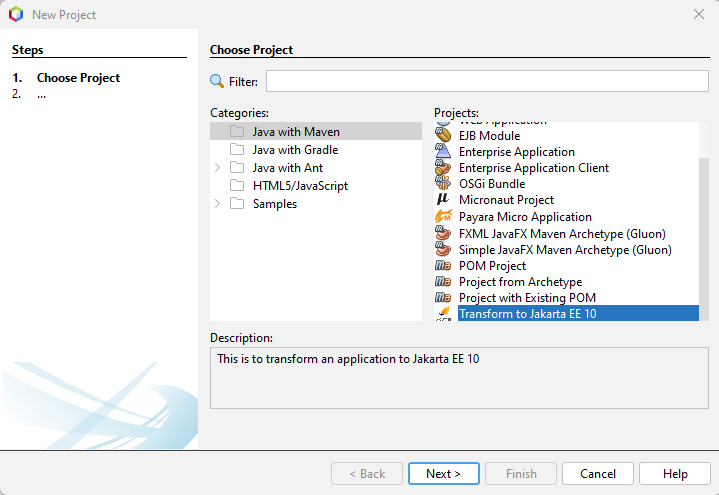
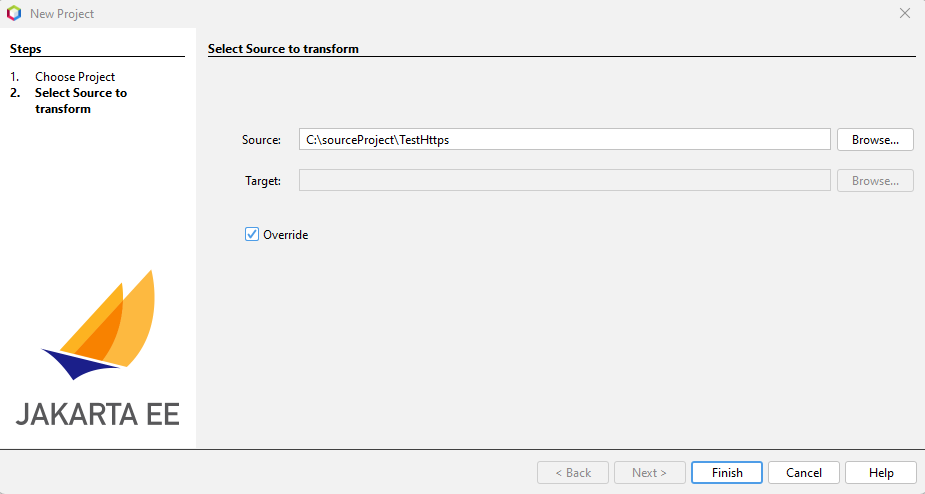
Select from New Project Wizard the option named Transform to Jakarta EE 10:
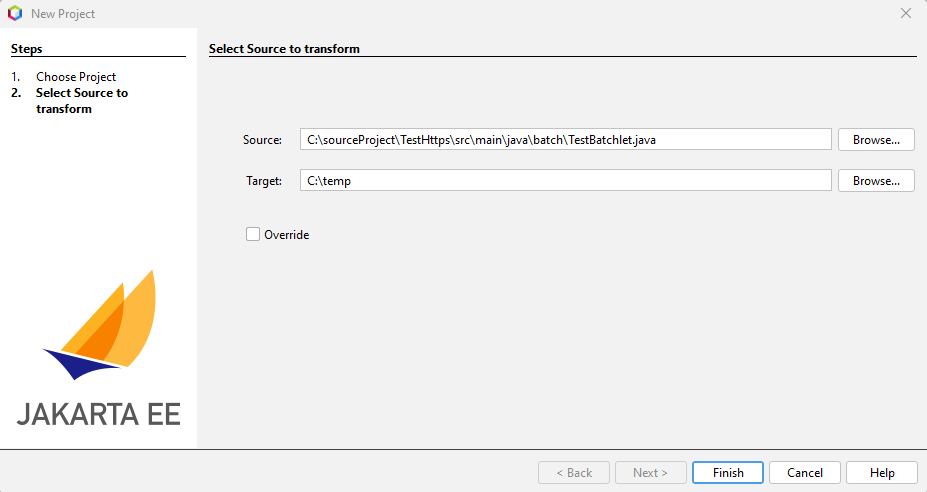
Proceed to select the source file and target folder and click Finish to start transformation:
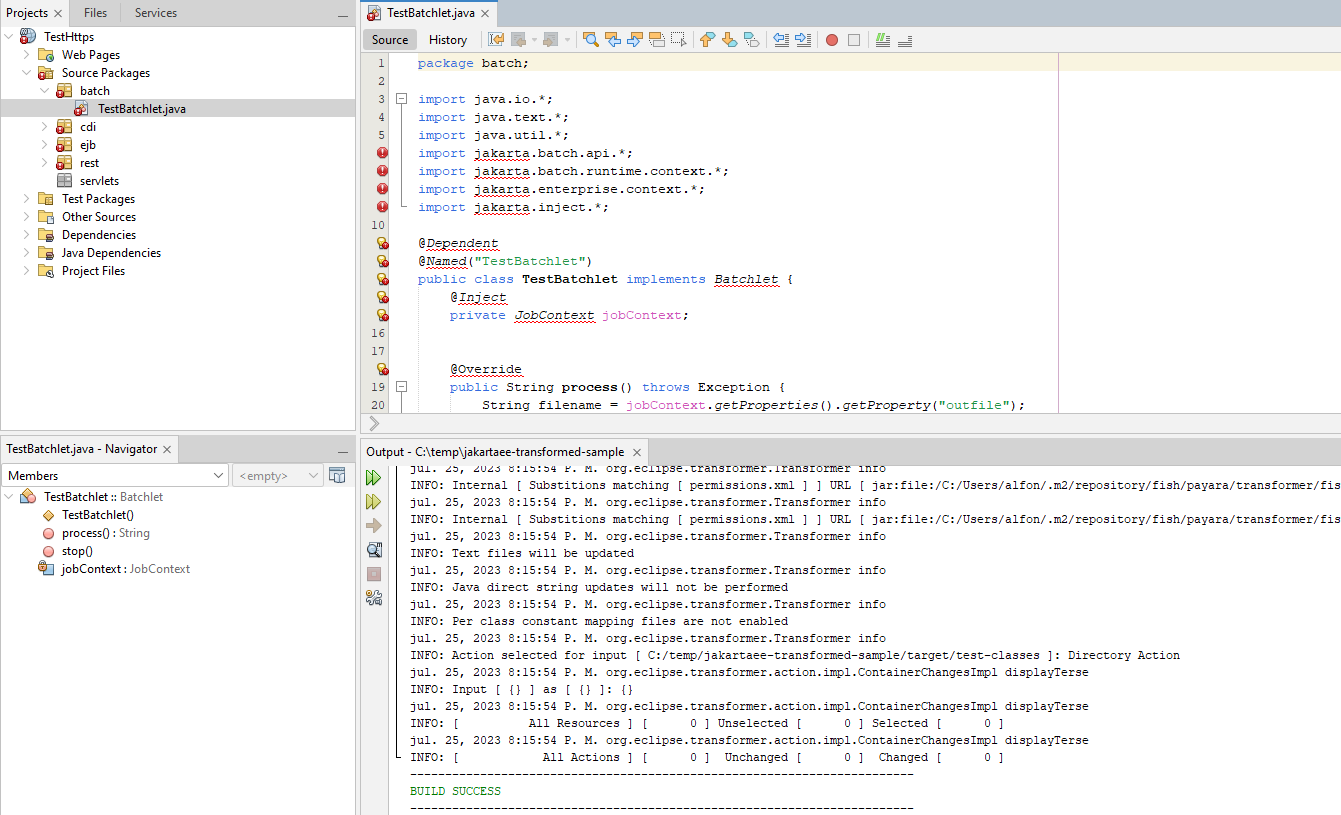
Check the progress and result of the operation on the Output tab:
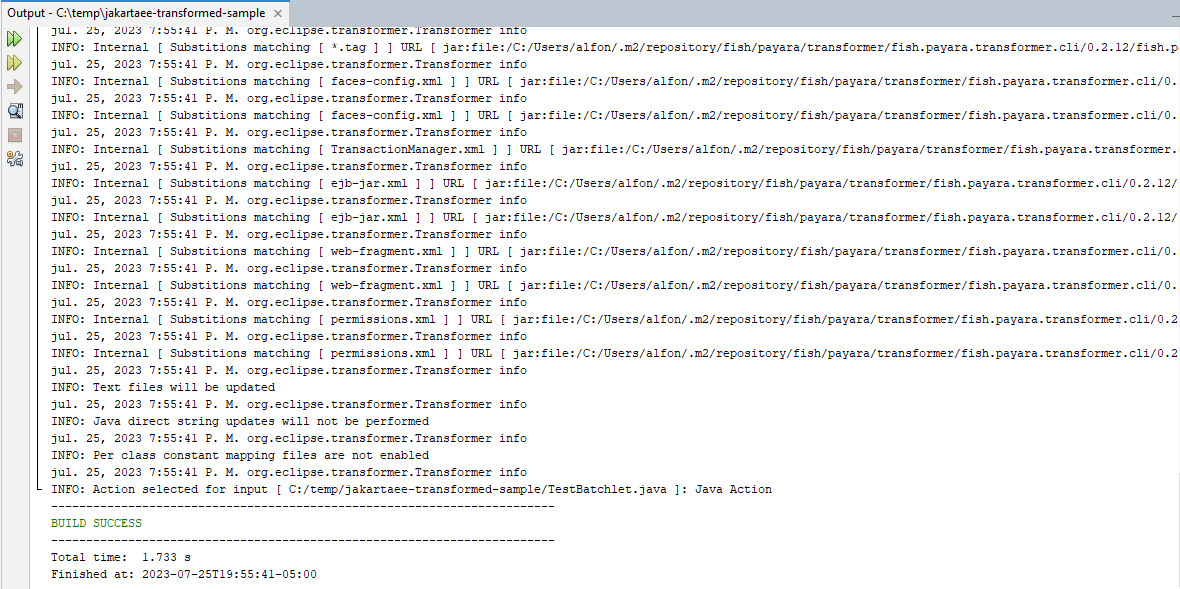
This will create a folder named jakartaee-transformed-sample into the target folder (selected from the wizard) with the transformed file:

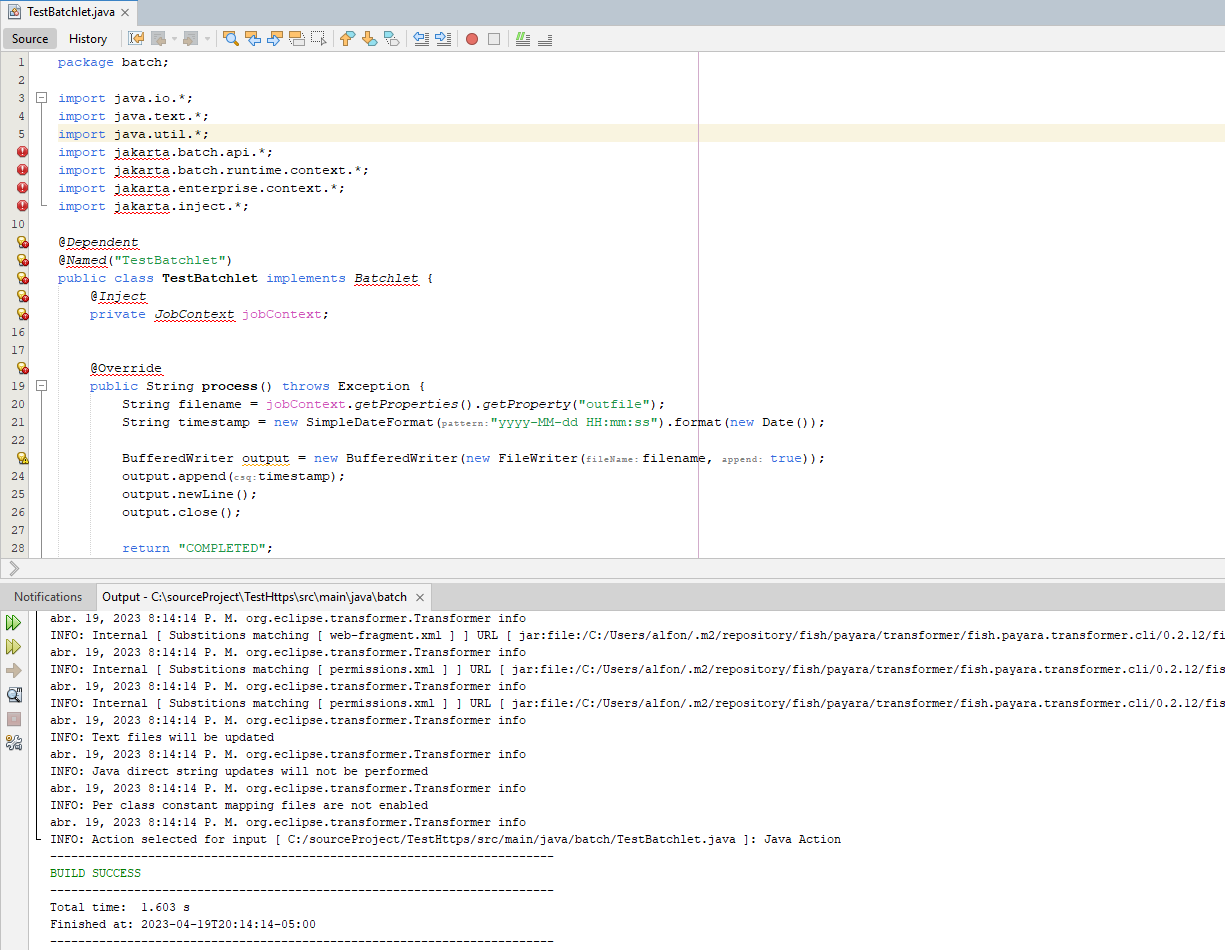
To verify the resulting file you’ll have to open it using Apache NetBeans editor:
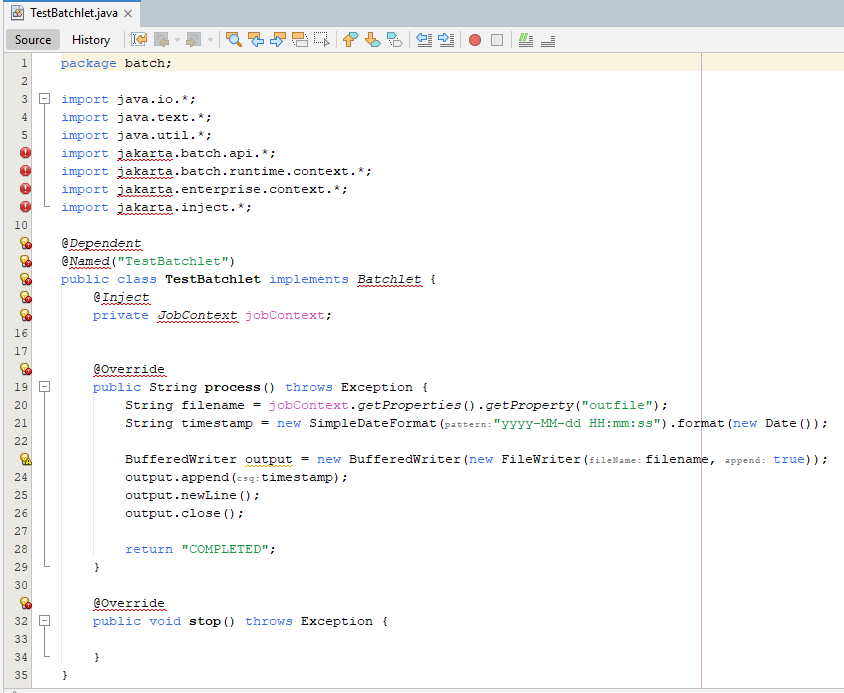
| From the image you can see errors on the editor. This is happening because after doing the transform operation it is needed to change the jakarta dependency manually on the pom file associated with the project. |
Transform a Single File in the Same Location
It is possible to save the transformed file in the same location where the original resides.
To do this, select the source location and then mark the Override option. This will disable and clean the target value, finally select Finish:
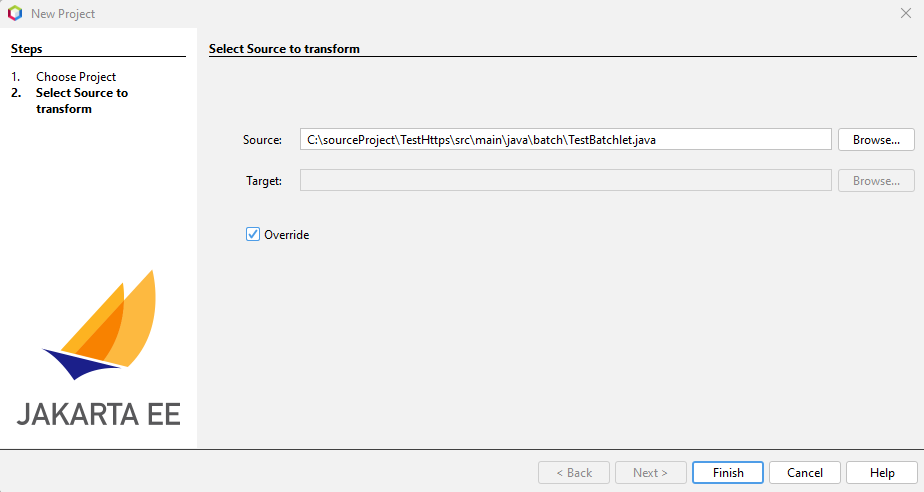
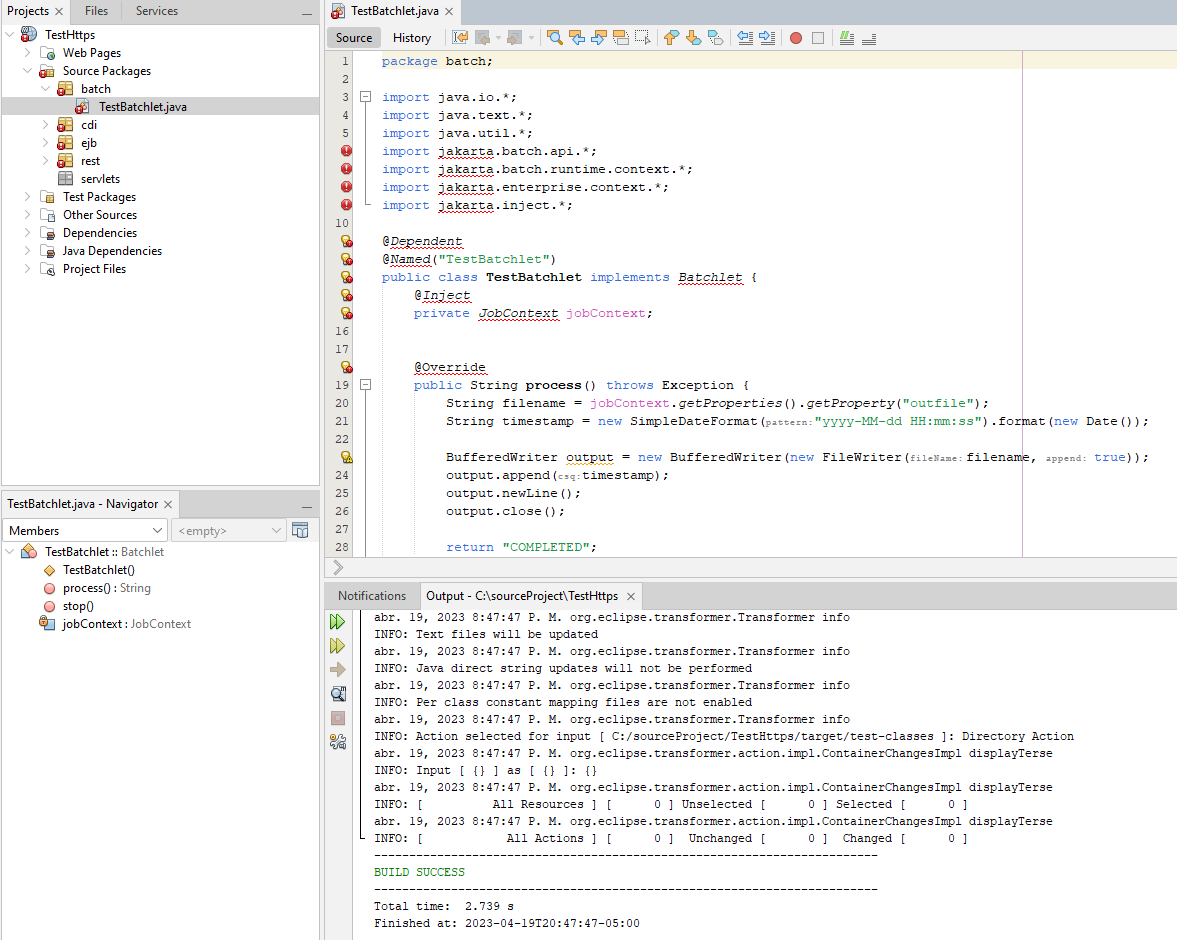
Once the file has been transformed, it will override the file. You can open with NetBeans editor:
| From the image you can see errors on the editor. This is happening because after doing the transform operation it is needed to change the jakarta dependency manually on the pom file associated with the project. |
Transform All Files in a Folder
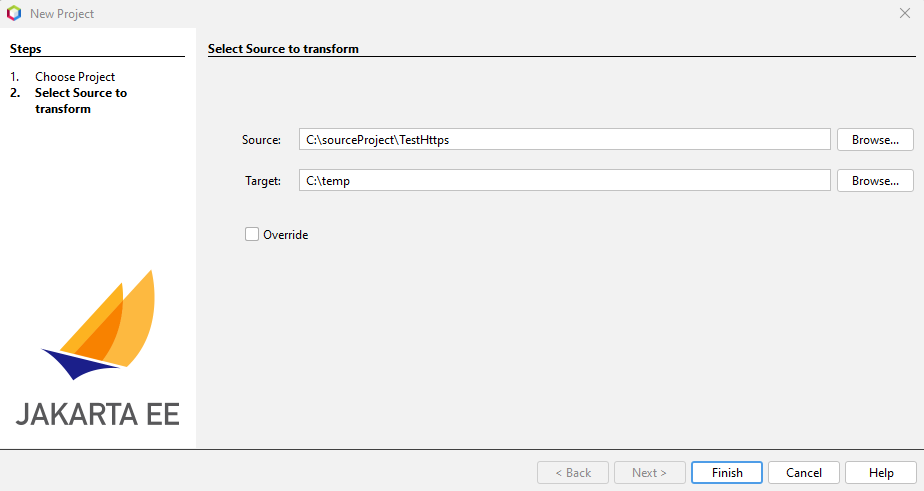
You can transform all source code files located in a folder. To do this you must select the source folder and the target folder, finally click Finish:
Check the progress and result of the operation on the Output tab:

| The IDE will also show a dialog with additional recommendations to configure the source code’s project POM configuration. These configuration changes will have to be done manually if required. |
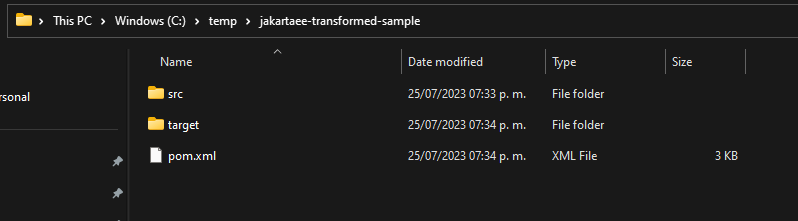
This will create a folder named jakartaee-transformed-sample into the target folder (selected from the wizard), with the transformed folder and the contents into it:
Apache NetBeans will automatically open the new folder and you can verify results within the IDE:
| From the image you can see errors on the editor. This is happening because after doing the transform operation it is needed to change the jakarta dependency manually on the pom file associated with the project. |
Transform All Files in a Folder in the Same Location
It is possible to save all transformed files in the same location where the originals reside.
To do this you should select the source folder and then mark the Override option, finally click Finish:
Once the contents of the folder have been transformed, the new files will override the current ones and the IDE will open the project to verify results:
| From the image you can see errors on the editor. This is happening because after doing the transform operation it is needed to change the jakarta dependency manually on the pom file associated with the project. |