The Apache NetBeans IDE has built-in integration with Payara Server and allows you to easily perform the following tasks:
-
Start and stop the Payara Server from within the IDE
-
Define the Java runtime to be used by Payara Server
-
Deploy an application from within the IDE
-
Auto Publish & Hot Deploy your application
Adding Payara Server to Apache NetBeans IDE
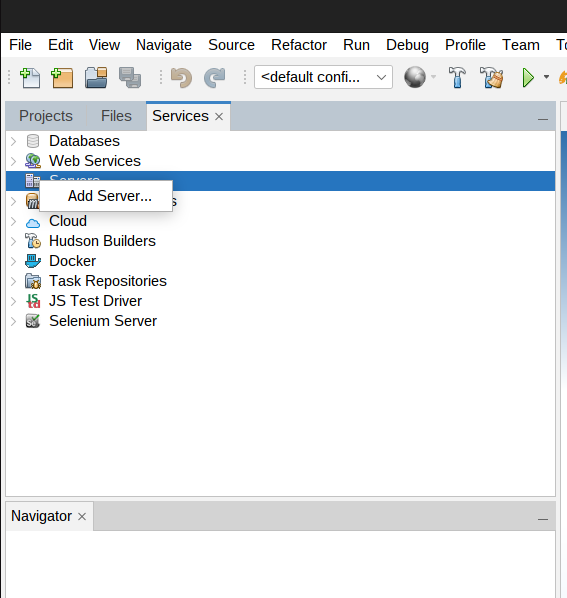
Open the project you want to deploy to Payara Server. Go to the Server tab and right click to add a new server.
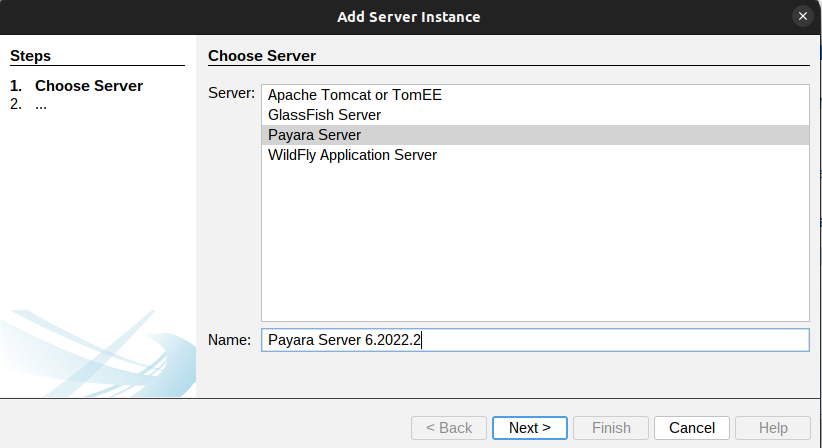
Select Payara Server, choose a new name for the server and click Next.
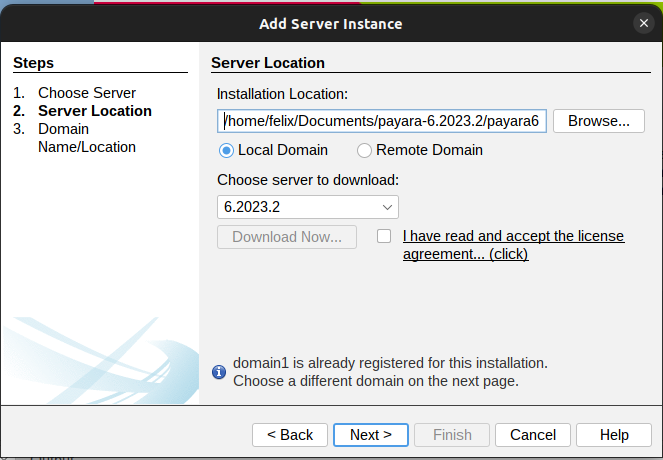
Browse to the location of the Payara Server installation. If the DAS is on another machine, make sure to select the remote domain option. Otherwise, use the local domain option.
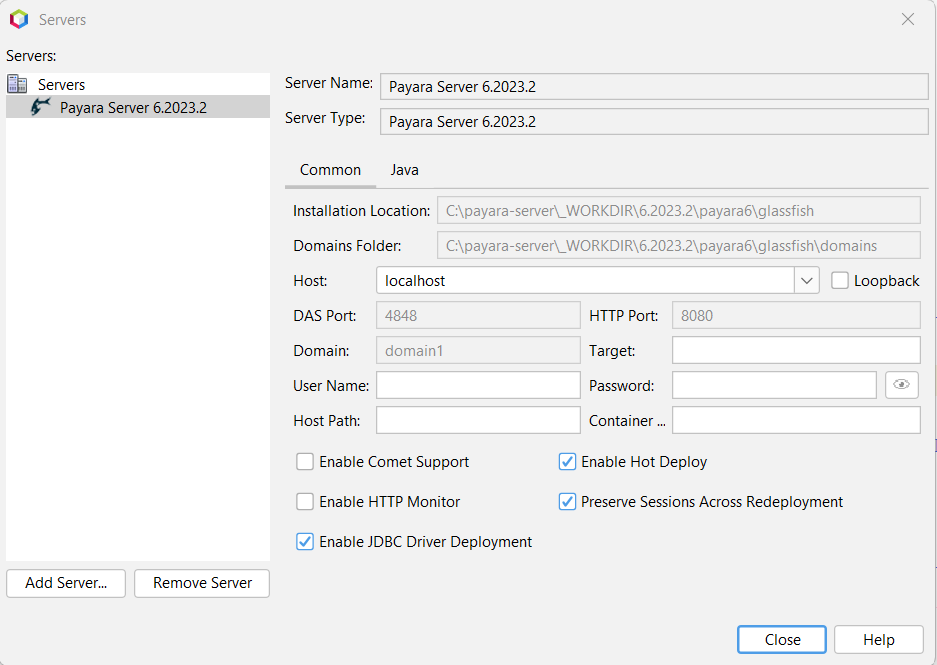
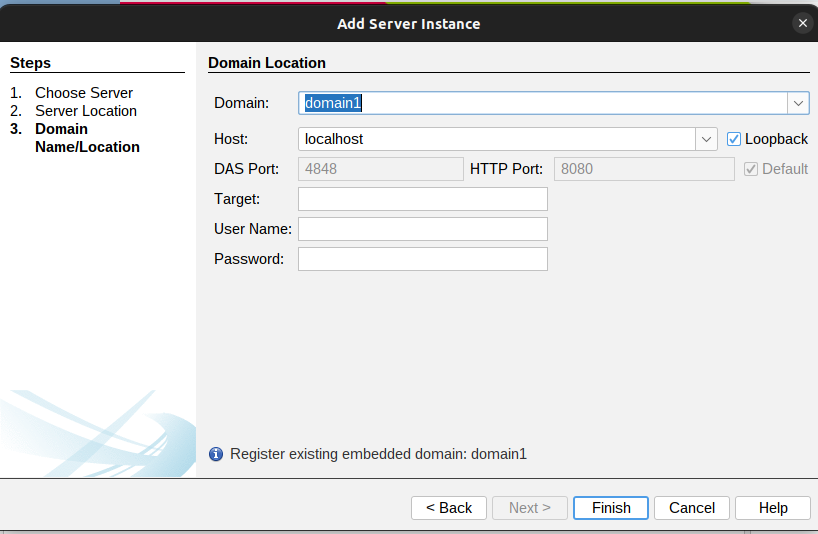
The following details are configurable on the next screen:
-
Domain → The domain you want to use. The default domain is domain1.
-
Host → The hostname the server will be listening on. the default hostname is localhost.
-
DAS Port → The port used by the DAS. The default port is 4848.
-
HTTP Port → The port used by the deployed applications. The default port is 8080.
-
Target → The name of the node that the application will be getting deployed to. This can be left blank for a local installation.
-
Username → The admin username for Payara Server. The default username is admin.
-
Password → The admin password for Payara Server. The default password is blank.
Managing Payara Server from Apache NetBeans IDE
Once the configuration is complete, you can manage your Payara Server directly from Apache NetBeans. By right-clicking on the previously-configured server, we can do the following actions:
-
Start or stop the server
-
Start debugging the server
-
Open the admin console
-
Open the server.log file
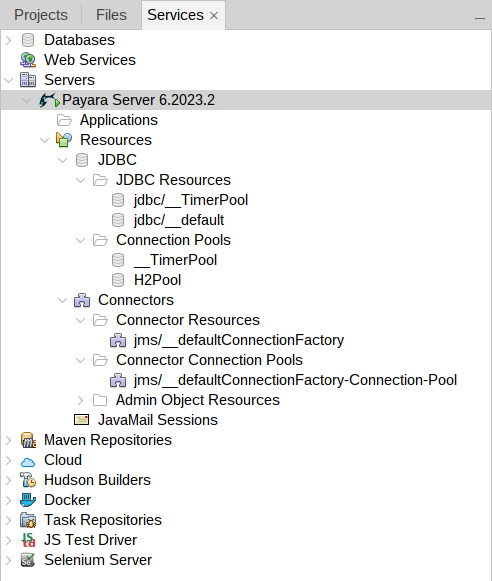
Exploding the server dropdown will list Applications, Resources and Web Services. This allows you to view and manage certain Payara Server configurations, from the NetBeans interface.
Deploying Applications to Payara Server from Apache NetBeans IDE
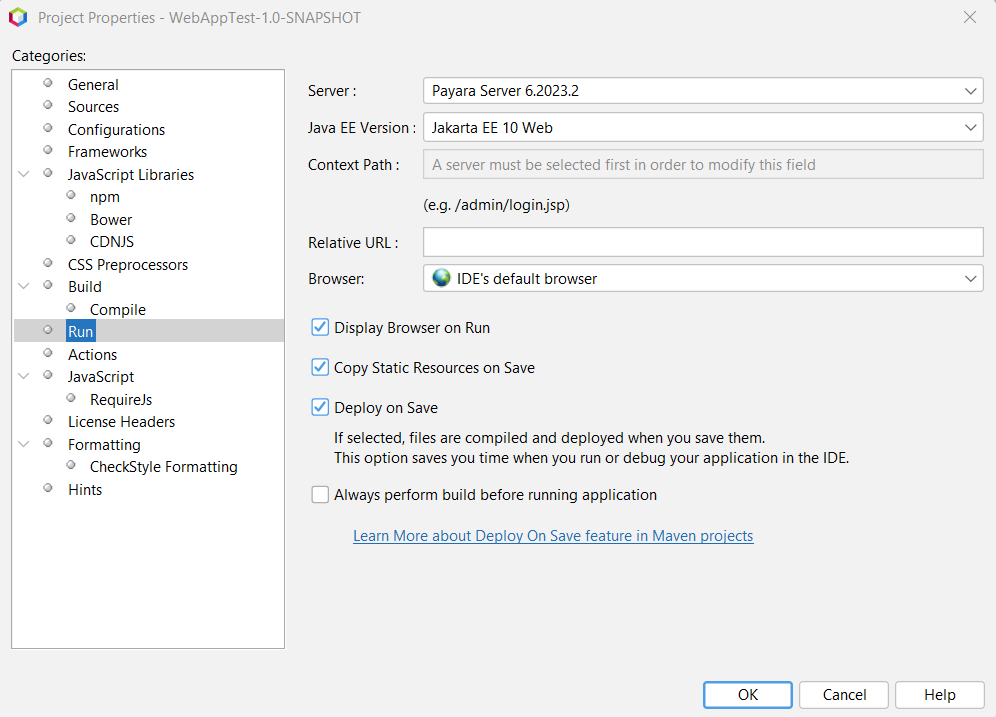
An application can be deployed and un-deployed easily from within Apache NetBeans. First, the application run settings need to be configured to use Payara Server. Go to Properties on a project and then the Run section of this window. This menu lists the configuration for deploying the application.
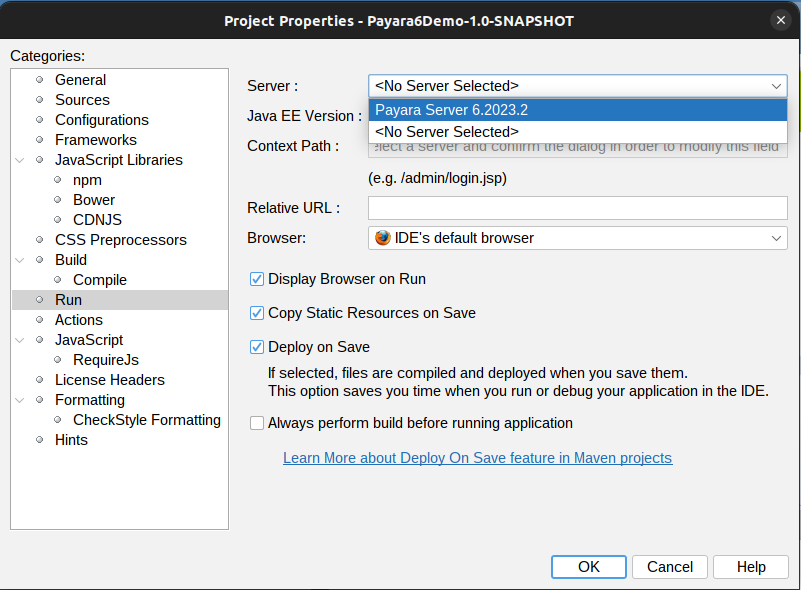
Select the Payara Server you have configured. You can also select a context path for the application to be deployed to, as well as NetBeans behaviour when deploying.
Deploying to Payara Server now only requires running the application like any other NetBeans project. Once it’s deployed, the Services view will then display the application under Payara Server, where you can undeploy, enable, disable and view the application in the browser.
Deploy Applications in a Local Docker Container
The Payara Server tools for Apache NetBeans include Docker integration, making it seamless to deploy exploded applications to a Payara Server instance running within a local Docker container.
To take advantage of this feature, follow these steps below:
-
Open Apache NetBeans and navigate to the Services tab.
-
Register a new Payara Server instance by performing the following:
-
Click on the "Add Server" button.
-
Select the "Remote Domain" option.
-
Browse and locate the Payara Server installation directory with the same version as the one running in the Docker container.
-
Enter the domain name, host, and necessary credentials.
-
For the Docker integration, choose the "Docker Volume" option and provide the
HOST_PATH(e.g.,D:/test) andCONTAINER_PATH(e.g.,/mnt/test) mapping details.This mapping should align with the exploded application path or parent path of exploded application.
-
-
Run the Payara Server Docker container using the following command:
docker run -p 8080:8080 -p 4848:4848 -p 9009:9009 -v HOST_PATH:CONTAINER_PATH payara/server-full:{page-version}Replace
HOST_PATHwith the actual host path andCONTAINER_PATHwith the desired container path.The
HOST_PATHpoints to the location on your host machine, andCONTAINER_PATHis the corresponding location inside the container. -
Create your web application and deploy it to the registered Payara Server instance.
Hot Deploy and Auto Deploy Settings
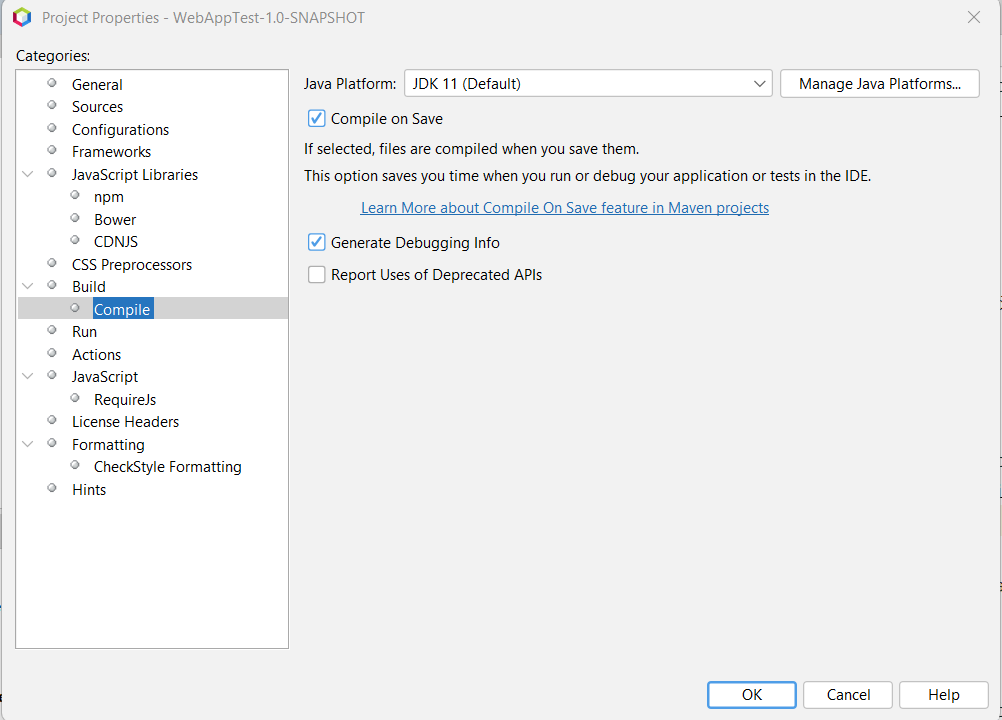
To enable the Auto Deploy features for Payara Server on the Apache NetBeans IDE, you must enable the Compile on Save and Deploy on Save features from the Project Properties.
Compile on Save can be found in the Build→Compile submenu of the project properties.
Deploy on Save can be found in the Run submenu of the project properties.
To enable the Hot Deploy feature for Payara Server on the NetBeans IDE, you must right-click the Server under the Services tab and select Properties. From the Commons tab check the Enable Hot Deploy checkbox.