Using the Payara Platform Tools and Payara Micro Community Tools plugins, you can transform whole projects or just a file from Java EE 8 to Jakarta EE 10.
| This feature is available in both Community and Ultimate editions of the plugin. |
Refactor a Java EE 8 Project to Jakarta EE 10
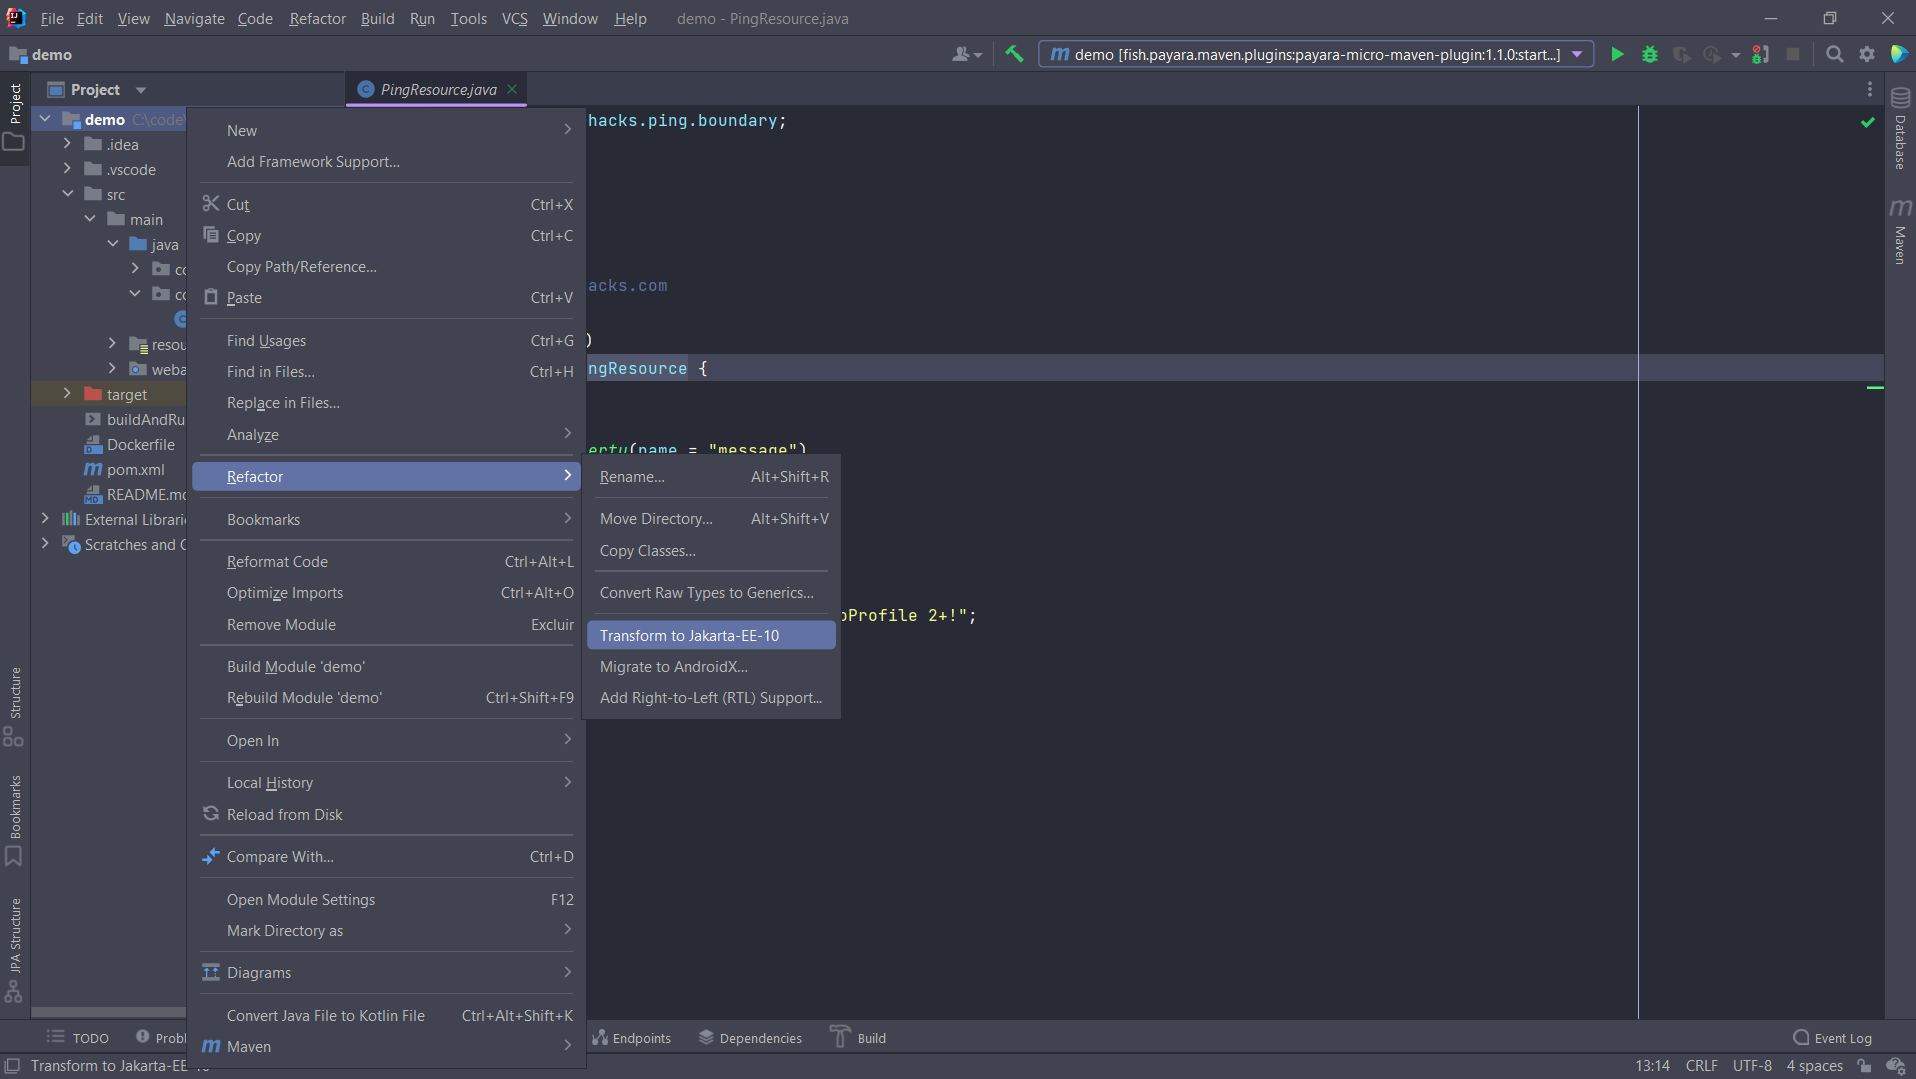
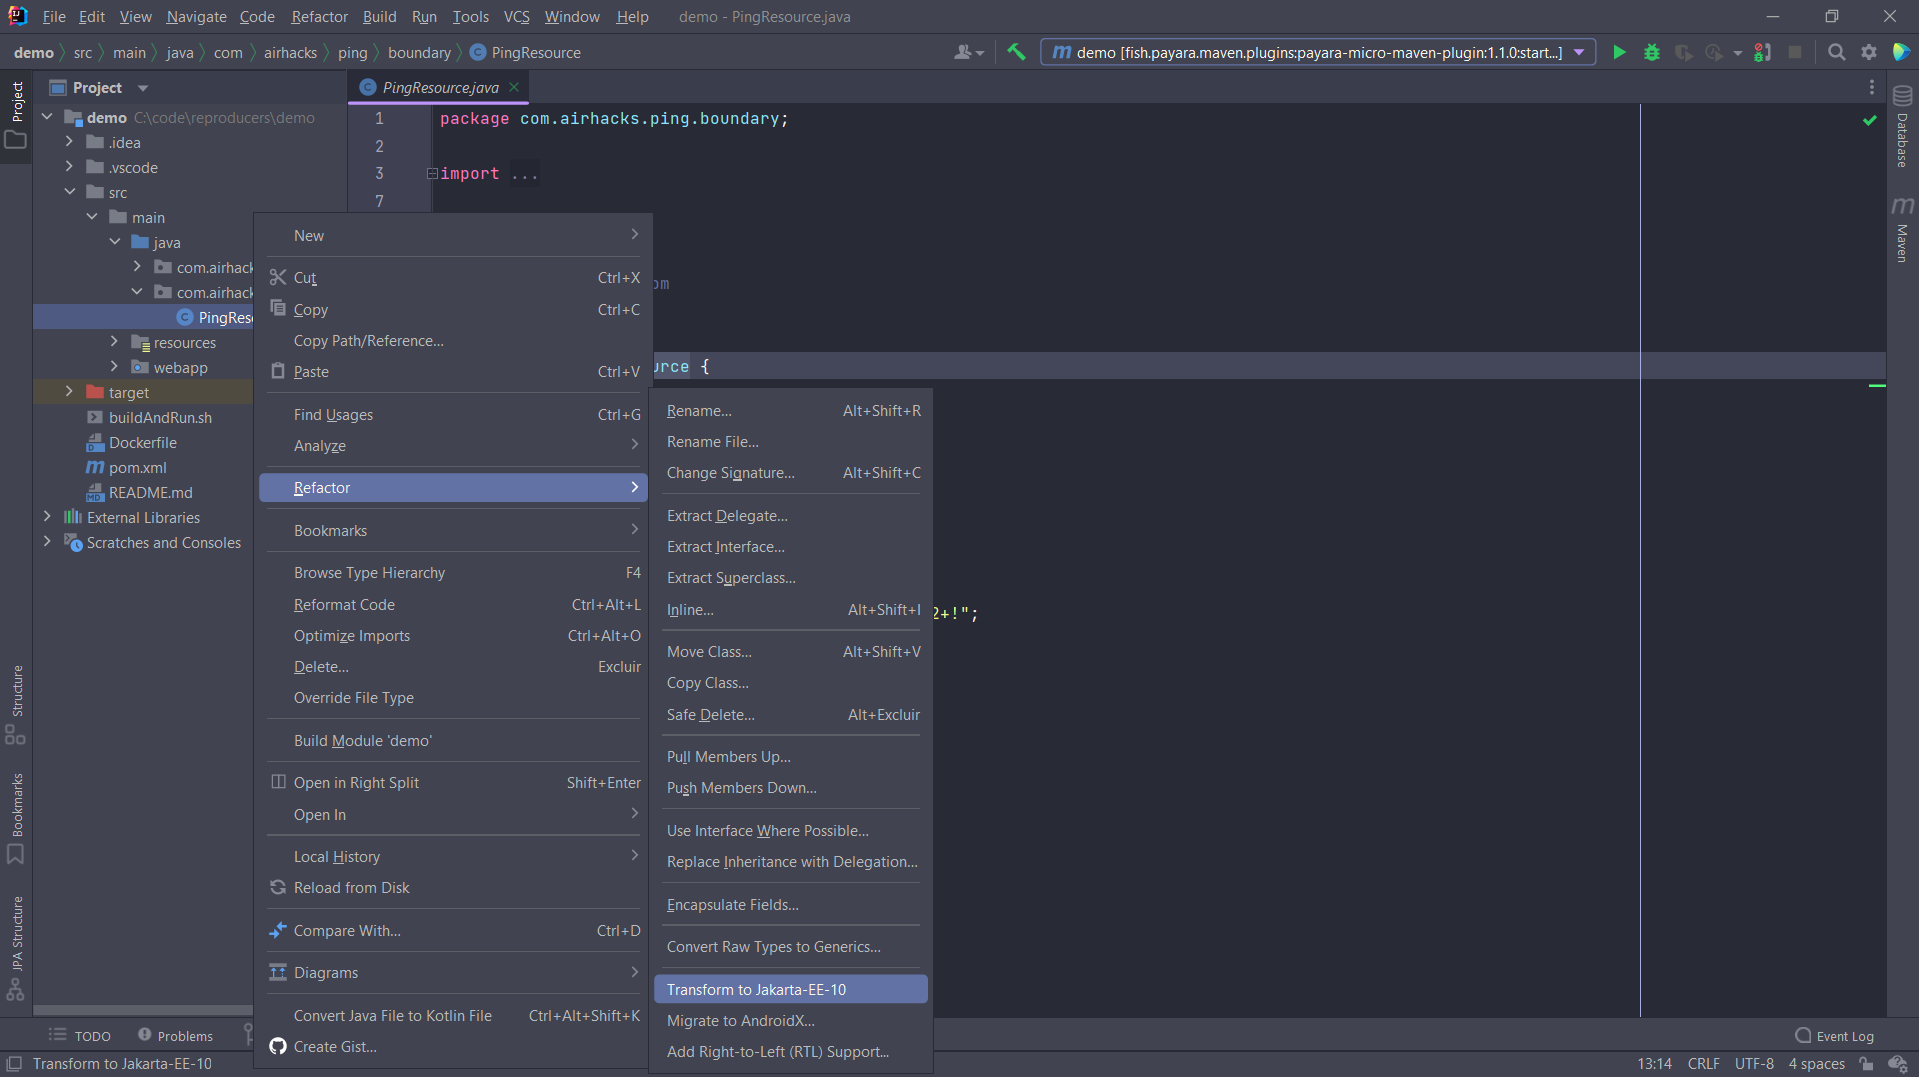
To refactor a Java EE 8 based Maven project right click on root project folder and choose Refactor → Transform to Jakarta EE 10:
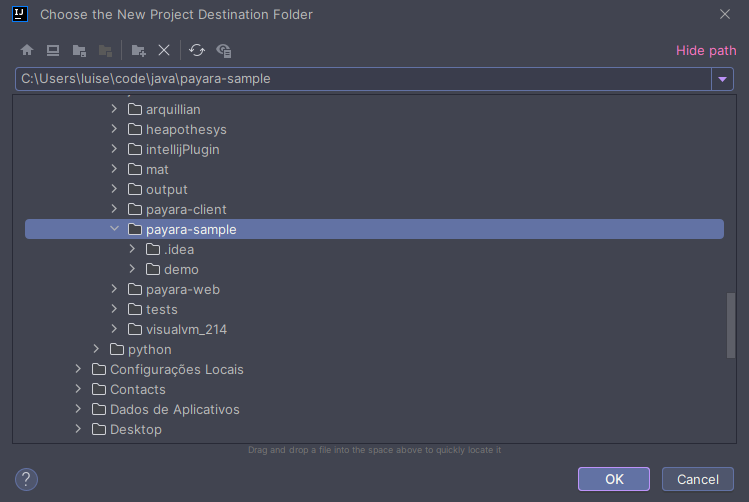
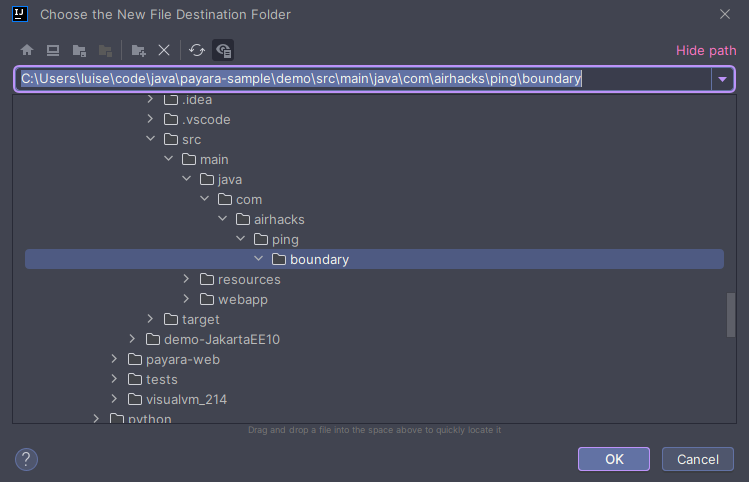
The plugin will open a dialog to choose the destination folder where the new project will be created:
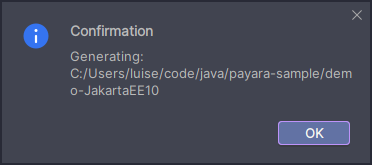
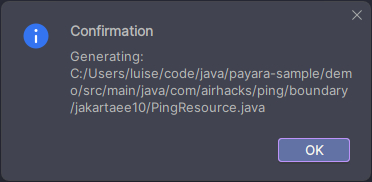
After choosing the Destination Directory, a confirmation message will appear indicating that the project is being generated.
| You can see the output of the generation process in the IntelliJ console. |
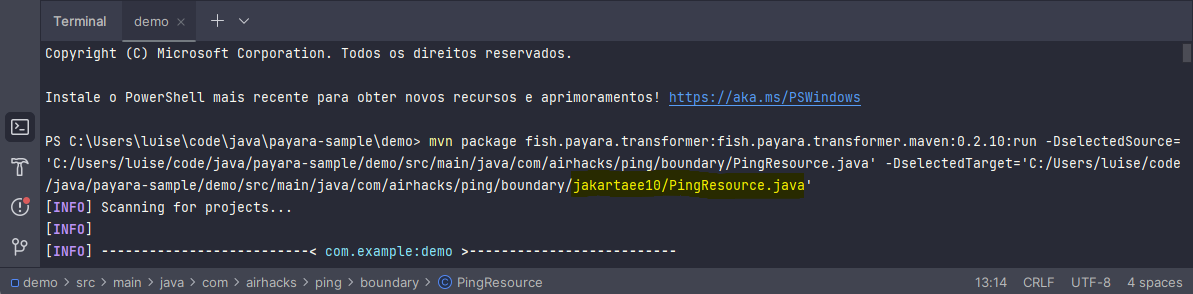
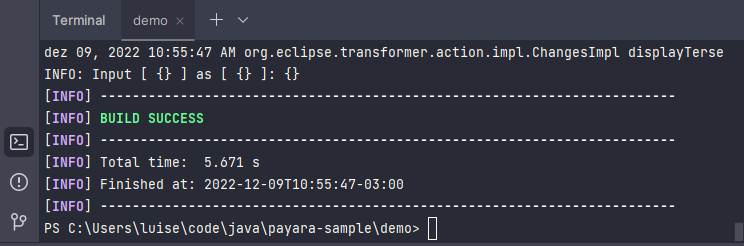
The Maven plugin that executes the transformation process will print its output to the IDE’s console:

After the creation, a Maven BUILD SUCCESS message should be logged in the IDE’s console.

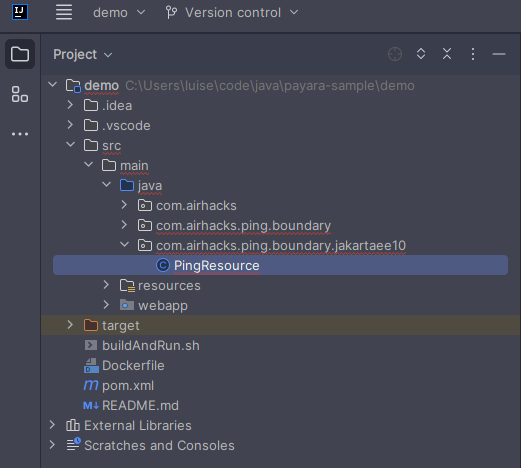
The new project with suffix -JakartaEE10 is opened in a new IntelliJ instance which loads the project from the Destination Directory previously selected.
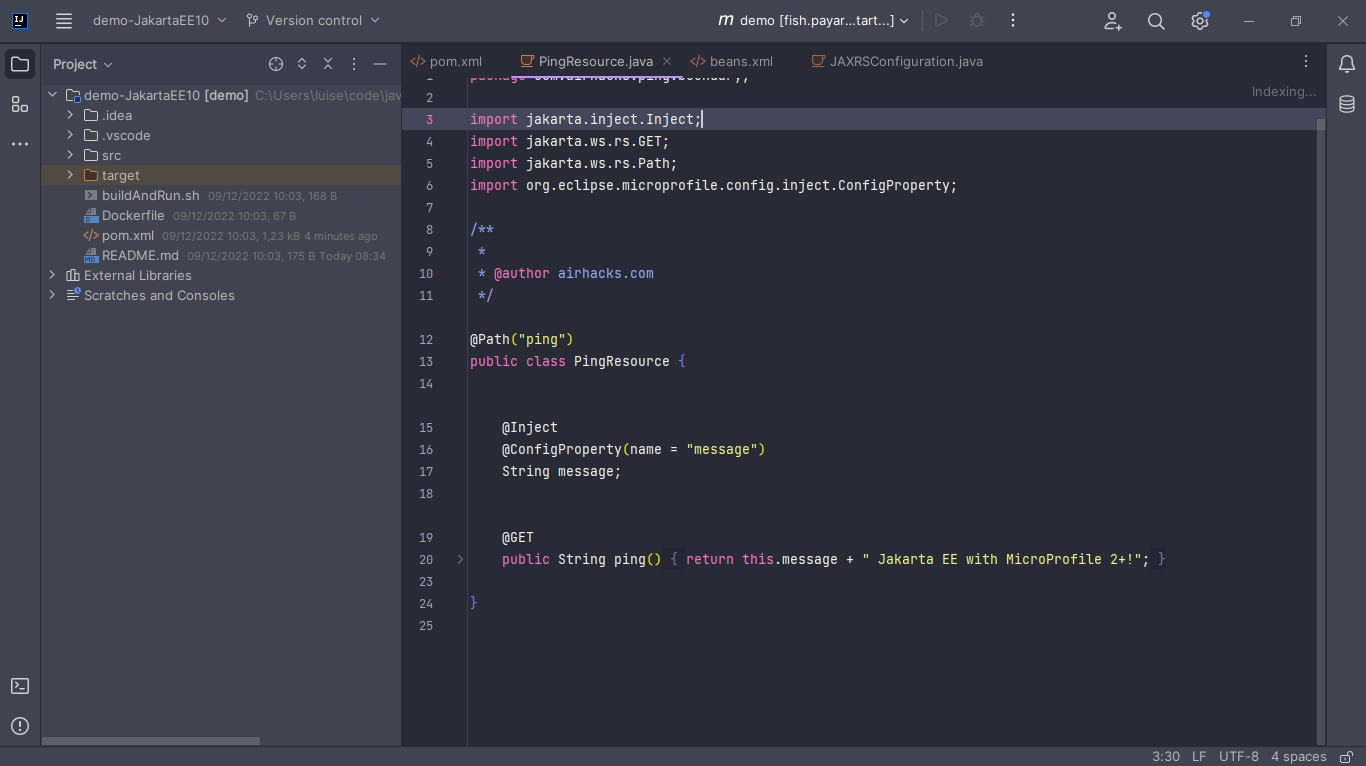
When the whole project is transformed, the plugin adds -JakartaEE10 at the end of the project name. In our example, demo-JakartaEE10 project was created from a named demo.
|
Transform a Single File
To refactor a Java EE 8 file right click on it and choose Refactor → Transform to Jakarta EE 10 option:
The plugin will open a dialog to choose the destination package where the new file will be created:
After choosing the Destination Package, a confirmation message will appear indicating that the file is being generated.
| You can see the output of the generation process in the IntelliJ console. |
The output of the Maven plugin that executes the transformation code can be reviewed in the IDE’s console:
After the new file is created, a BUILD SUCCESS message from the Maven plugin will be logged in the IDE’s console.
The new file will be located in the chosen destination package.
When a single file is transformed, a new package containing the transformed file will be created in the destination package with the suffix -jakartaee10.
|