Using the Payara Tools plugin, you can transform whole projects or single files from Java EE 8 to Jakarta EE 10.
Refactor a Java EE 8 Project to Jakarta EE 10
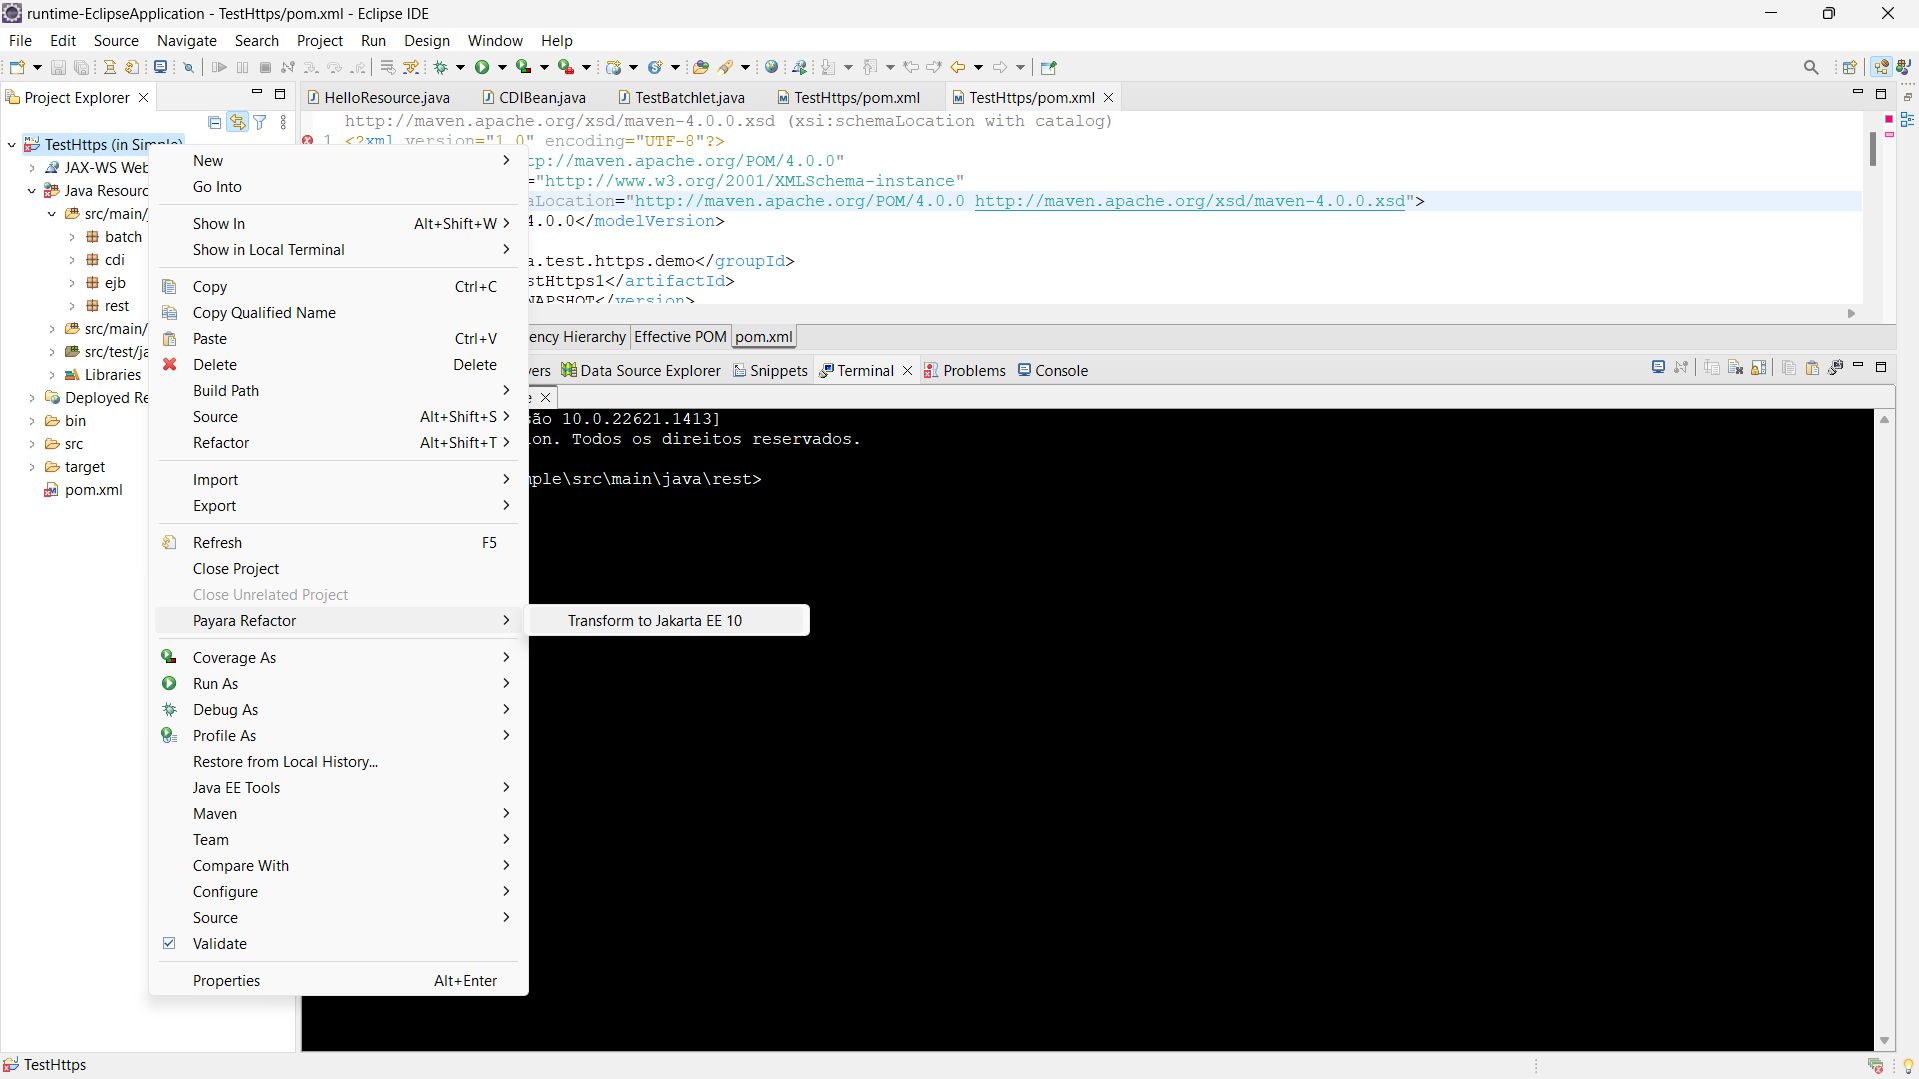
To refactor a Java EE 8 based Maven project right click on root project folder and choose Payara Refactor→Transform to Jakarta EE 10:
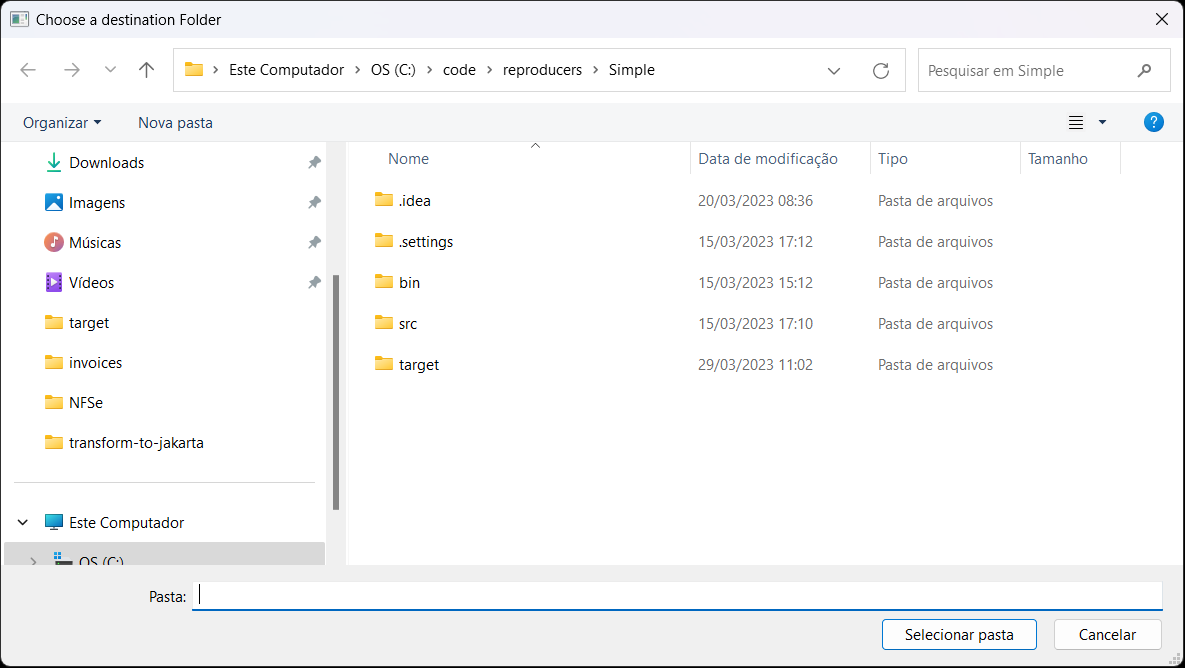
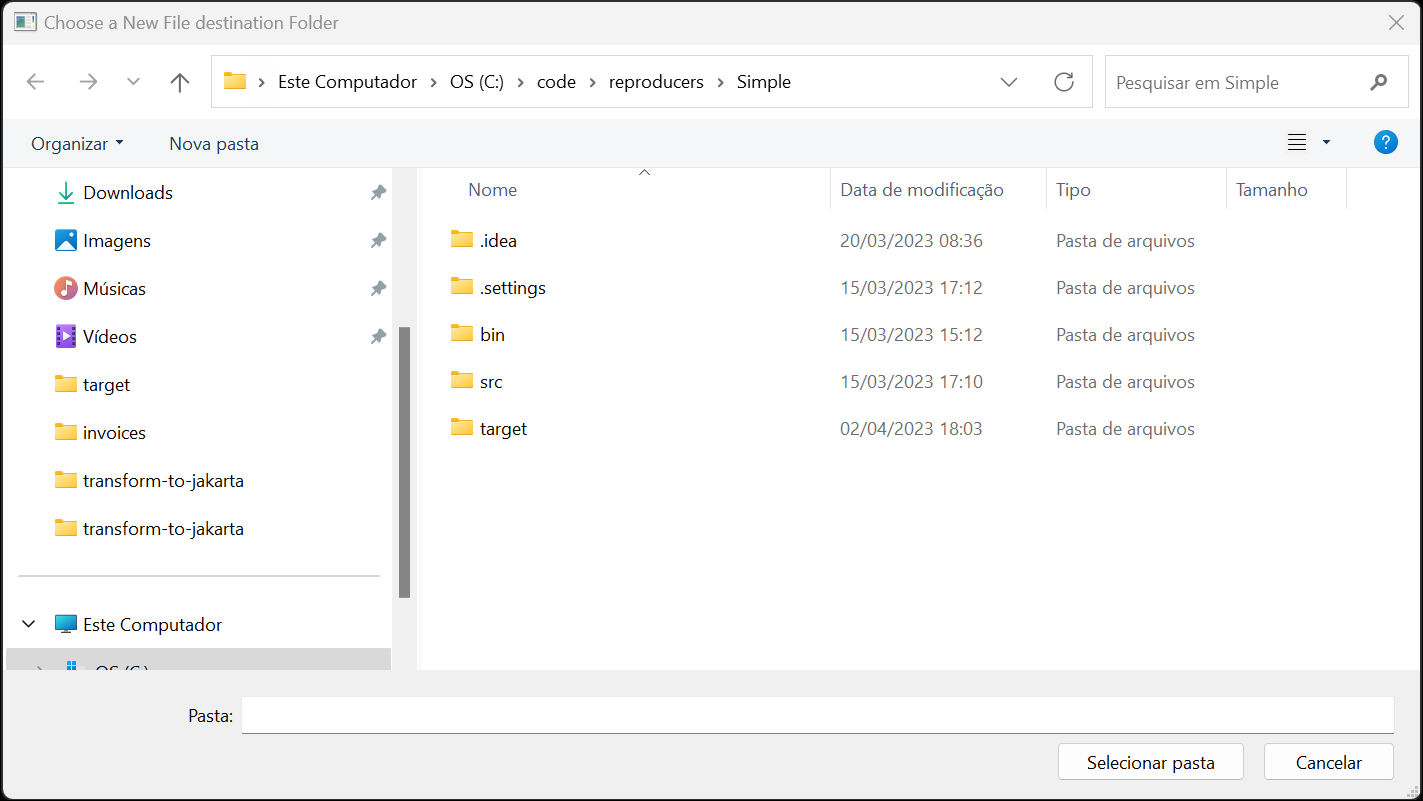
The plugin will open a dialog to choose the destination folder where the new project will be created:
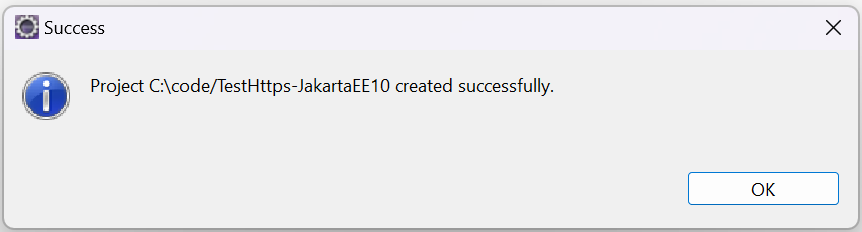
After choosing the Destination Directory, a confirmation message will appear indicating that the project was generated.
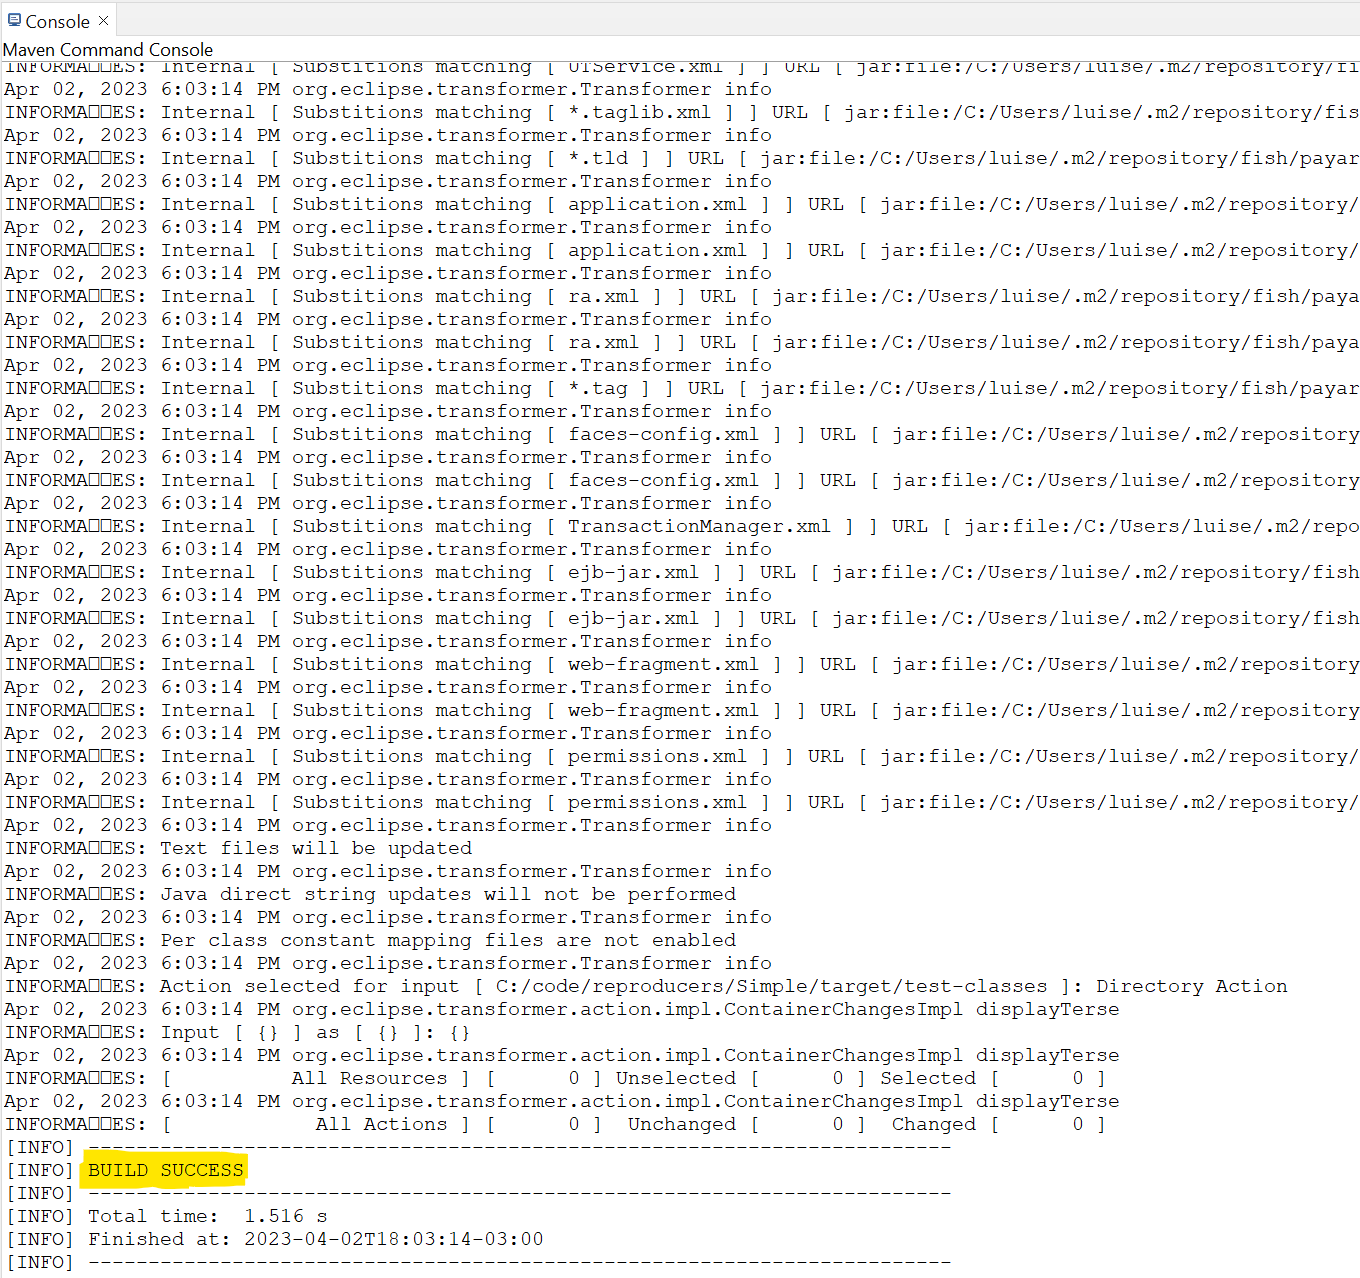
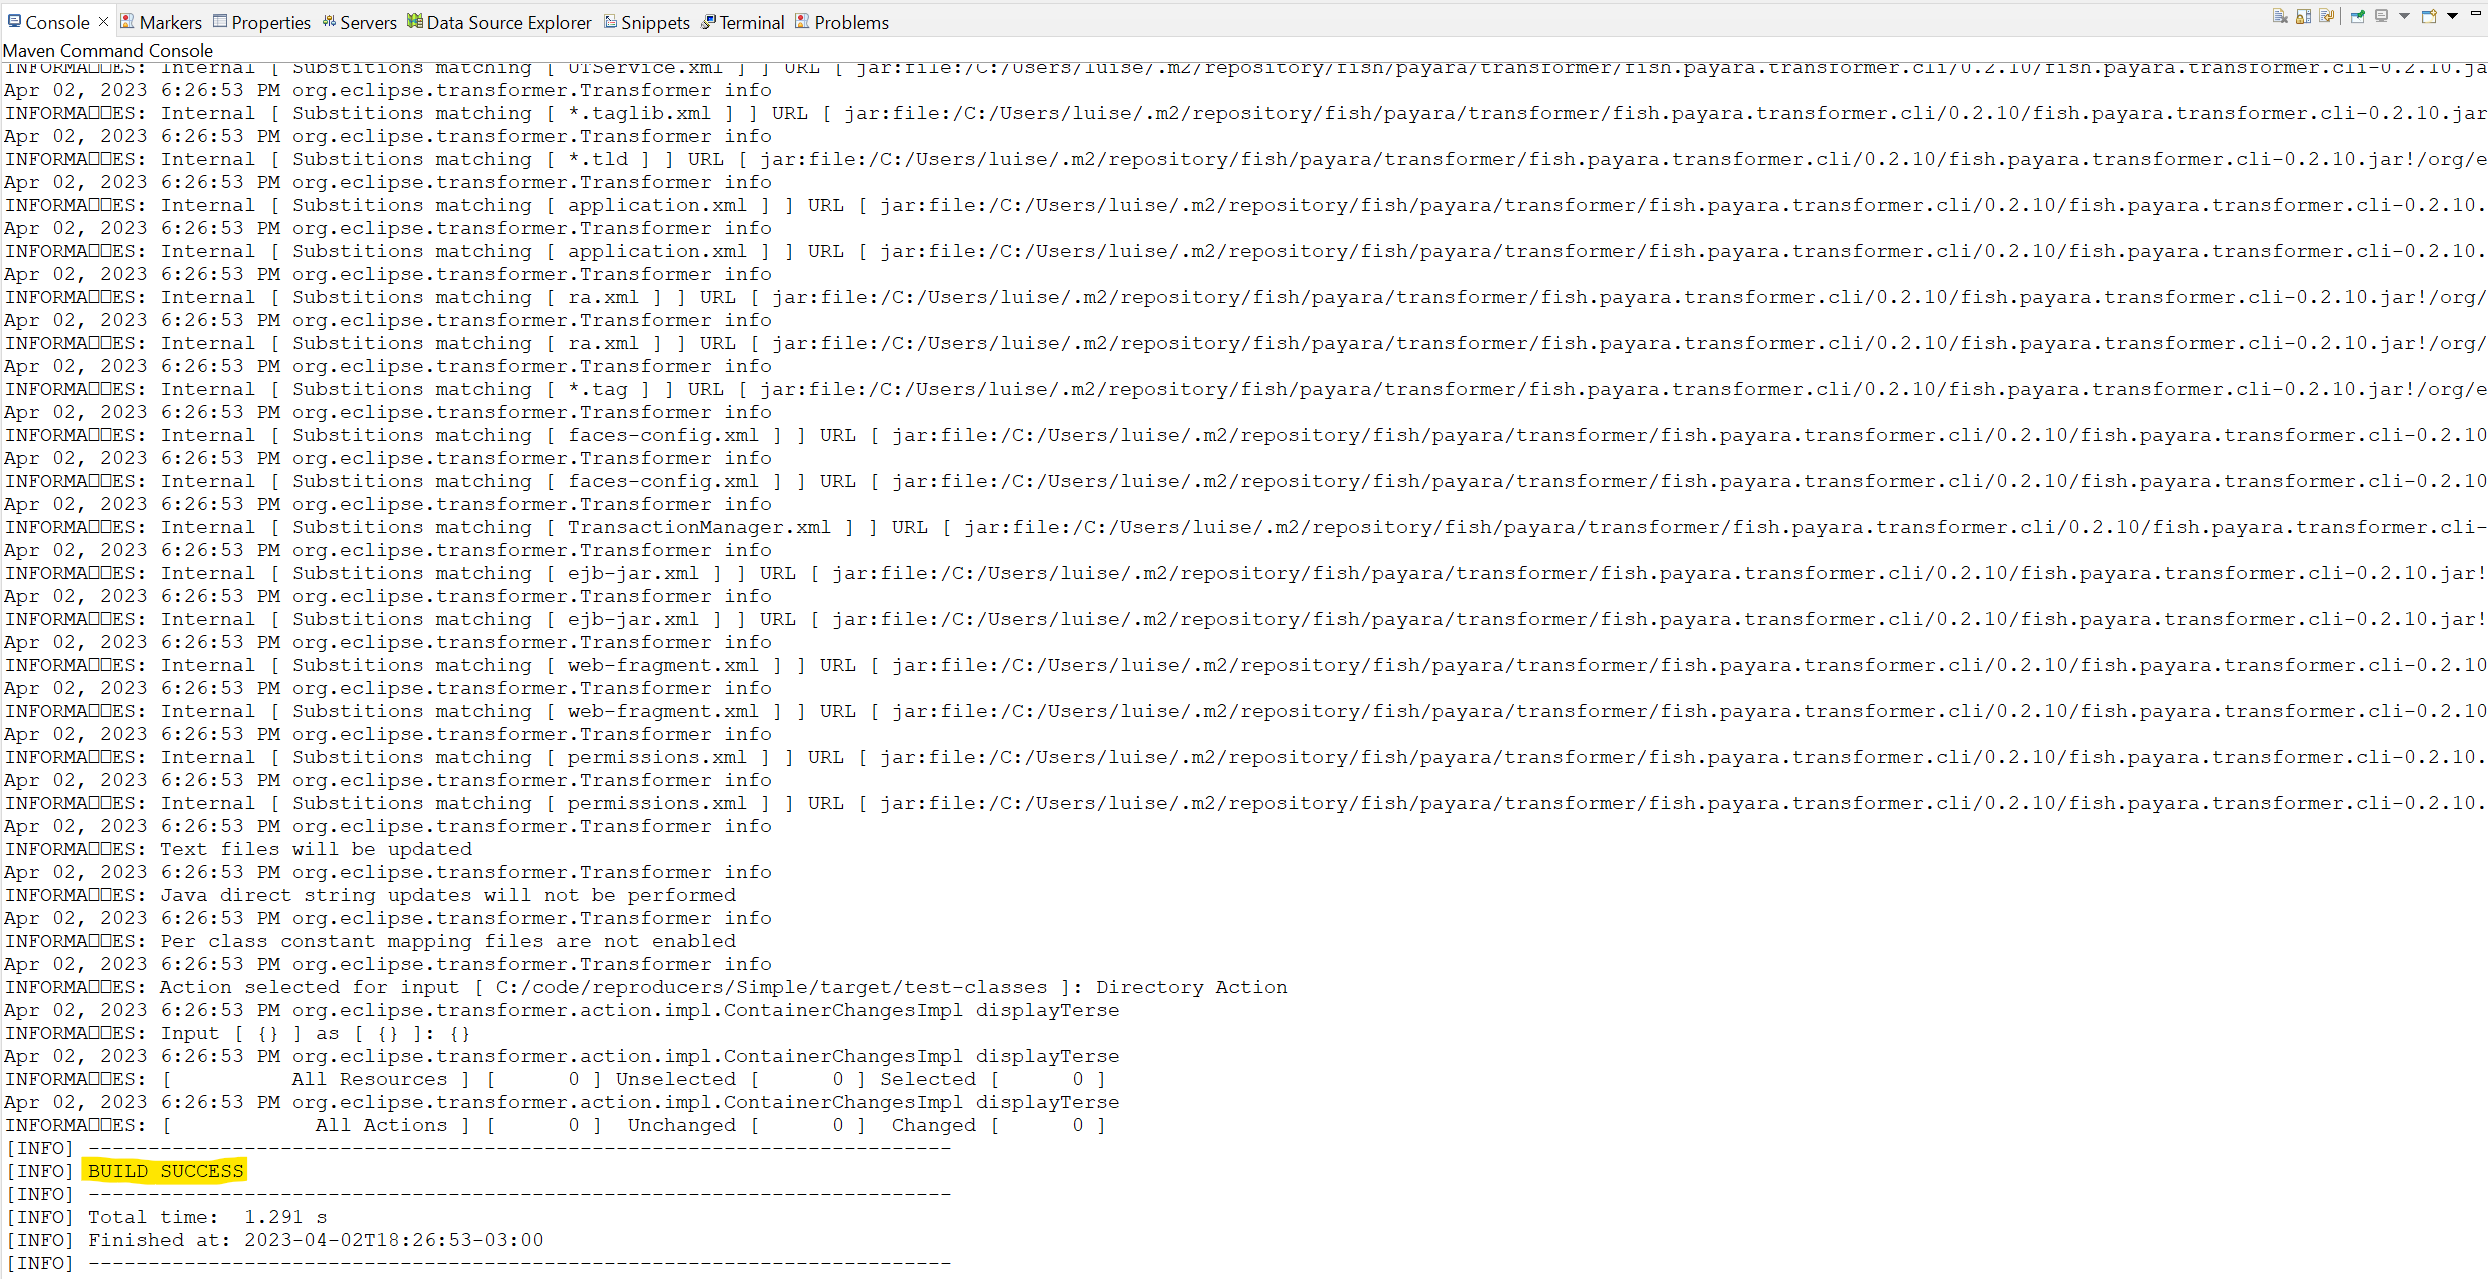
| You can see the output of the generation process in the Eclipse console. |
The Maven plugin that executes the transformation process will print its output to the IDE’s console:
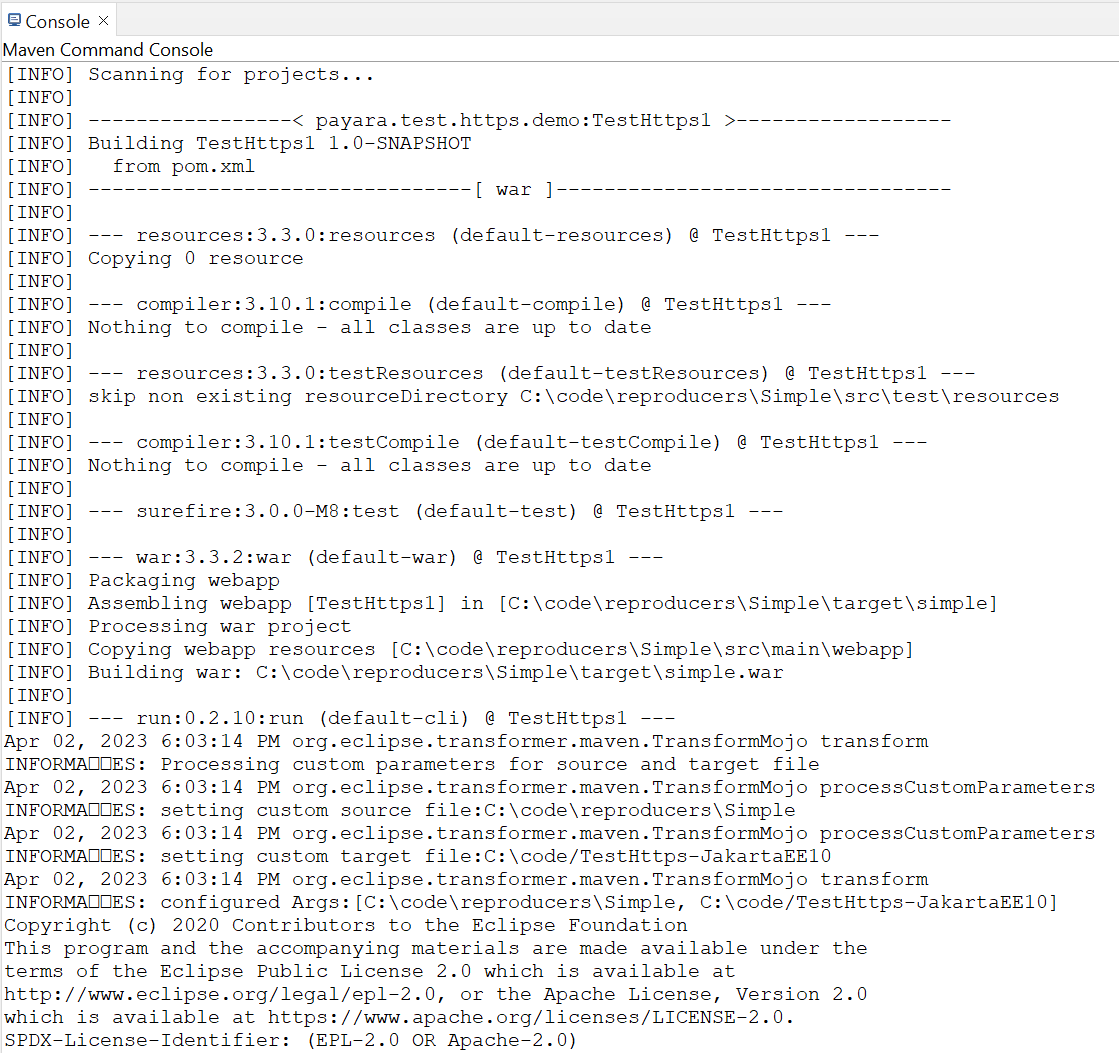
A maven BUILD SUCCESS message should be logged in the IDE’s console.
When the whole project is transformed, the plugin adds JakartaEE10 at the end of the project name. In our example, demo-JakartaEE10 project was created from demo project.
|
Transform a Single File
To refactor a Java EE 8 file right click on it and choose Payara Refactor→Transform to Jakarta EE 10 option:

The plugin will open a dialog to choose the destination package where the new file will be created:
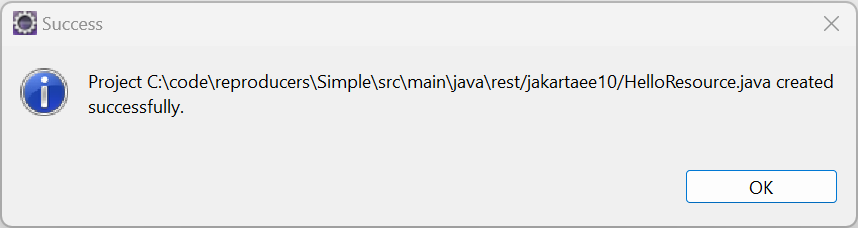
After choosing the Destination Package, a confirmation message will appear indicating that the file was generated.
| You can see the output of the generation process in the Eclipse console. |
The output of the Maven plugin that executes the transformation code can be reviewed in the IDE’s console:
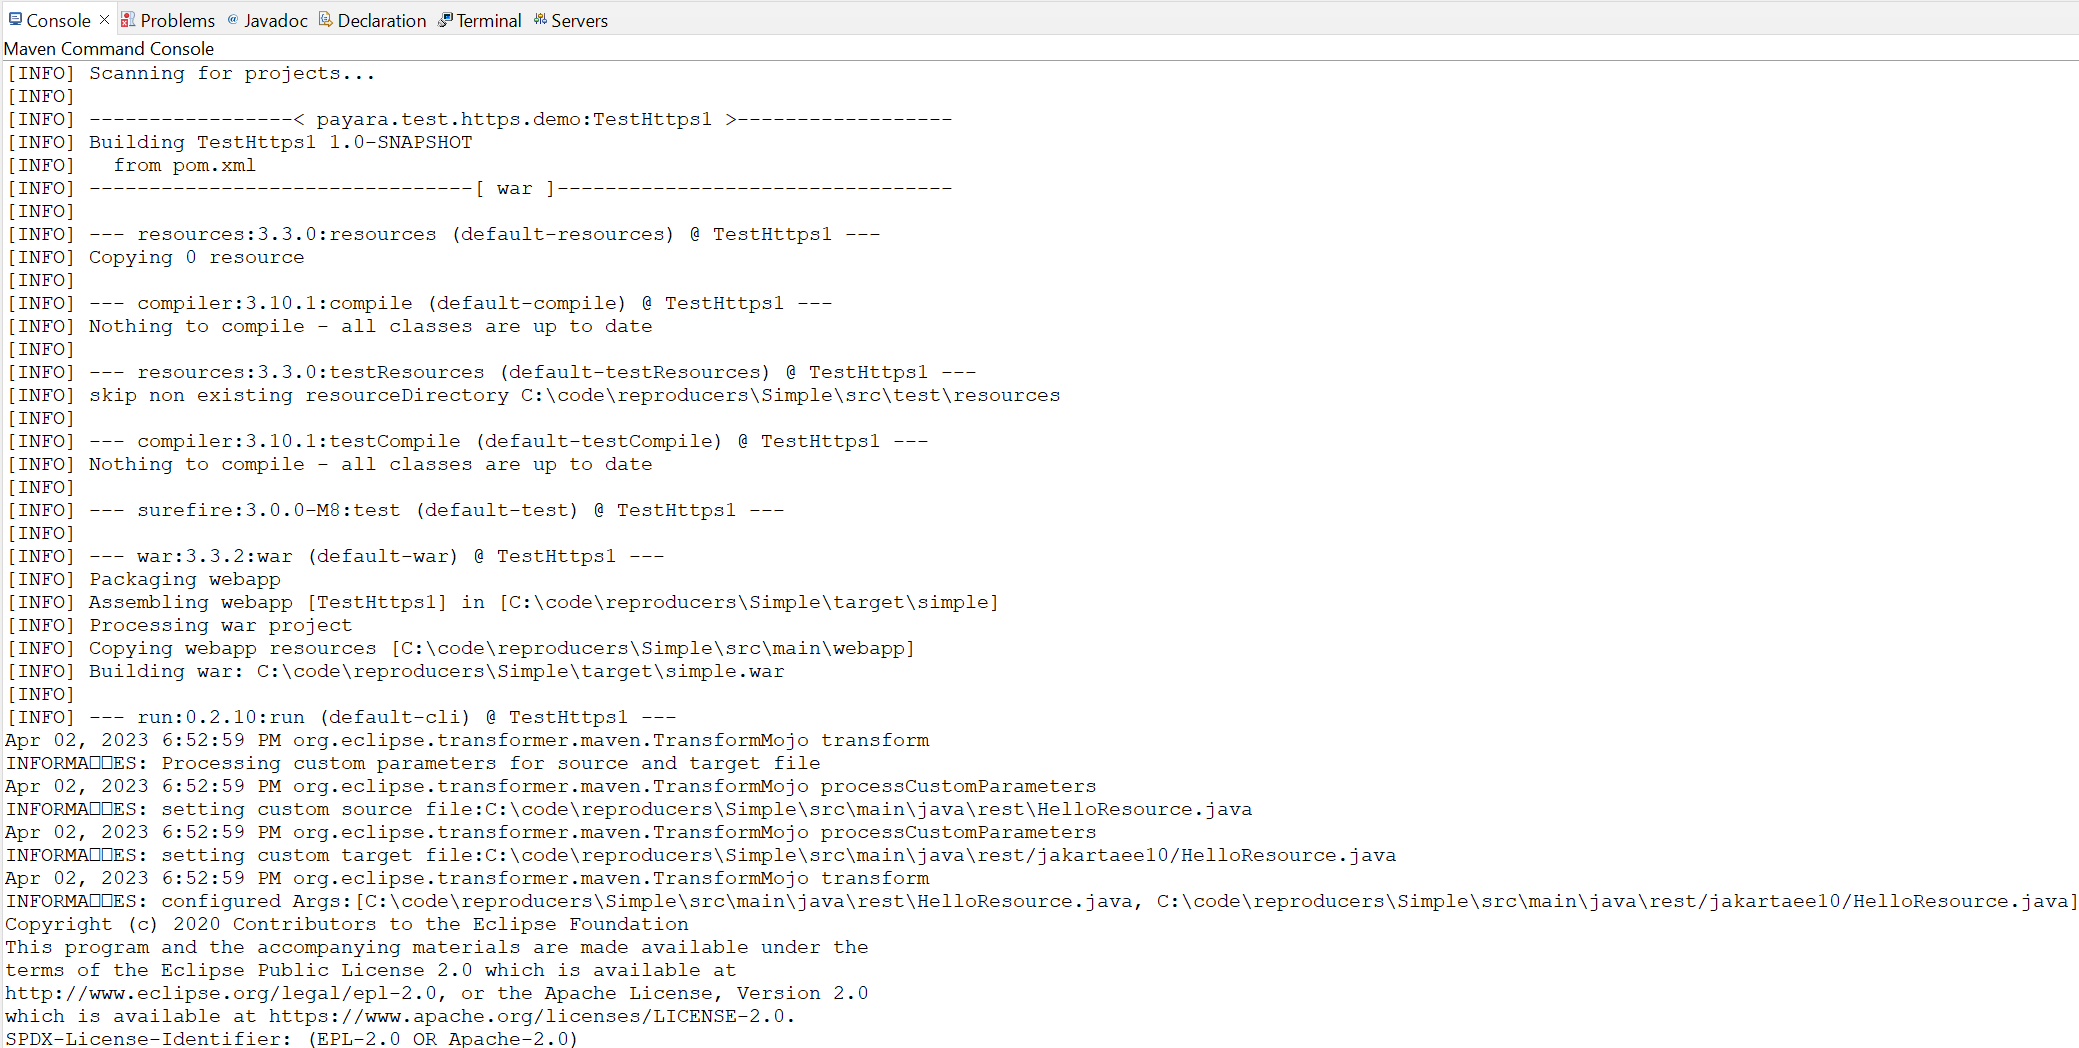
A BUILD SUCCESS message from the Maven plugin will be logged in the IDE’s console.
The new file will be located in the chosen destination package.
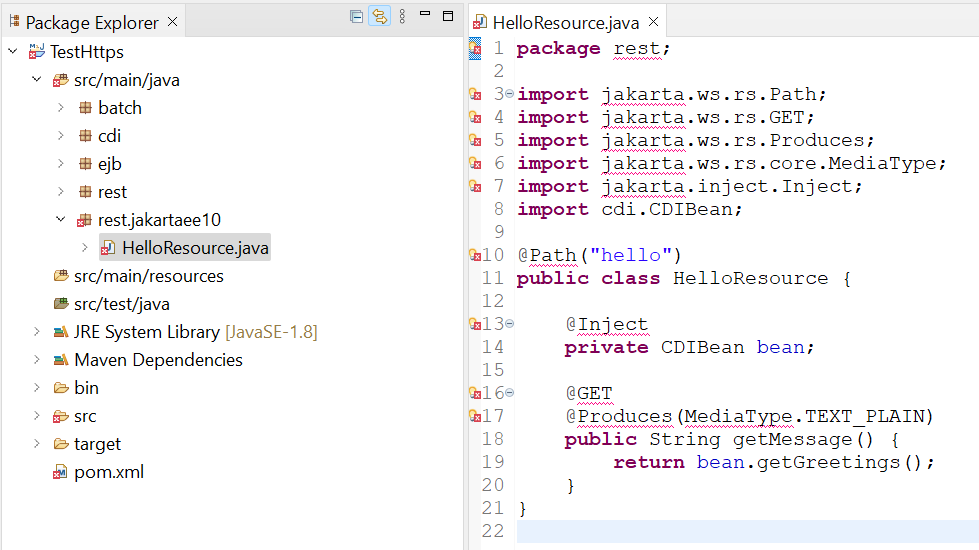
When a single file is transformed, a jakartaee10 package containing the new file will be created in the destination package.
|