Creating new Payara Micro Application
-
Simply start up the NetBeans IDE and then Choose File → New Project from the main menu.
-
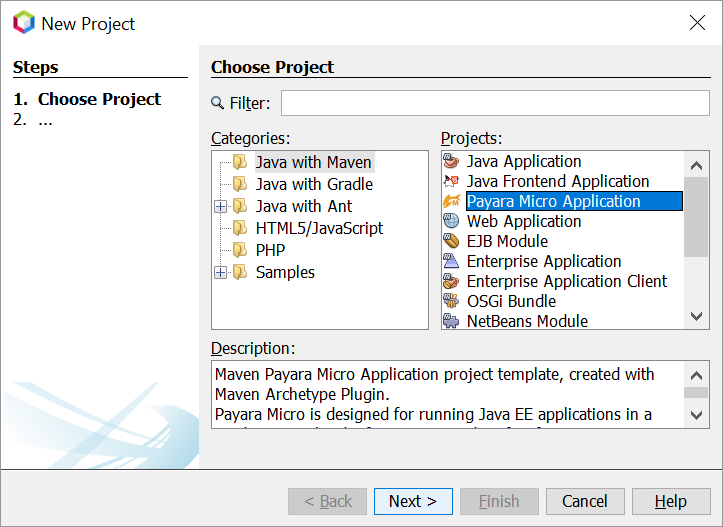
On the Choose Project panel, select Maven from Categories, select Payara Micro Application from Projects, and click Next.
-
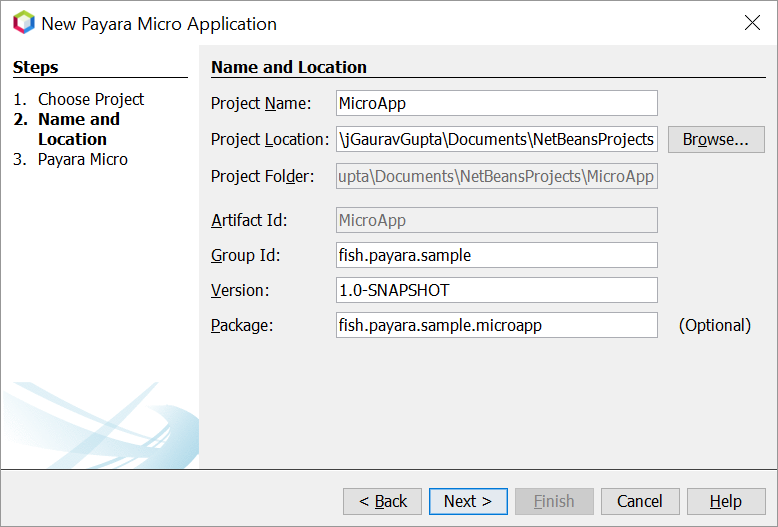
On the Name and Location panel, enter MicroApp as the project name, set the Project Location, set the GAV details, and then click Next.
-
Select Payara Micro version. Click Finish.

-
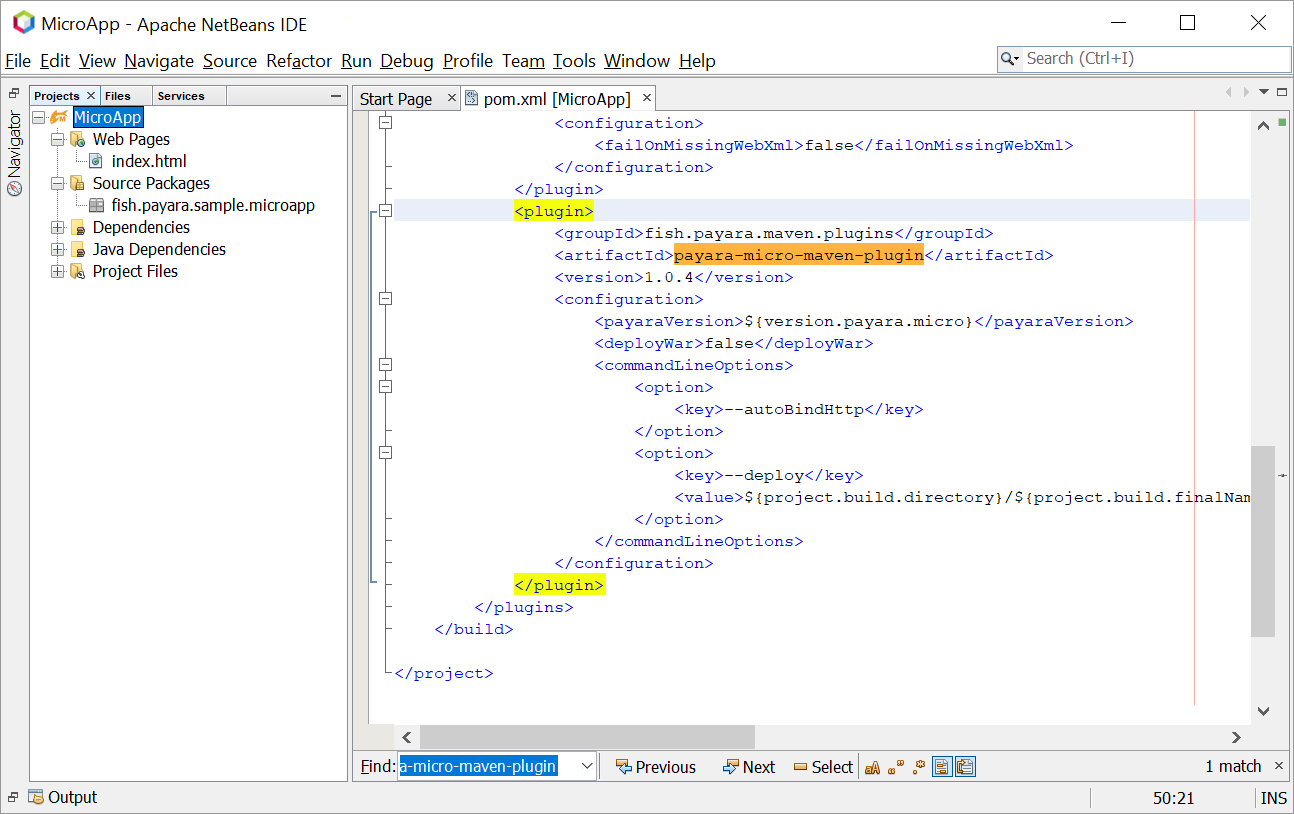
When you click Finish, the IDE creates the following projects from the Payara Micro maven archetype.
-
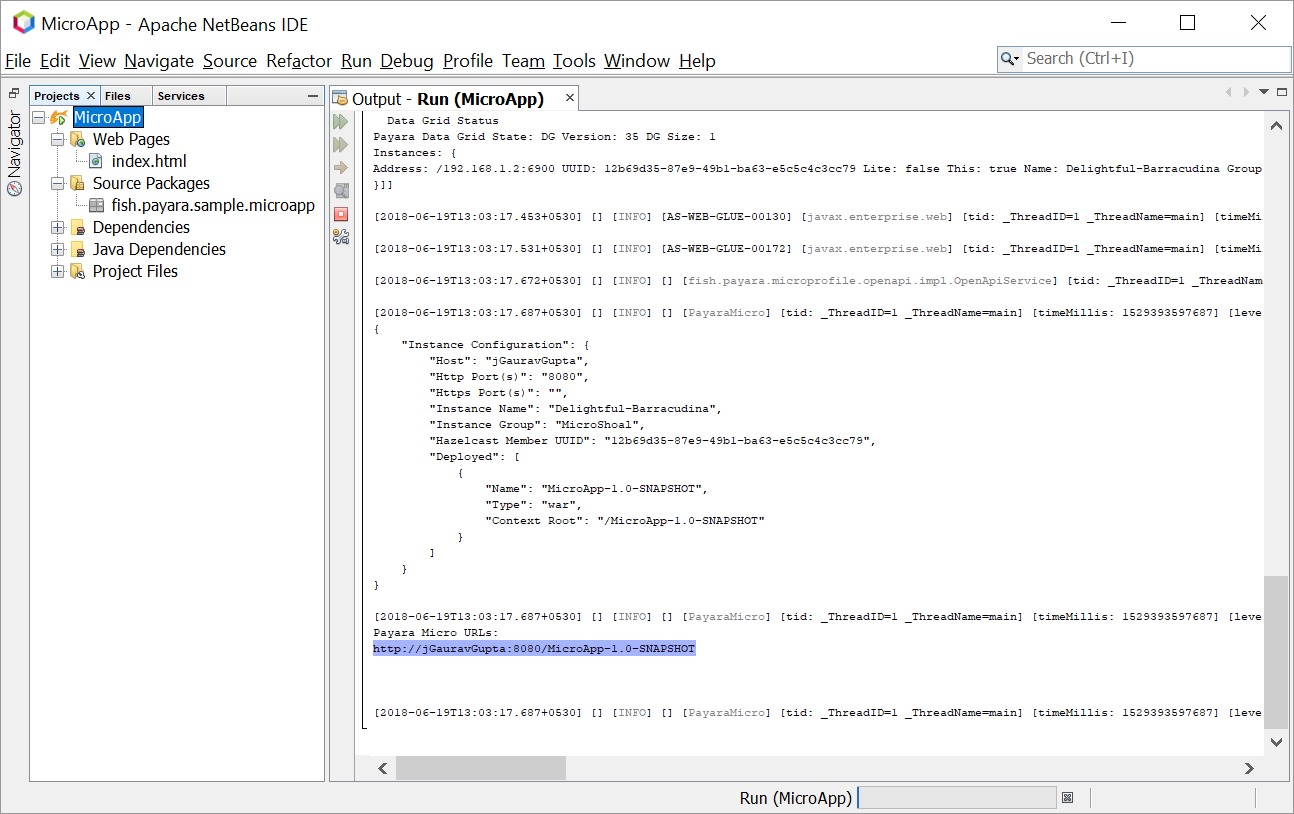
Now Simply Run it.
Convert existing Maven Web Application to Payara Micro Application
-
Choose File → Open Project from the main menu to open the existing Maven Web Application project in NetBeans IDE.
-
Choose File → New File from the main menu.
-
On the Choose File Type panel, select Payara from Categories, select Payara Micro Maven Plugin from File Types, and click Next.
That’s how to convert existing Maven Web Application to Payara Micro application in NetBeans.