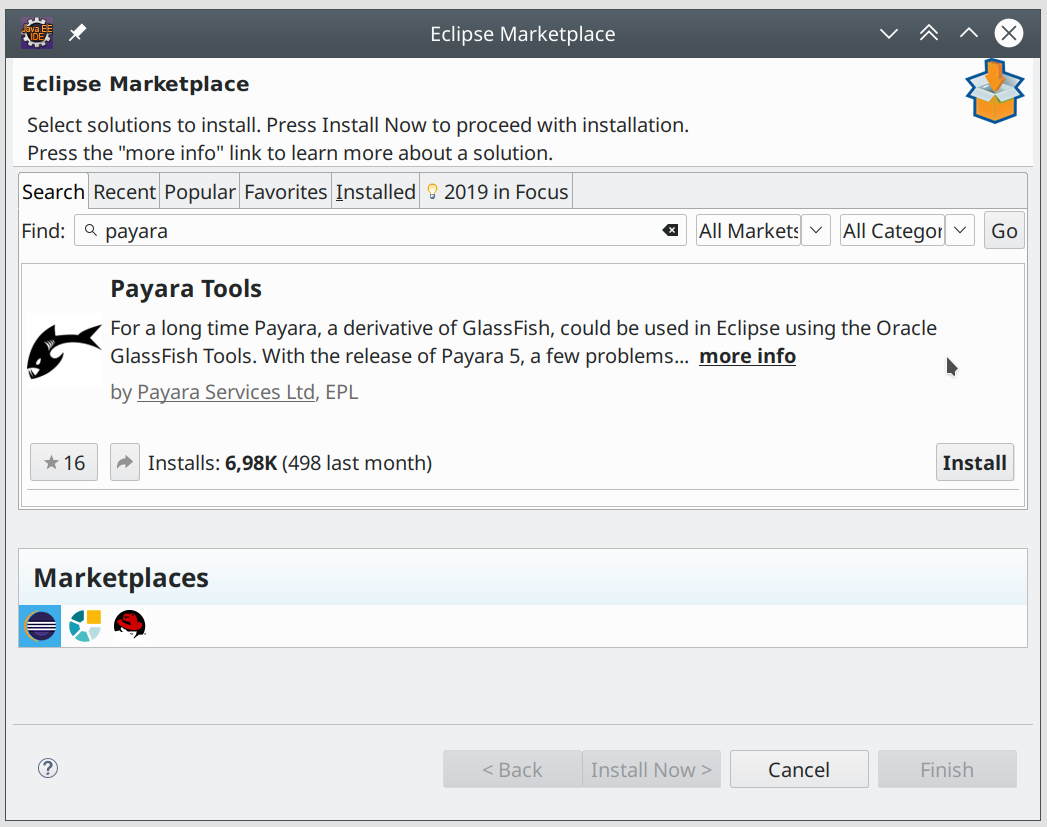
Payara Platform provides the Payara Tools plugin to integrate Payara Server Community and Payara Micro Community into Eclipse IDE. The plugins are installable from the Eclipse Marketplace.
Installing Payara Tools plugin
-
Go to Help → Eclipse Marketplace…
-
On the Marketplace window, type "Payara" and click the Go button at the right side.
-
Click the Install button.
-
Read and accept the license.
-
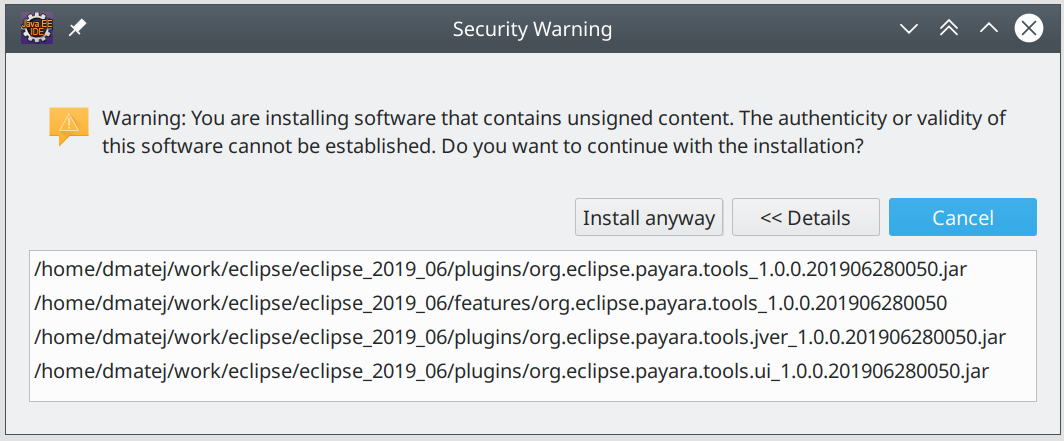
You will see the Security Warning, click on Install Anyway.
-
Finally it is needed to restart the Eclipse. Plugin is installed.
Adding Payara Server Community to Eclipse
-
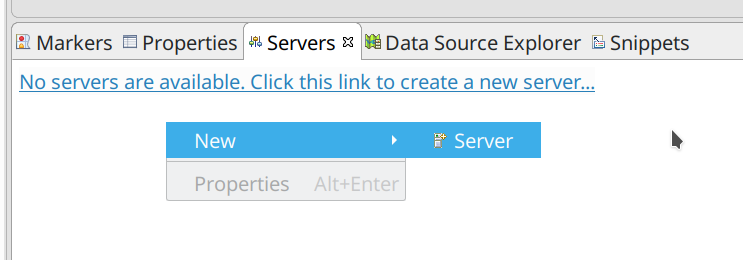
Open the Servers view (if not visible, it should be under menu Window → Show View → Servers).
-
Select Payara → Payara and set the Host name and some comprehensible Server name.
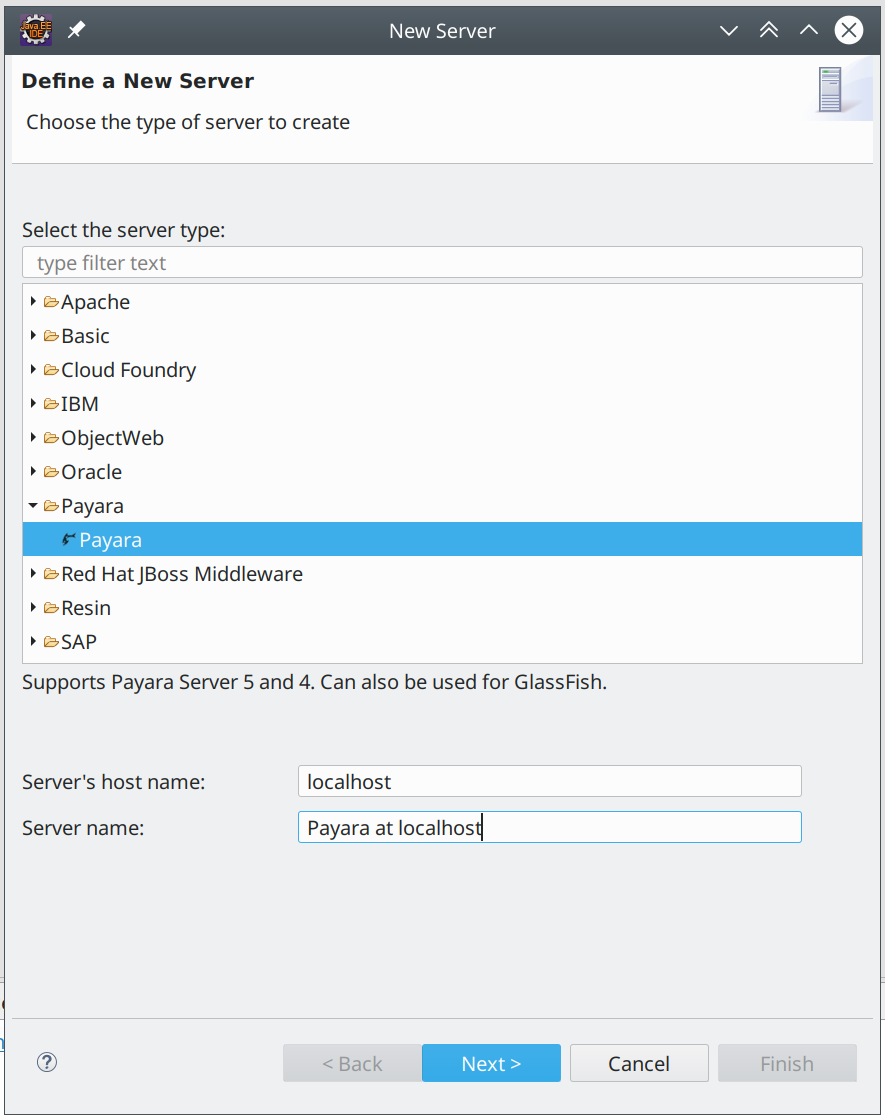
-
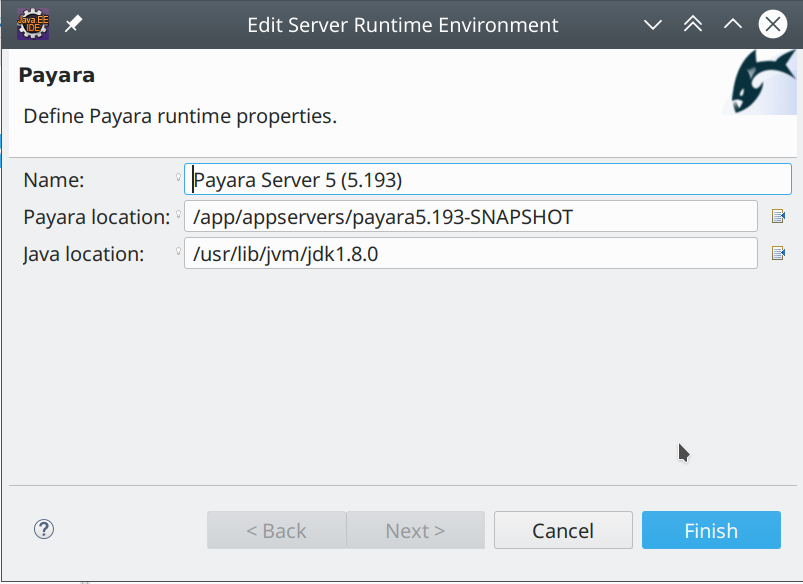
Then click Next to another window with server runtime configuration.
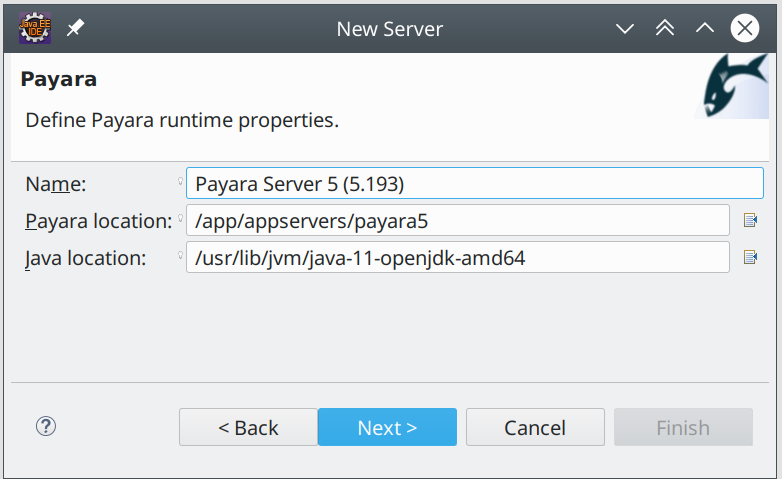
-
Then click Next again to window with the configuration of the domain. In this example we use domain without configured admin user and the server is not started in debug mode.
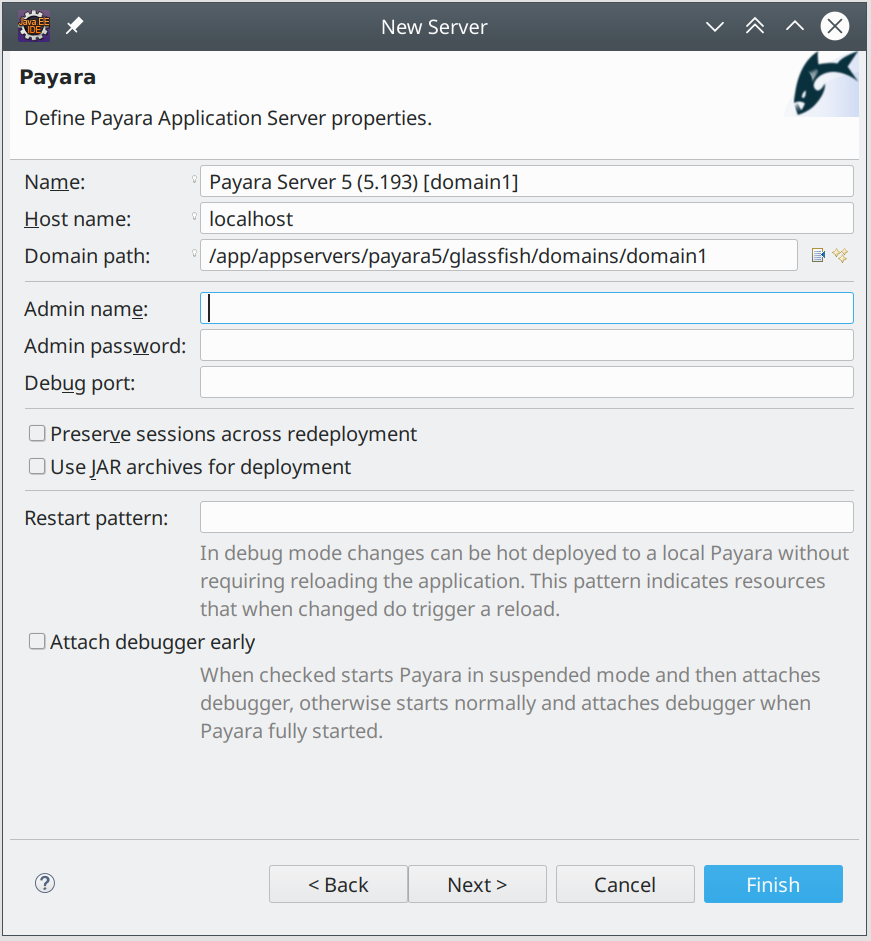
-
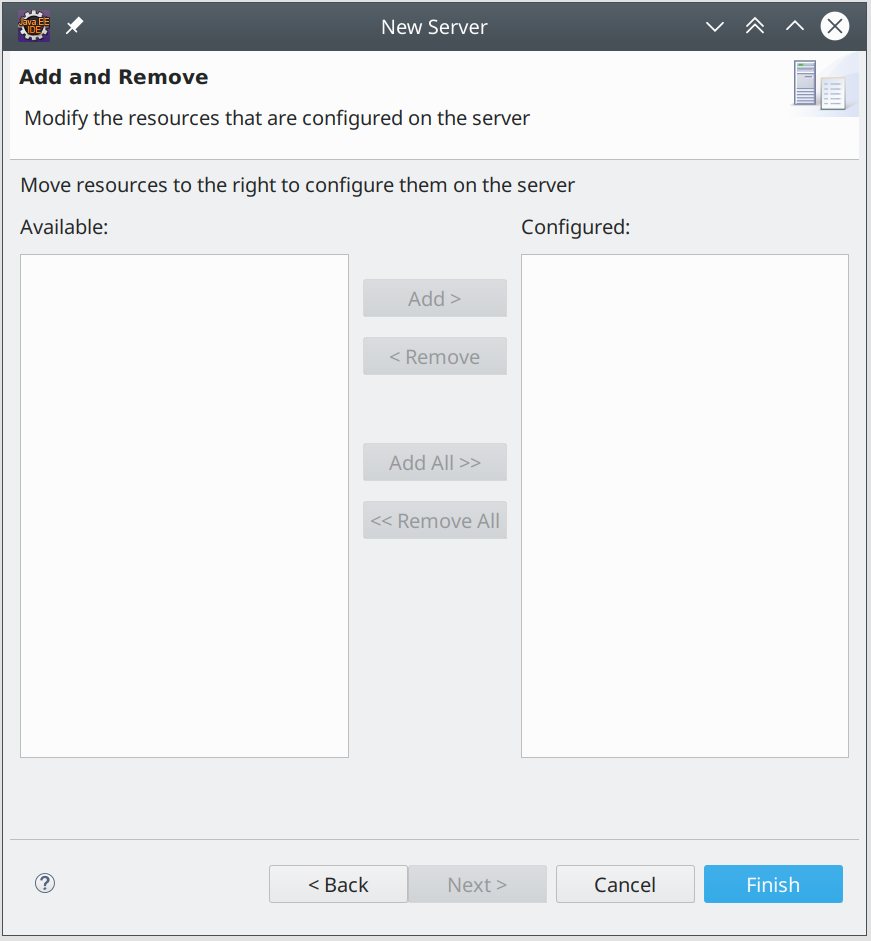
In the last step you can select resources which will be deployed on the server. Here we don’t have any deployable projects in the workspace yet, so both panels are empty.
Adding Resources to Server
-
First import or create some project, deployable to the Payara Server. Here we use one of the Java EE 7 Samples .
-
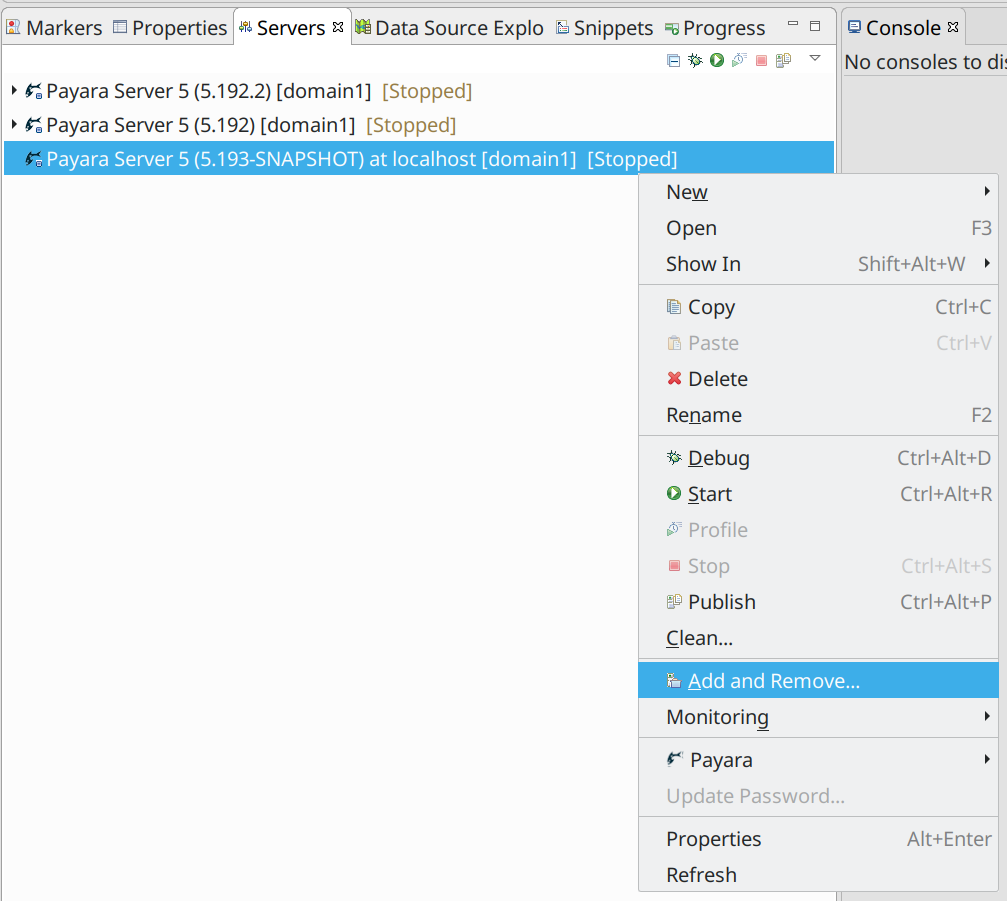
Right click the target server in the Servers view and click Add and Remove…
-
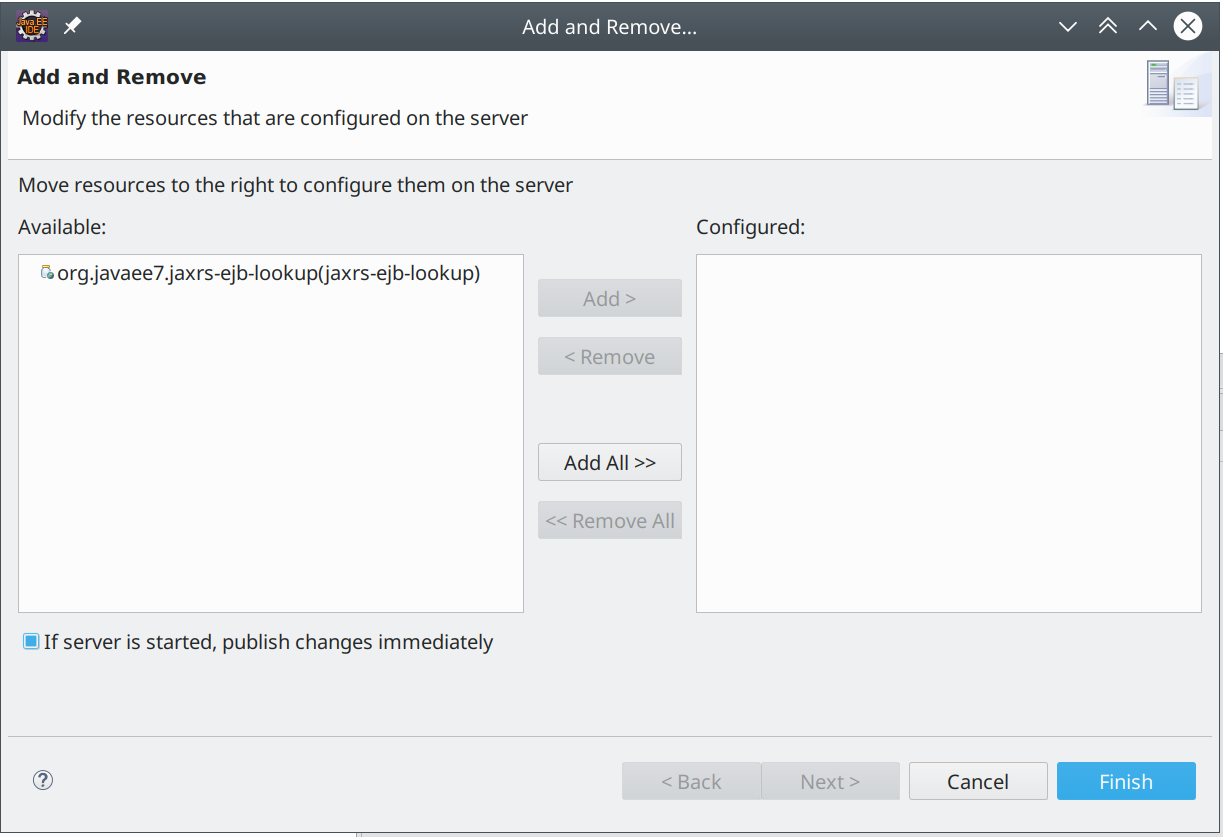
Select resources you want to be managed by the Payara Tools, add them to the right panel and click Finish.
-
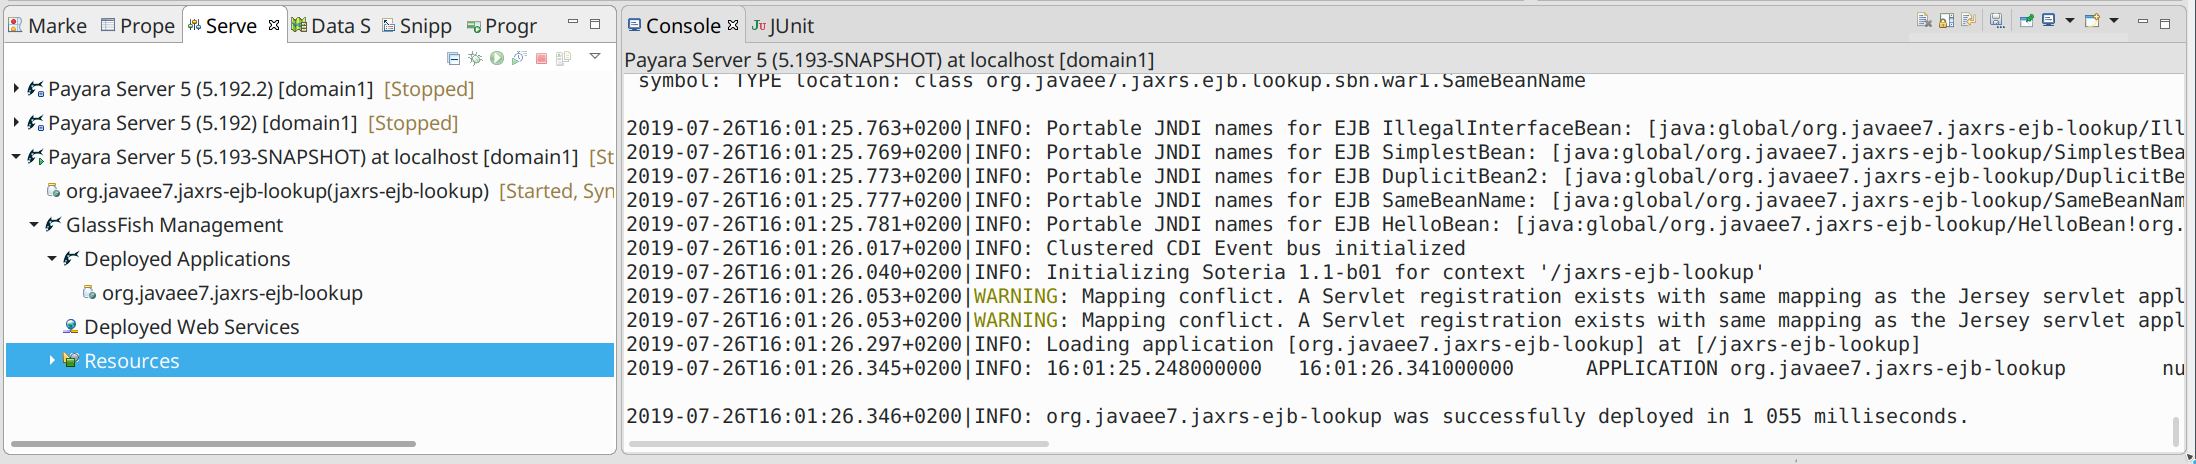
Now you can watch the deployment of the application in the Console view.
-
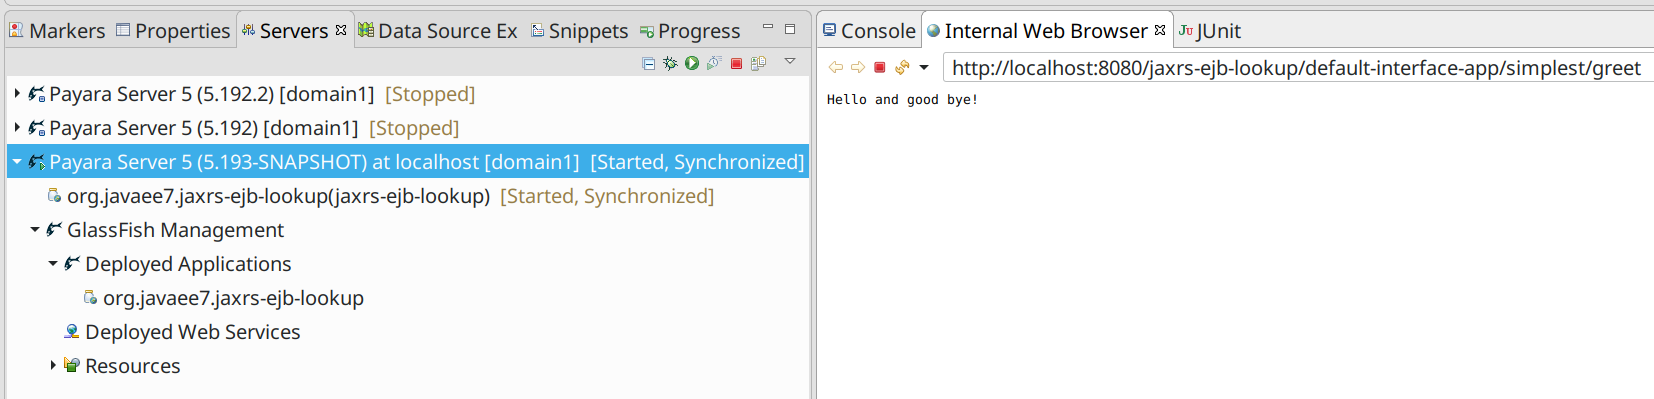
If the deployment was successful, you can use the application. Here we simply opened the internal Eclipse’s browser and sent the HTTP GET request - and the application responded.
-
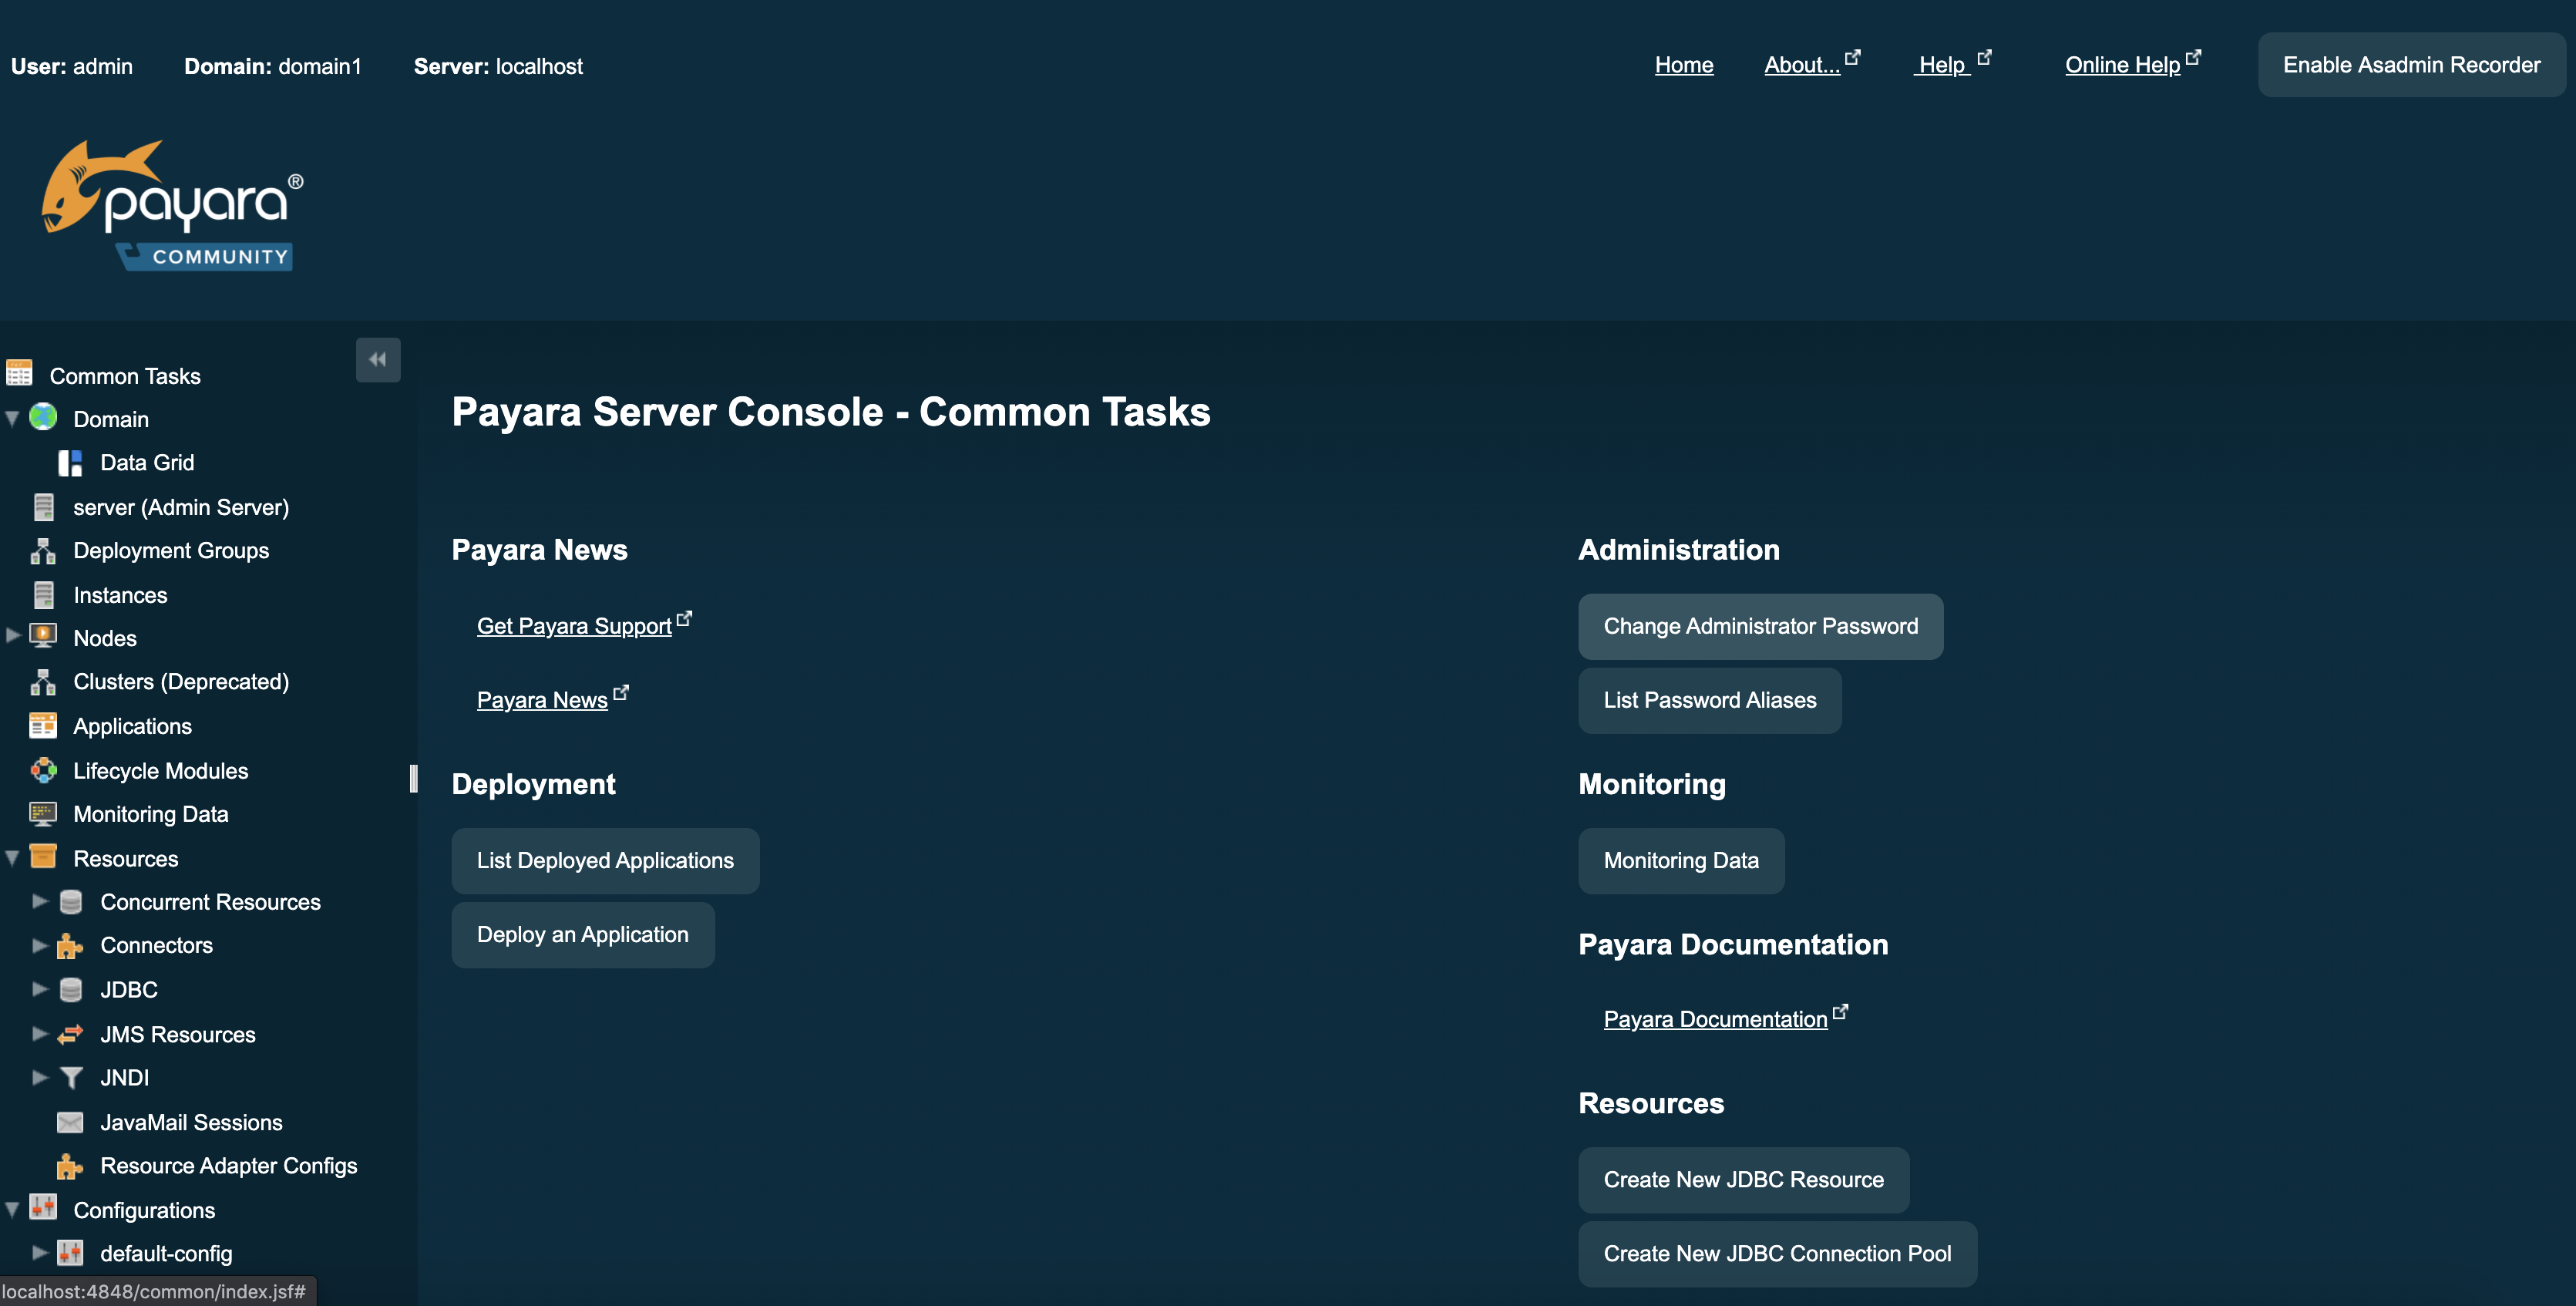
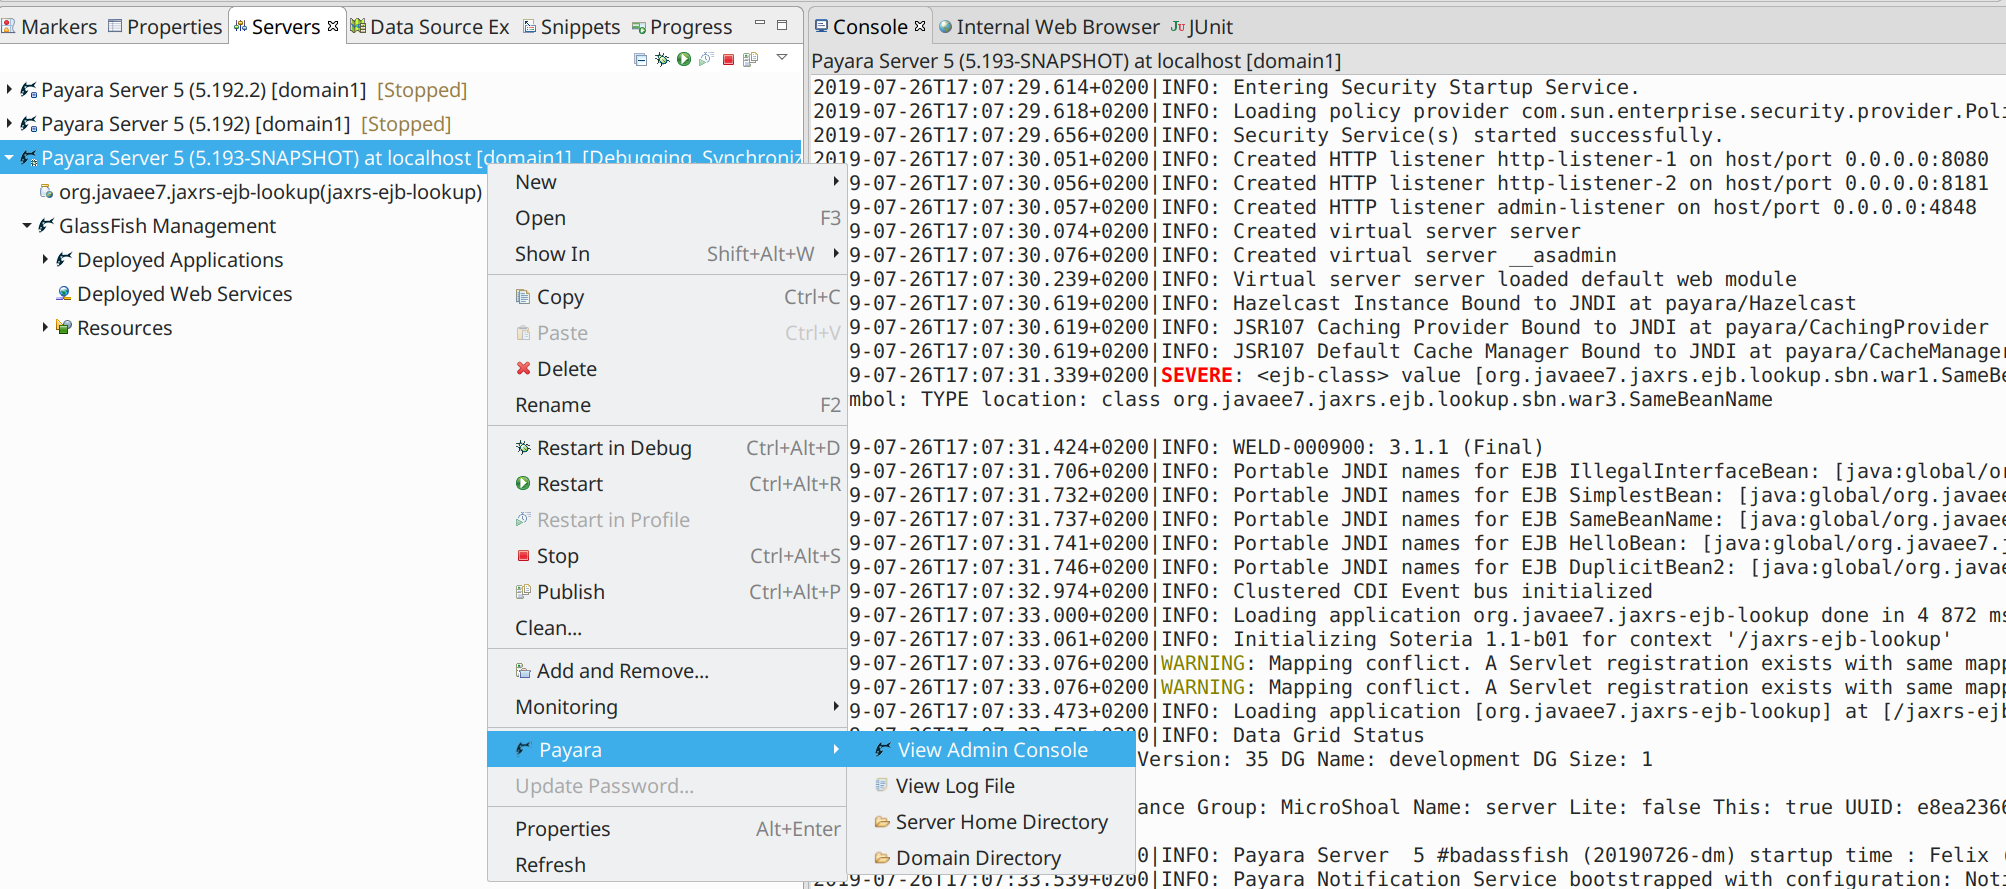
You can also access the administration console directly from the Eclipse Browser. Just right click the target server in the Servers view and click Payara → View Admin Console
Runtime Reconfiguration
-
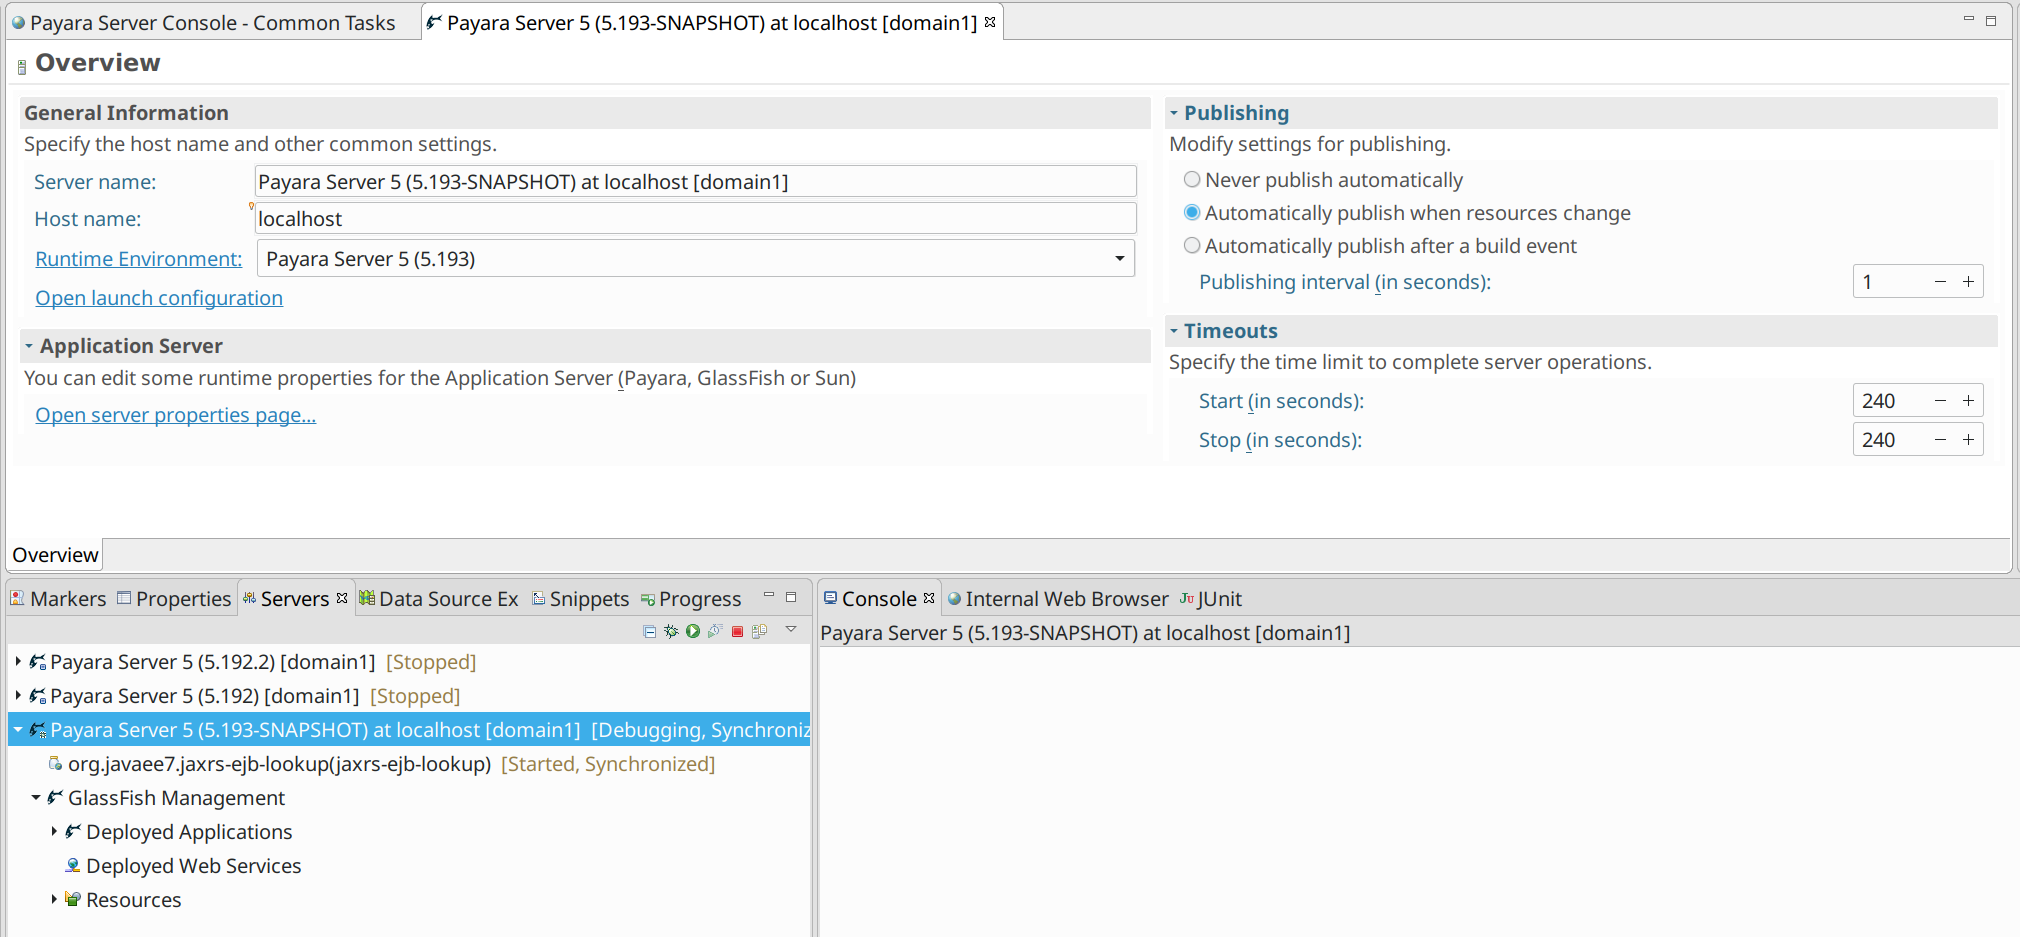
In the Servers view double click the server you want to reconfigure. The Server Overview will open.
-
Click on Runtime Environment and you will see well known window.
Be careful, because changing the runtime may result in unusable state of the server because of incompatible configuration.