The process of building and testing the IntelliJ IDEA IDE Plugin is the same for both the Ultimate and Community editions. The Payara IntelliJ Tools source code is available in the ecosystem-intellij-plugin repository.
Prerequisites
Before building the Payara IntelliJ Tools, you will need to configure your local environment. Subsequent builds will not require these steps.
- Clone the repository
-
You must first clone the plugin repository:
git clone https://github.com/payara/ecosystem-intellij-plugin.git- JDK 11
-
JDK 11 is required to build and test the IntelliJ IDEA plugin.
- Install Gradle
-
Gradle is the build tool for the Payara IntelliJ Tools. You can either download and configure Gradle locally or use the Gradle wrapper in the source code.
Build Payara IntelliJ Tools
To build the Payara IntelliJ Tools, run the following command from the root directory where the project was cloned:
If you installed Gradle
-
gradle build
If you are using the Gradle wrapper
-
./gradlew build
After a successful build, the final ZIP distribution will be located in the /build/distributions directory. This ZIP file can be installed into IntelliJ IDEA.
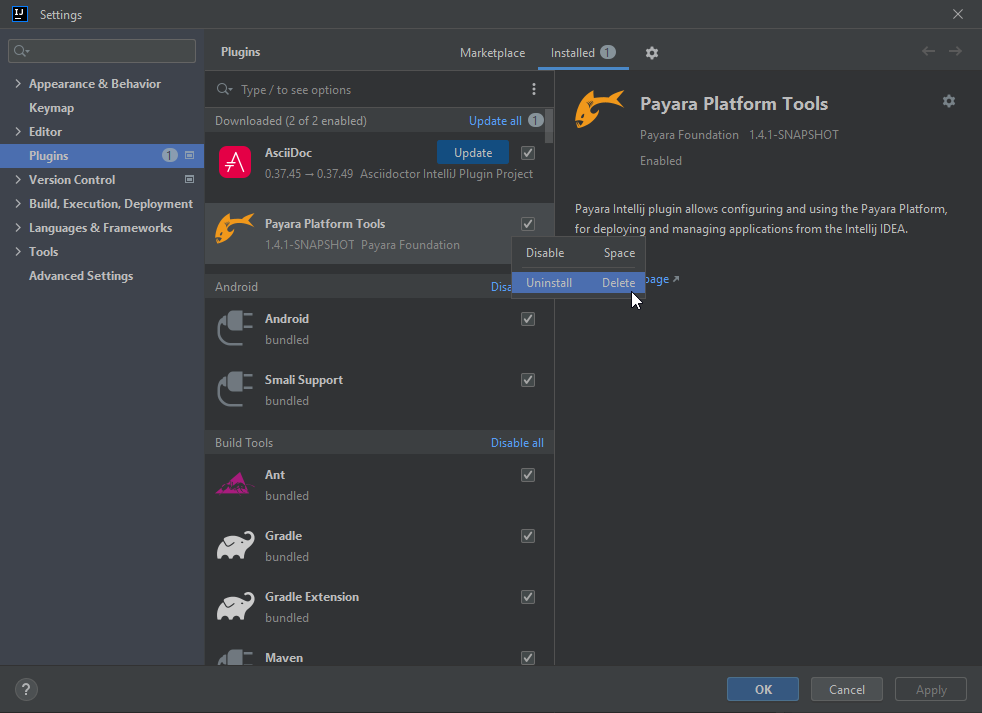
Install Payara Tools into IntelliJ IDEA
After the Payara Tools plugin has been built, you can install it in IntelliJ IDEA as follows:
-
Open the Settings menu (
Ctrl + Alt + S) -
Open the
Pluginspanel -
Click the ⚙️ cog icon and select
Install Plugin from Disk -
Select the compiled ZIP file from the
/build/distributionsdirectory

Test Payara Tools
Instead of manually installing the plugin each time, you can run a test instance of IntelliJ IDEA with the plugin pre-installed using the following:
If you installed Gradle
-
gradle runIde
If you are using the Gradle wrapper
-
./gradlew runIde
This will launch a sandboxed IntelliJ IDEA environment with the plugin enabled for testing purposes.