If you are using version 2 of the Amazon Web Services Java SDK, then it is possible to configure the SQS connector use Amazon SSO authentication instead of a secretKey and keyID set of credentials.
The Amazon Single Sign-On (AWS SSO) is also known as the AWS IAM Identity Center. This center is used by AWS administrators to centrally manage the data and access permissions of all user identities. To view more information about it please read here: AWS IAM Identity Center
In this case, instead of using a traditional "Service Account" to allow a deployed application to connect to a SQS Queue, instead you can allow individual AWS accounts to log in via SSO first and then make the calls as long as they have been configured with the right permissions. To configure this you must follow these steps:
-
Configure AWS IAM Identity Center Accounts
-
Configure SQS Queue
-
Download and install the Amazon SQS Connector v2
-
Install the Amazon CLI locally
-
Configure the user credentials
-
Execute the SSO login
| Using AWS SSO credentials is a recommended practice for development environment only. Please refrain from using this setup on production environments. |
Configure AWS IAM Identity Center Accounts
To configure AWS IAM Identity Center Accounts, please read the instructions detailed in Create Users with AWS IAM Identity Center.
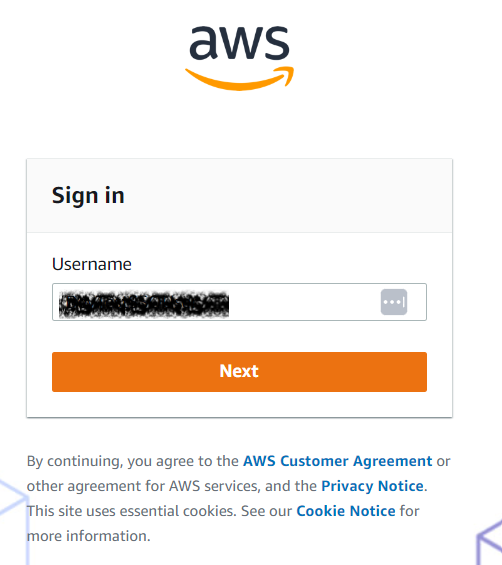
Here’s an example identity that is ready to be used for SSO login:
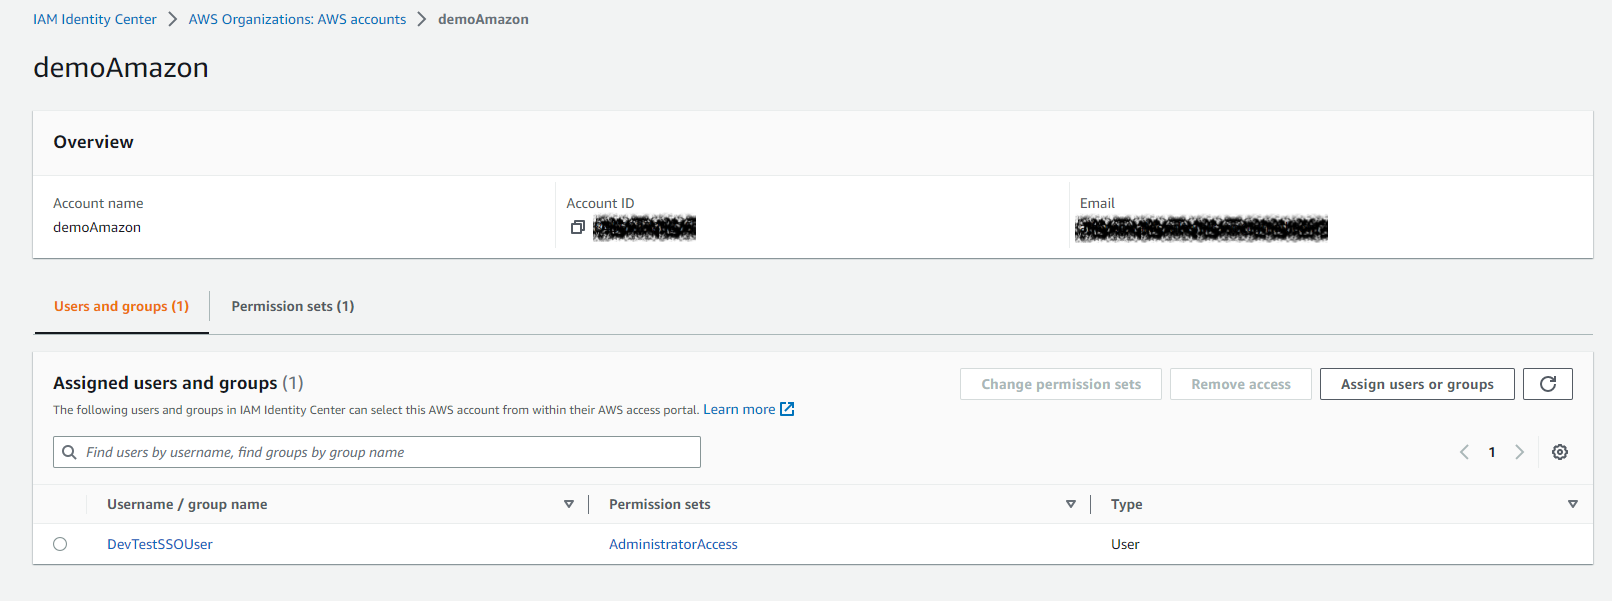
This account is also setup with full privileges so that it can access SQS resources:
Configure a SQS Queue
To configure an SQS Queue, please follow the instructions detailed in Create Amazon SQS Queue
Here’s an example of a SQS Queue:

Download and install Amazon SQS Connector version 2 from Payara
To download and install Amazon SQS Connector V2, please check the usage details detailed in that section.
Install Amazon CLI Locally
To install the Amazon CLI toolset on you local environment, please check Amazon CLI getting started
You can verify that the CLI has been correctly installed with the following command:
>aws --version
aws-cli/2.8.11 Python/3.9.11 Windows/10 exe/AMD64 prompt/off
Setup Local Configuration
Next, you’ll have to setup the Amazon IAM configuration file on your local machine to enable SSO authentication. Read detailed instructions on how to setup this configuration file on AWS SSO Credentials.
Here’s a sample configuration file:
[default]
sso_start_url = https://d-9067bf6e6d.awsapps.com/start
sso_region = us-east-1
sso_account_id = <ACCOUNT_ID>
sso_role_name = <ROLE_NAME>
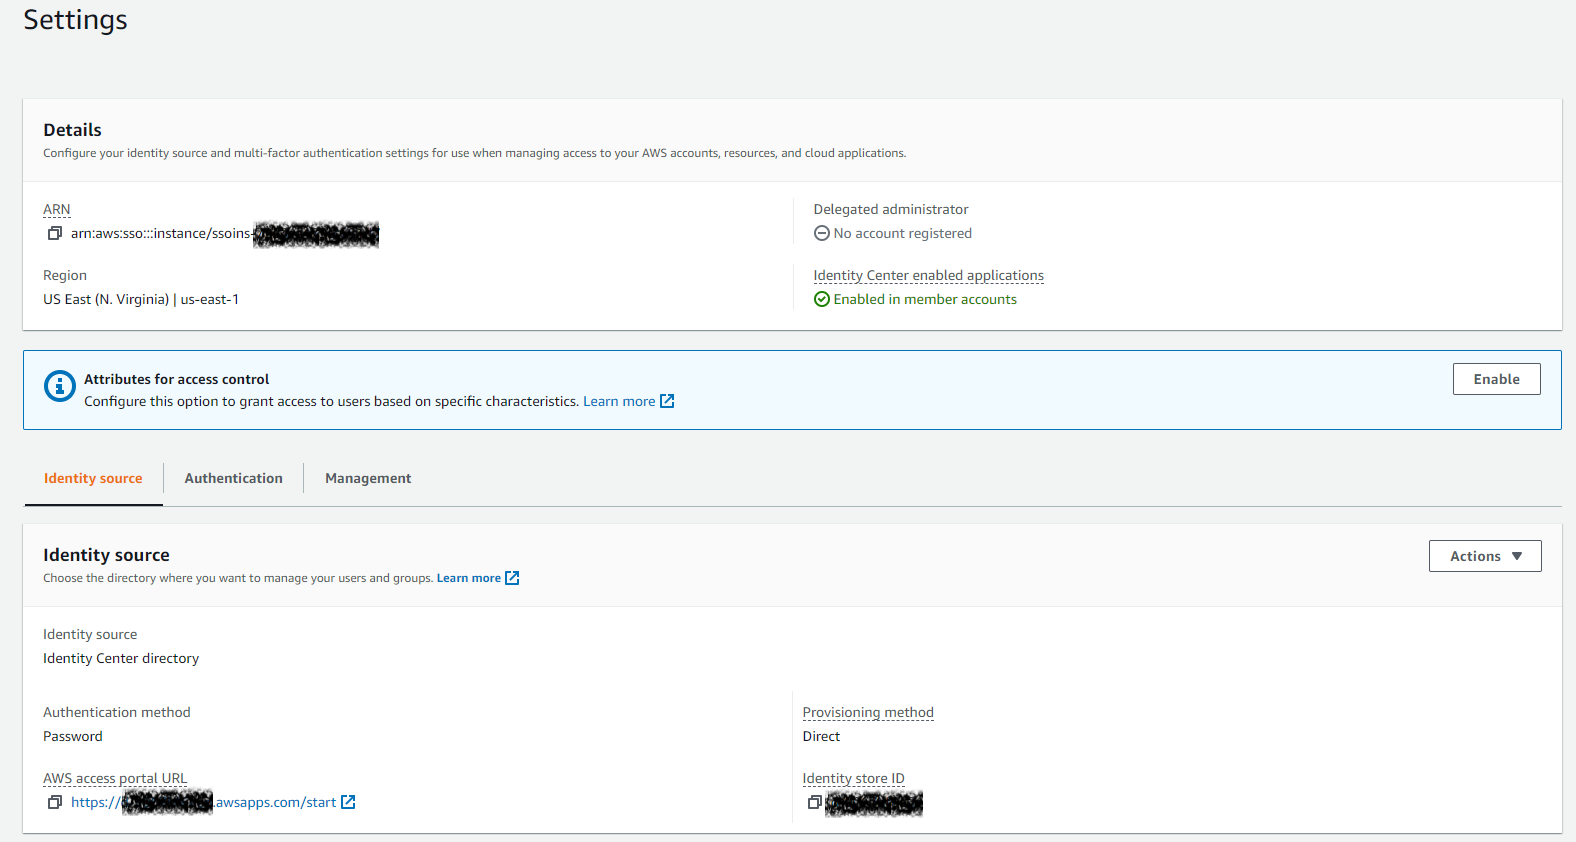
The sso_start_url, sso_region and sso_role_name are parameters associated with the SSO credentials for the user account identity. To get the sso_account_id find the instructions in Account ID.
|
Before proceeding, you’ll have to set the URL of the SQS Queue and its corresponding region as Environment Variables:
>set queueURL=https://sqs.us-east-1.amazonaws.com/845692786875/MyTestQueue
>set region=us-east-1
AWS SSO Login
Next, execute the AWS SSO login from the command line:
>aws sso login --profile default
Attempting to automatically open the SSO authorization page in your default browser.
If the browser does not open or you wish to use a different device to authorize this request, open the following URL:
https://device.sso.us-east-1.amazonaws.com/
Then enter the code:
XXXX-XXXX
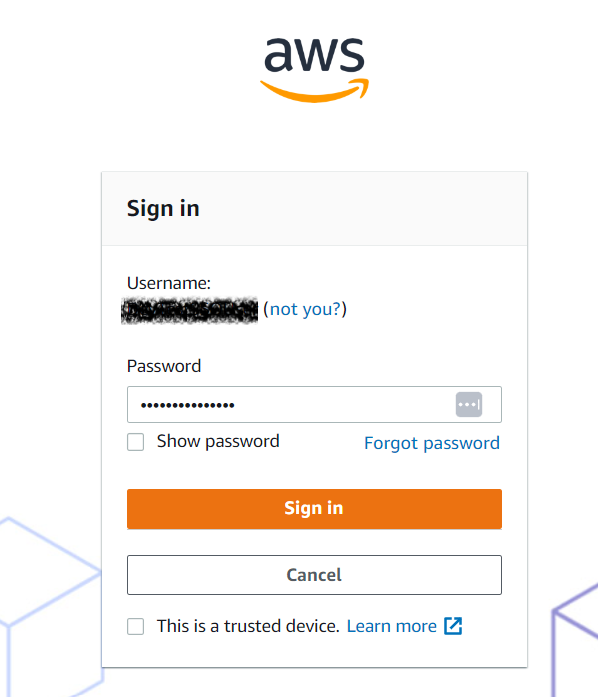
Successfully logged into Start URL: https://d-9067bf6e6d.awsapps.com/startThis process will open a local browser window so that the current user can provide its credentials using this simple process:
-
Start the session
-
Set user password
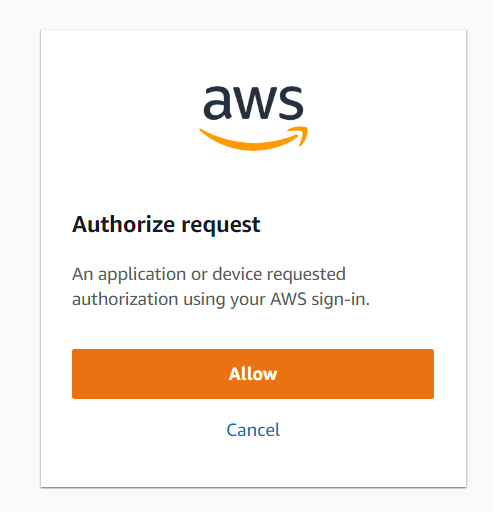
-
Authorize the request
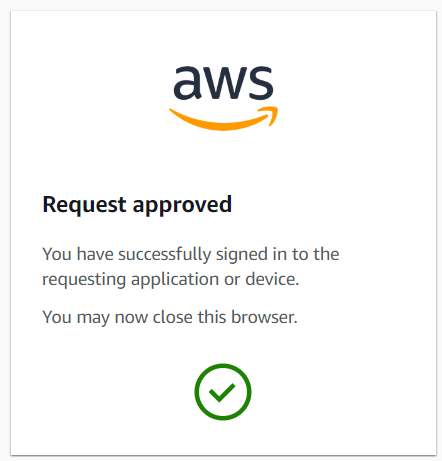
-
Receive login approval
Deploy and Test application
Before deploying and testing a sample application, remember to install the JCA adapter and configuring the API dependencies as described in Versioning.
Since the internal SSO credentials resolver will look for the required credentials on the local environment’s configuration file, then you don’t have to supply the AWS identity credentials on the configuration properties of your application’s messaging components.
To send messages, here’s how the connection factory definition looks like:
@ConnectionFactoryDefinition (
  name = "java:app/amazonsqs/factory",
  interfaceName = "fish.payara.cloud.connectors.amazonsqs.api.AmazonSQSConnectionFactory",
  resourceAdapter = "amazon-sqs-rar-1.0.0"
  properties = {"region=us-east-1"}
)
And for receiving messages, here’s how the MDB definition looks like:
@MessageDriven(activationConfig = {
@ActivationConfigProperty(propertyName = "queueURL", propertyValue = "ENV={queueURL}"),
@ActivationConfigProperty(propertyName = "region", propertyValue = "ENV={region}"),
@ActivationConfigProperty(propertyName = "pollInterval", propertyValue = "1")
})
public class ReceiveSQSMessage implements AmazonSQSListener {
@OnSQSMessage
public void receiveMessage(Message message) {
// Handle message
}
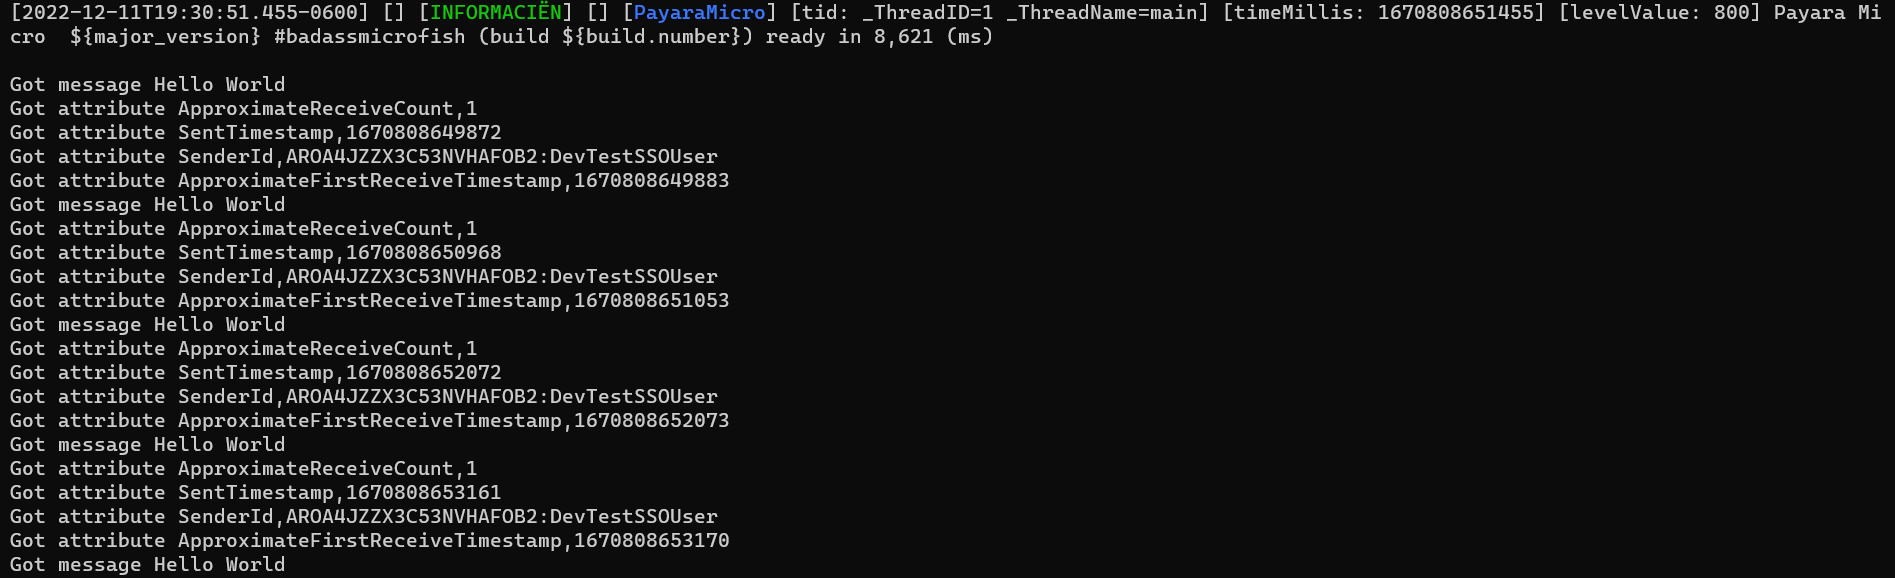
}A simple log output of message processing would look like this: