Netbeans has Payara Micro support built into the IDE, so there is no need to install a plugin to integrate and control Payara Micro from Netbeans.
Creating new Payara Micro Application
-
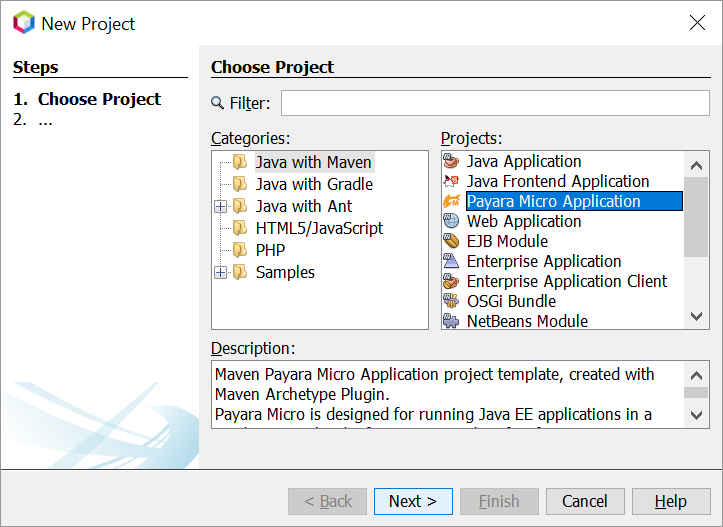
Select File → New Project from the main menu.
On the Choose Project panel, select Maven from Categories, select Payara Micro Application from Projects, and click Next.
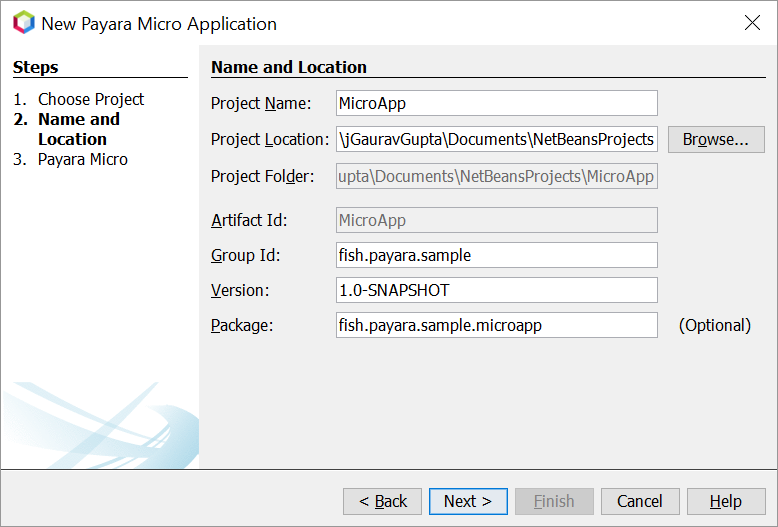
On the Name and Location panel, enter MicroApp as the project name, set the Project Location, set the GAV details, and then click Next.
Select a Payara Micro version then click Finish.

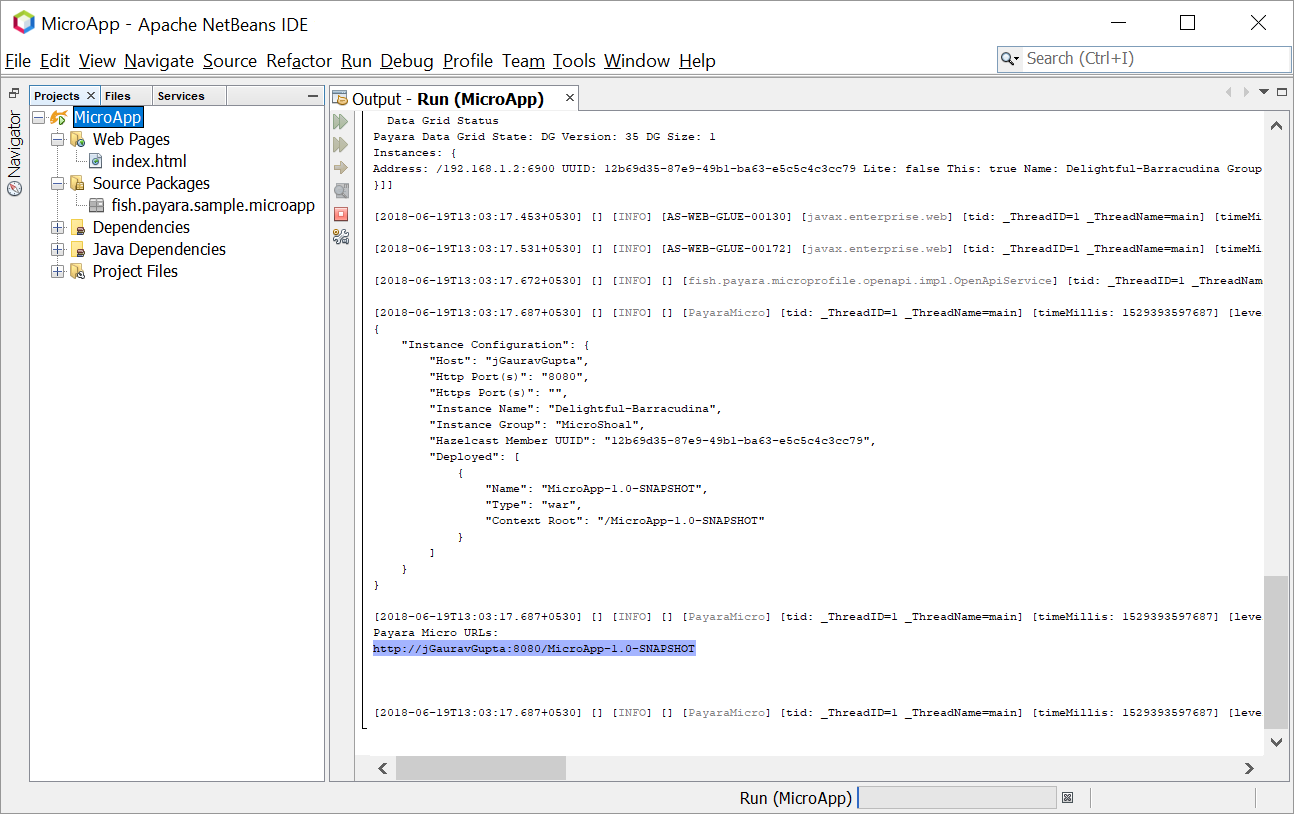
Now run the application. This will start a Payara Micro instance and deploy the application.
Convert existing Maven Web Application to Payara Micro Application
-
Choose File → Open Project from the main menu to open the existing Maven Web Application project in NetBeans IDE.
-
Choose File → New File from the main menu.
-
On the Choose File Type panel, select Payara from Categories, select Payara Micro Maven Plugin from File Types, and click Next.
-
Select Payara Micro version. Click Finish.